Skip to content
Recipes straight to your inbox!
Sign Up
Start Here
Shop My Favorites
Subscribe
Recipe Index
About
Expand
Contact
.
Recipe Index
Start Here
My Pantry
Expand
Life Lately
Tips and Guides
Shop
About
Contact
Instagram
YouTube
Pinterest
Facebook
Search
Search
Toggle Menu
Home
/
Recipes
- Page 2
Recipes
Recipes
Sort by:
Appetizers
Breads
Breakfast
Brunch
Desserts
Dinner
Drinks
Lebanese
Lunch
Sauces
Seasonal Recipes
Sides
Appetizers
·
Recipes
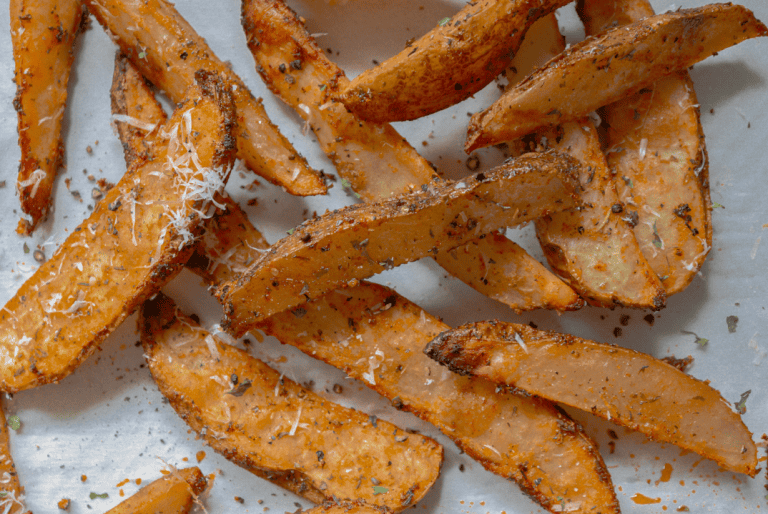
Garlic Parmesan Potato Wedges
Recipes
·
Sides
·
summer
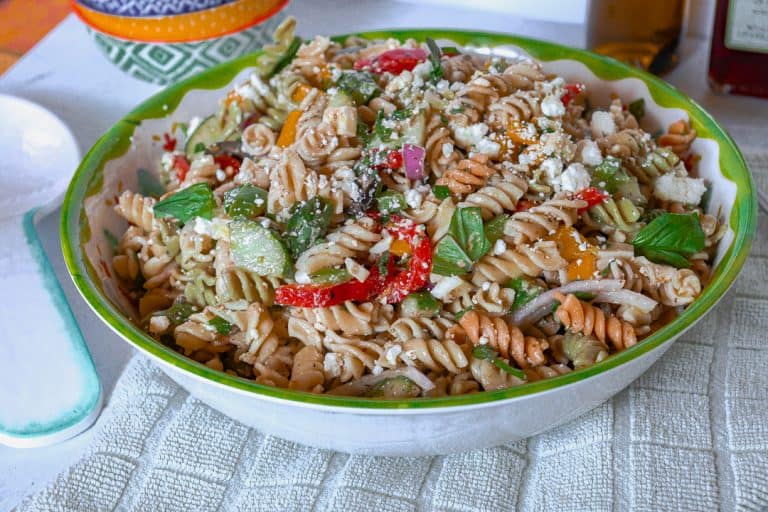
Easy Mediterranean Pasta Salad
Recipes
·
Sides
·
summer
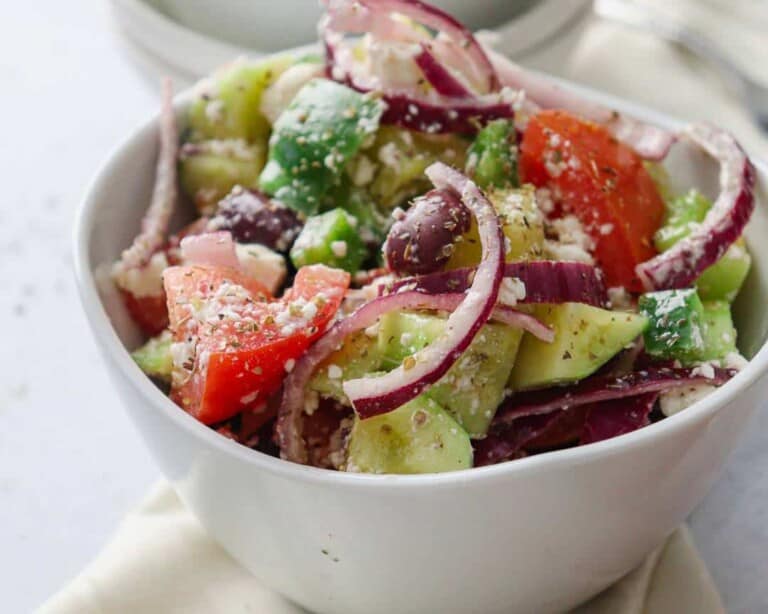
Easy Traditional Greek Salad
Breakfast
·
Brunch
·
Recipes
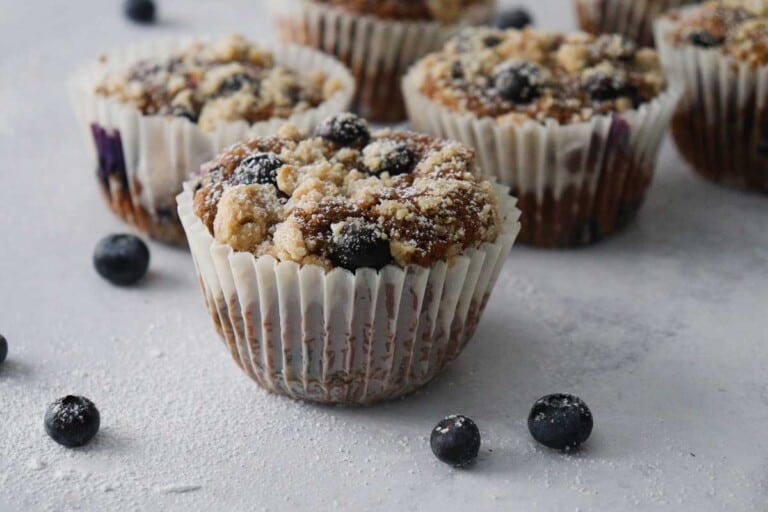
Bakery Style Blueberry Muffins
Dinner
·
Recipes
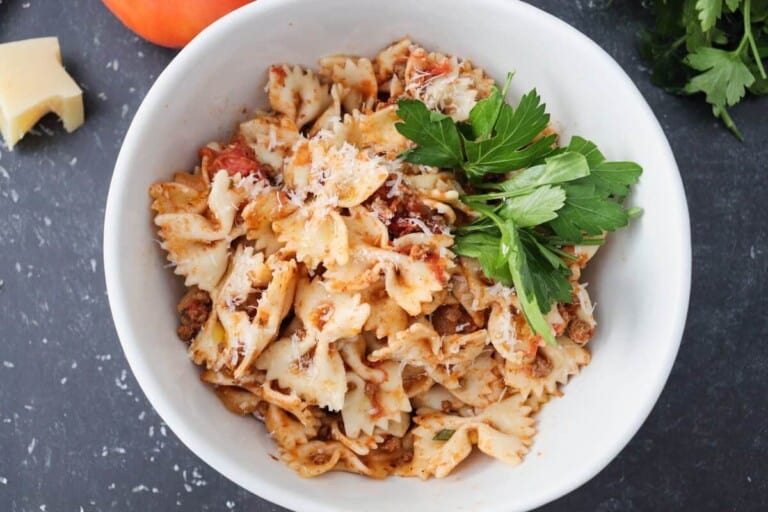
Easy Sunday Night Pasta
Recipes
·
Sides
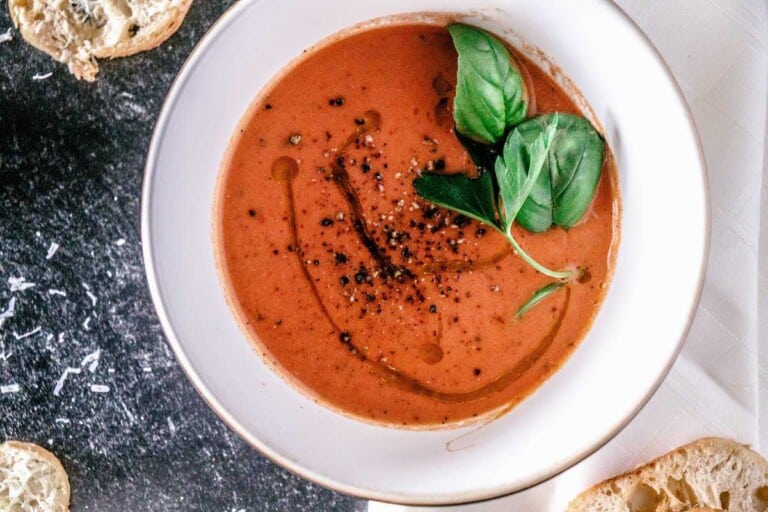
Homemade Creamy Tomato Soup
Desserts
·
Recipes
Chocolate Crinkle Cookies
Dinner
·
Lunch
·
Recipes
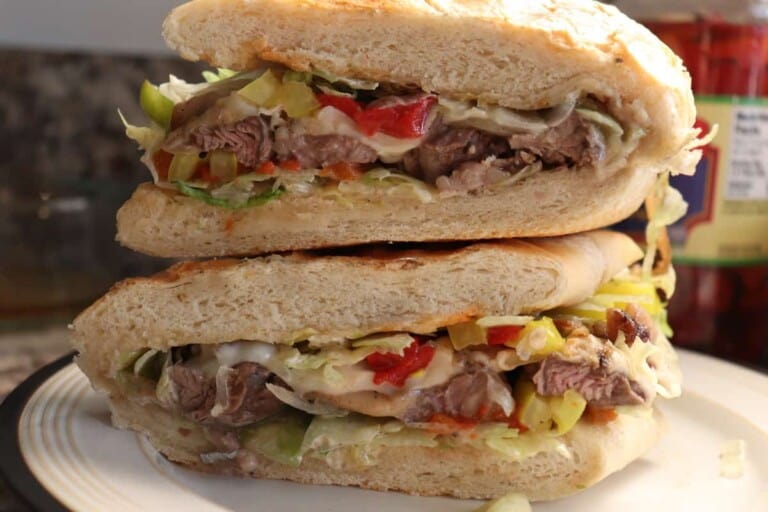
My Ultimate Steak Sub
Breakfast
·
Recipes
Homemade Granola Mix
Desserts
·
Recipes
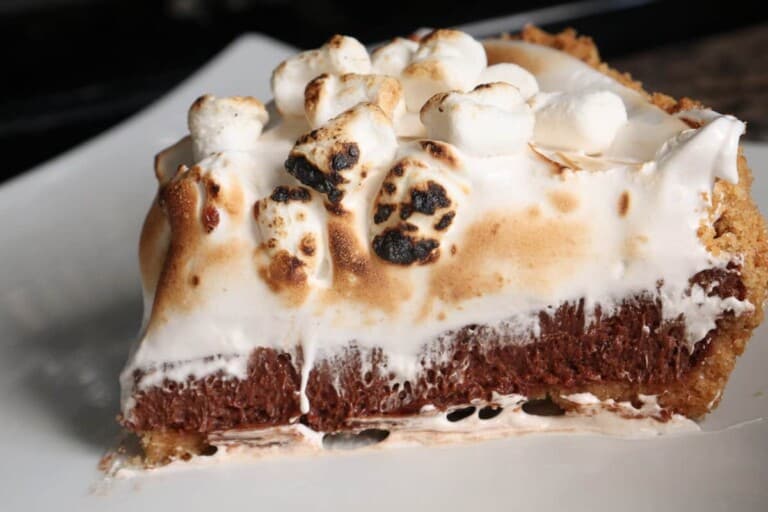
Homemade S’mores Pie
Recipes
·
Sides
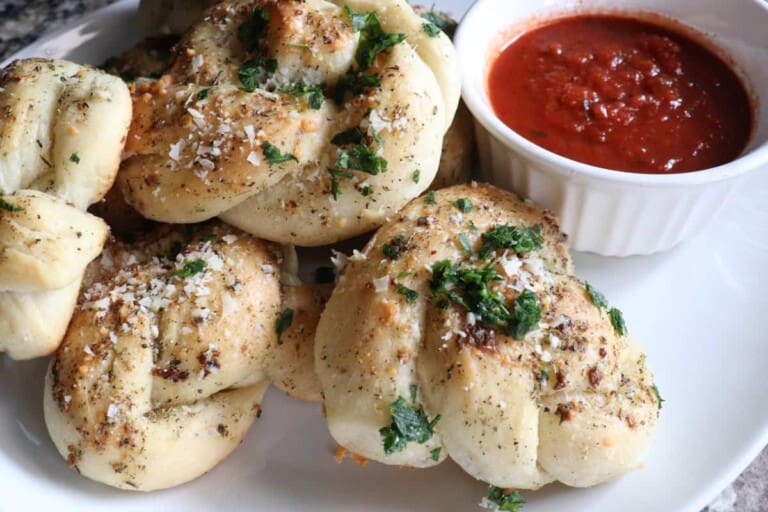
Cheesy Garlic Knots
Desserts
·
Recipes
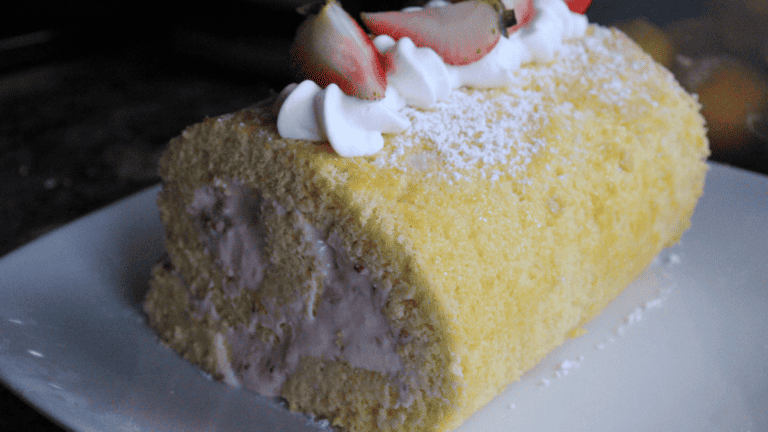
Strawberries & Cream Cake Roll
Dinner
·
Lebanese
·
Recipes
·
summer
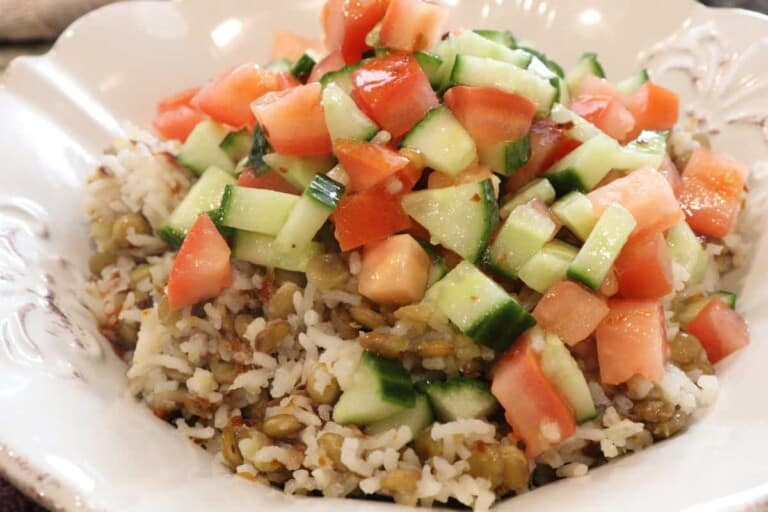
Mjuduara (Lebanese Rice and Lentils)
Desserts
·
Recipes
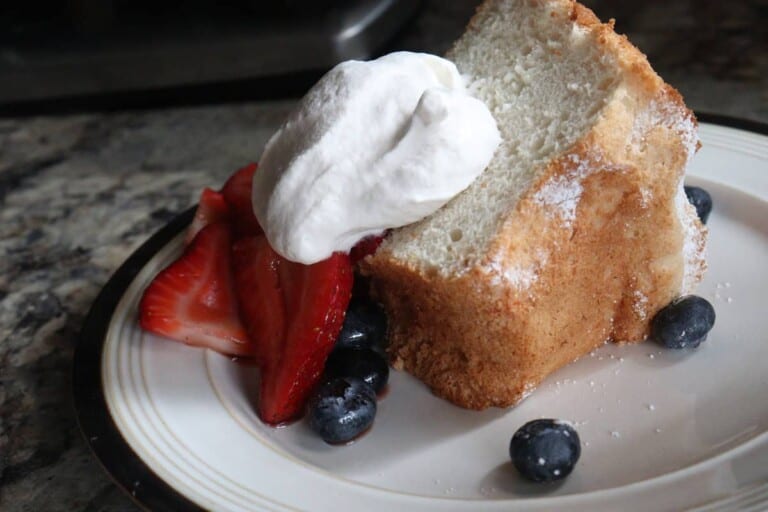
Light & Fluffy Angel Food Cake
Dinner
·
Lebanese
·
Recipes
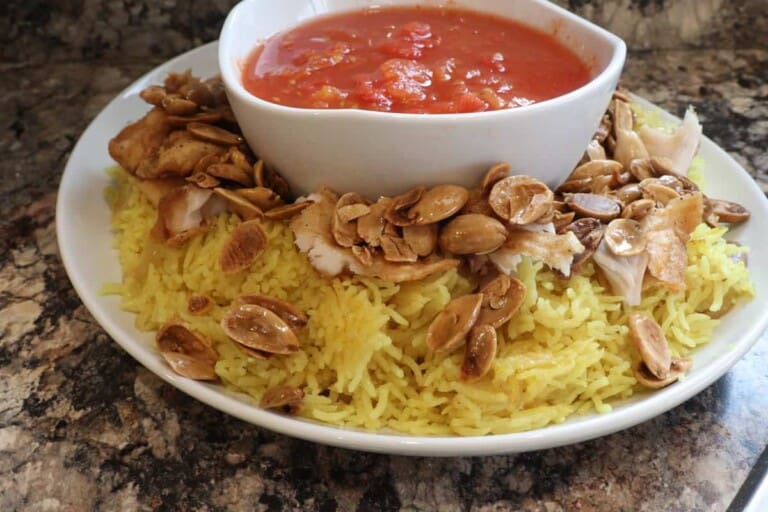
Sayadeih (Lebanese Fish and Rice)
Recipes
·
Seasonal Recipes
·
Sides
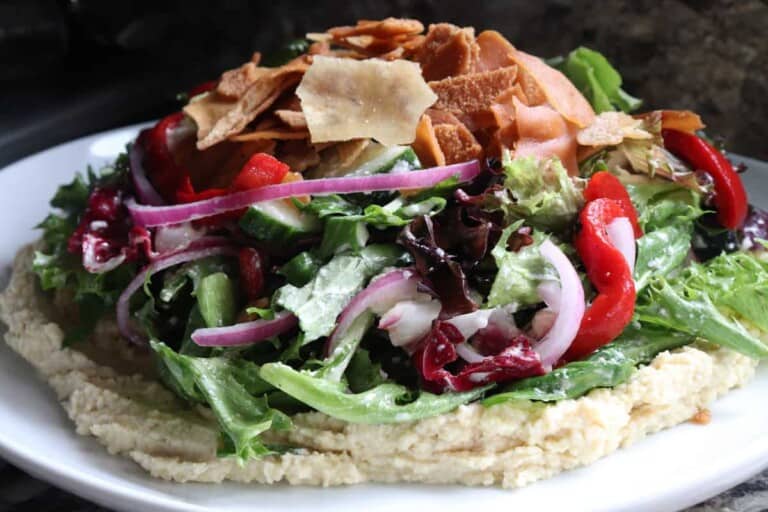
Easy Mediterranean Salad
Recipes
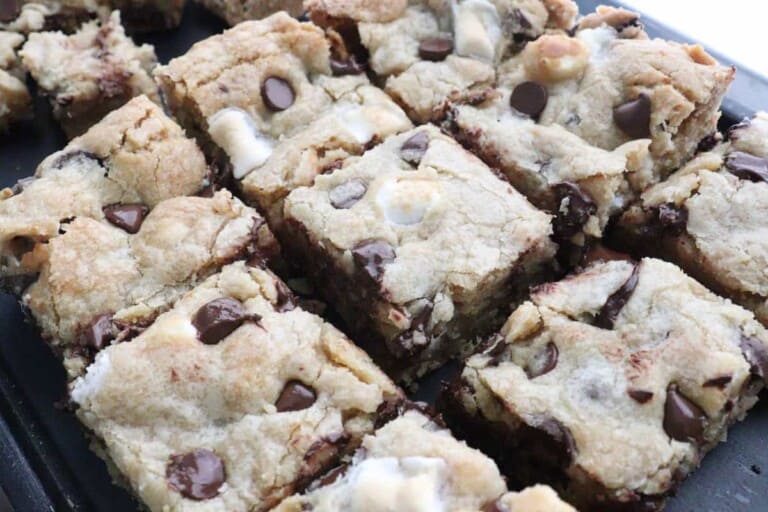
Chewy S’mores Cookie Bars
Desserts
·
Recipes
Homemade Lemon Tart
Lunch
·
Recipes
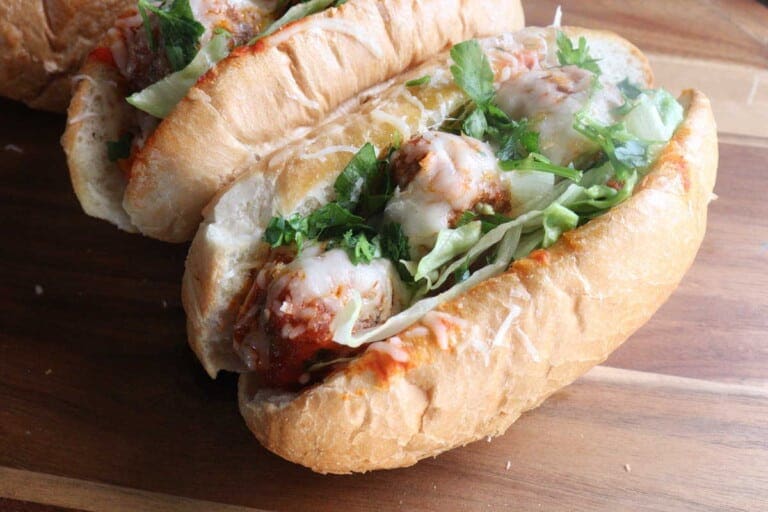
Homemade Meatball Subs
Brunch
Homemade Brioche Doughnuts
Desserts
·
Recipes
·
summer
Homemade Strawberry Shortcake Ice Cream
Recipes
·
Sides
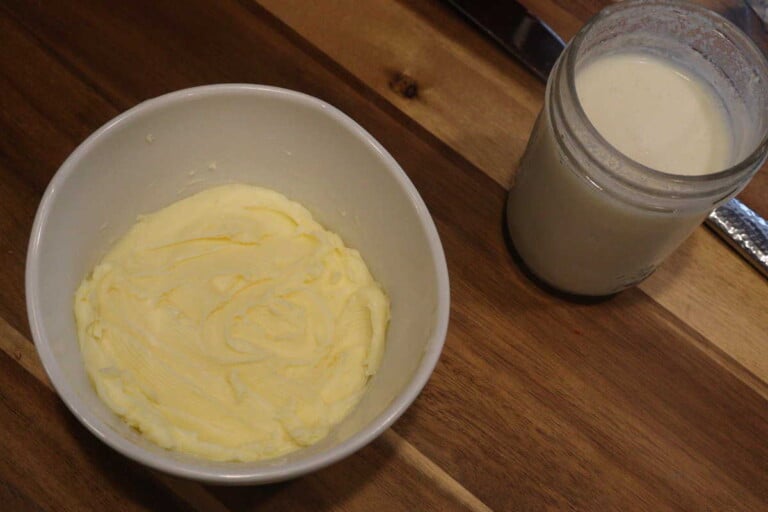
Homemade Butter and Buttermilk
Desserts
·
Recipes
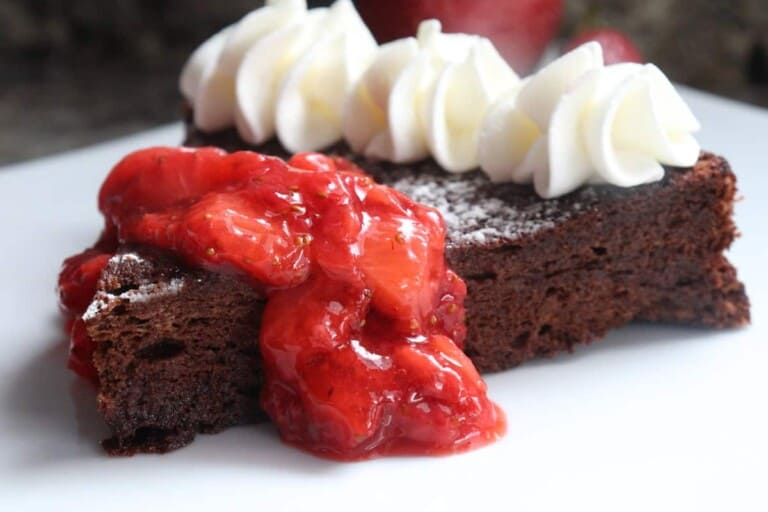
Flourless Chocolate Cake
Desserts
·
Recipes
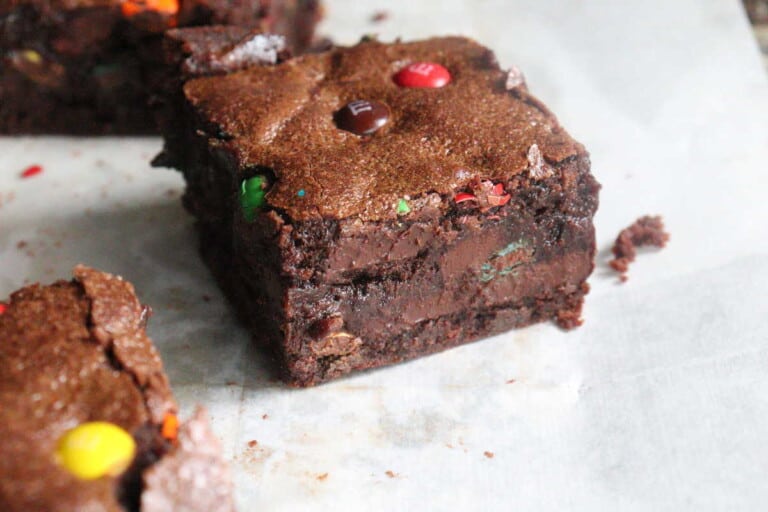
M&M’s Fudge Brownies
Lebanese
·
Recipes
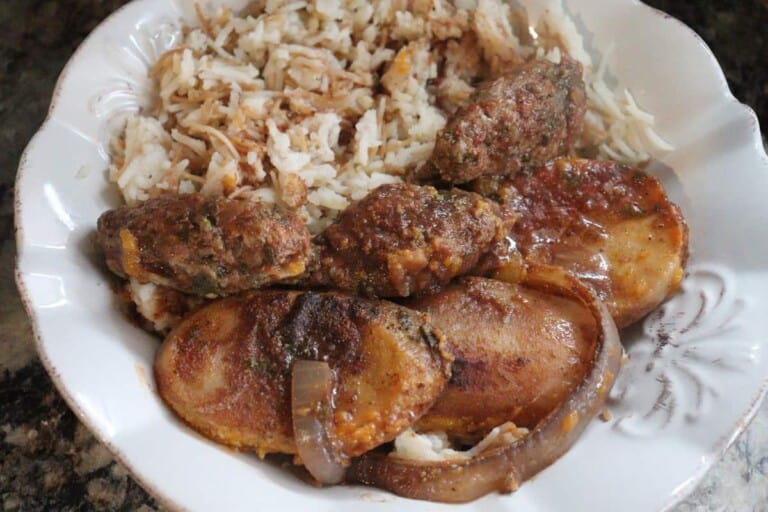
Kafta Bil Sanieh (Baked Kafta and Potatoes)
Desserts
·
Recipes
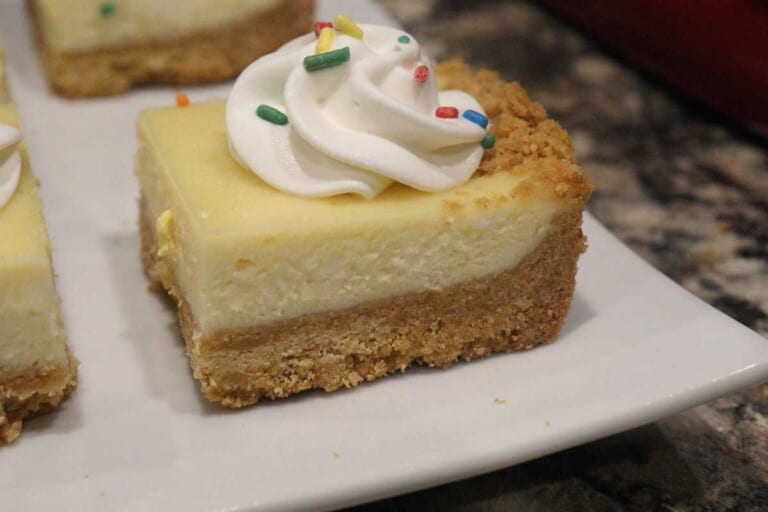
Sugar Cookie Mini Cheesecake Bars
Desserts
·
Recipes
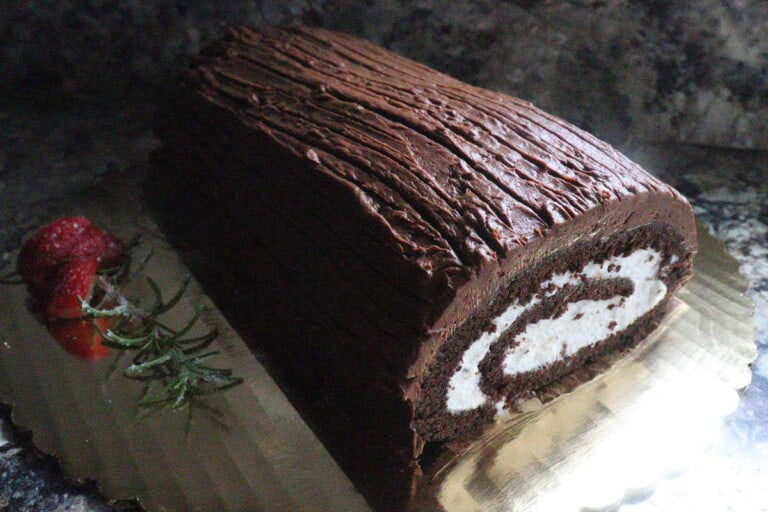
Chocolate Yule Log Cake
Desserts
·
Fall
·
Recipes
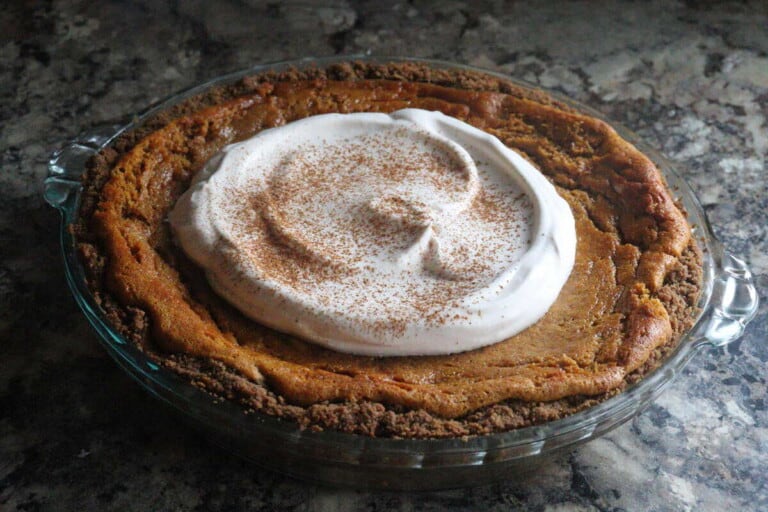
Pumpkin Chiffon Pie
Recipes
·
Sides
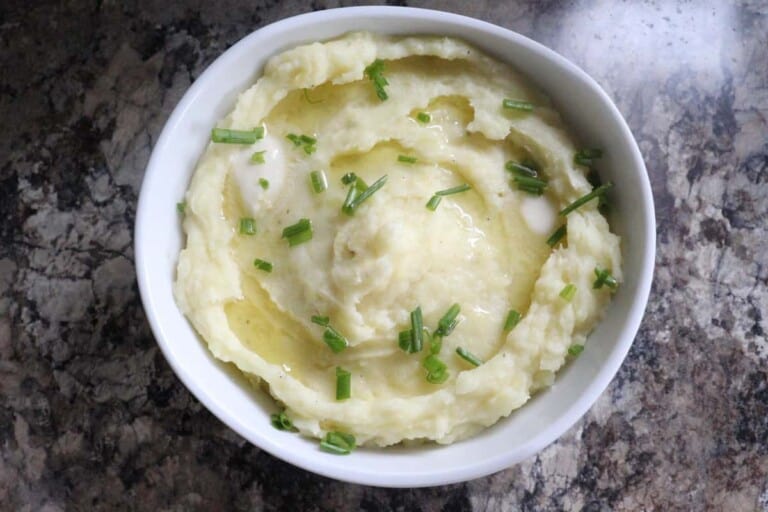
Creamy Mashed Potatoes
Desserts
·
Fall
·
Recipes
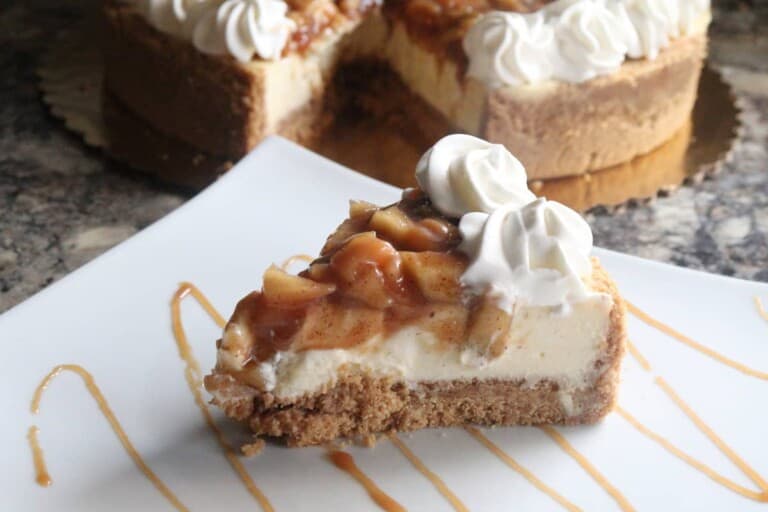
Apple Caramel Cheesecake
Brunch
·
Recipes
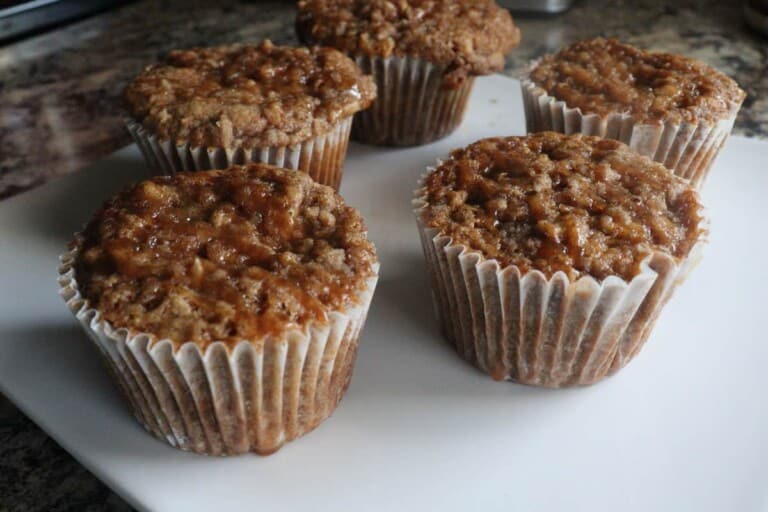
Apple Crumb Muffins
Fall
·
Recipes
·
Sides
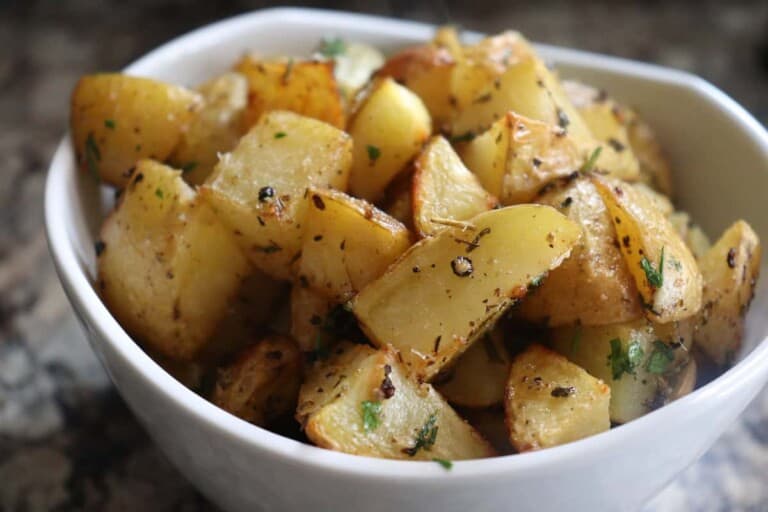
Roasted Herb and Parmesan Potatoes
Dinner
·
Recipes
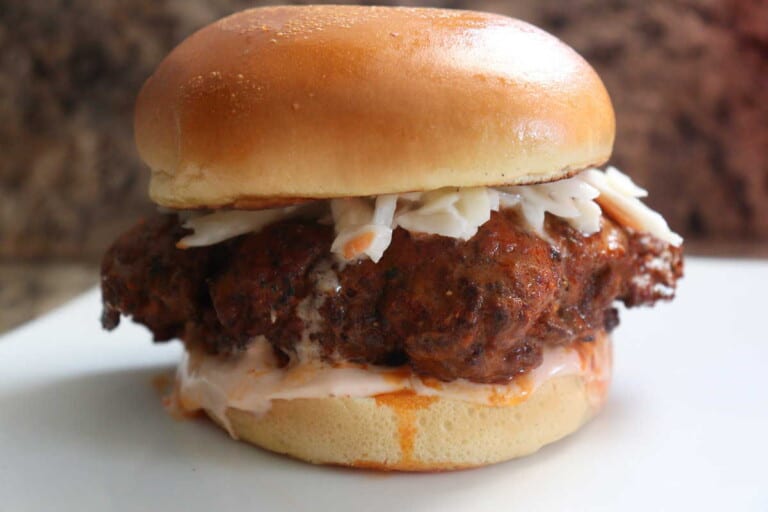
Spicy Buffalo Chicken Sandwiches
Brunch
·
Fall
·
Recipes
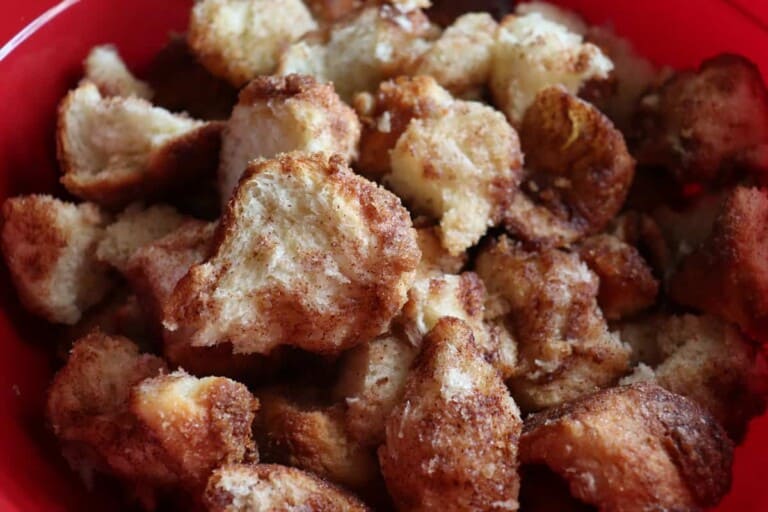
Cinnamon Roll Bites
Desserts
·
Recipes
Pâte à Choux
Appetizers
·
Recipes
Non-Balsamic Bruschetta
Recipes
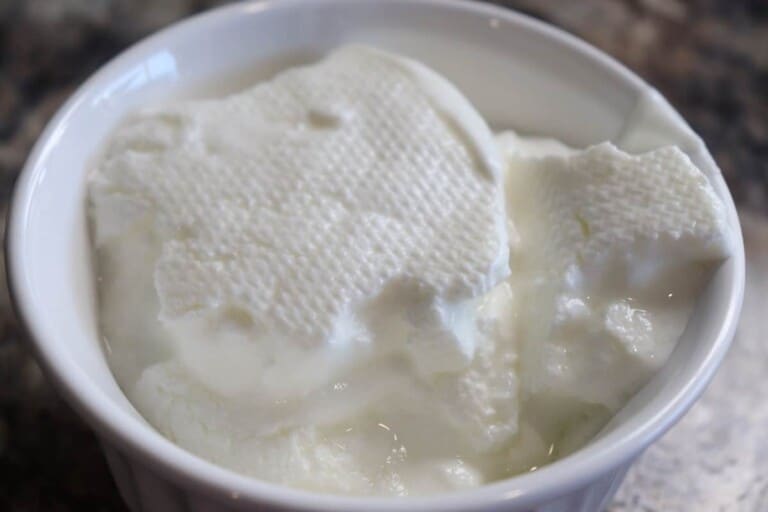
Leban (Lebanese Yogurt)
Recipes
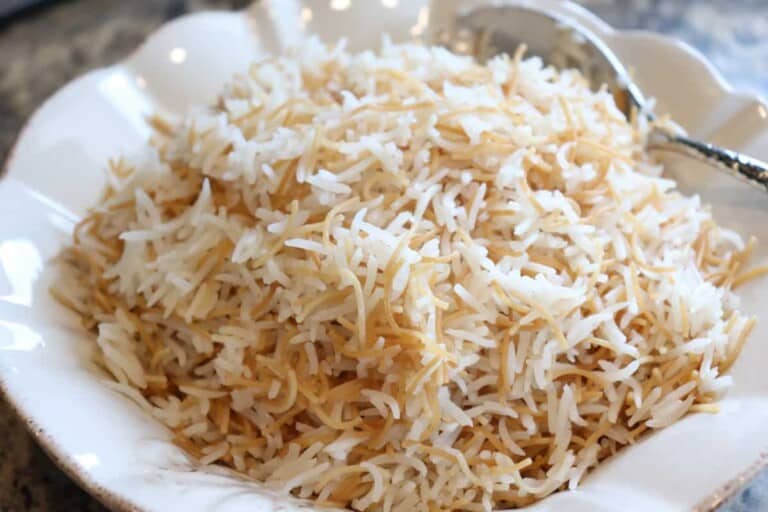
Basmati Rice Recipe
Drinks
·
Recipes
·
summer
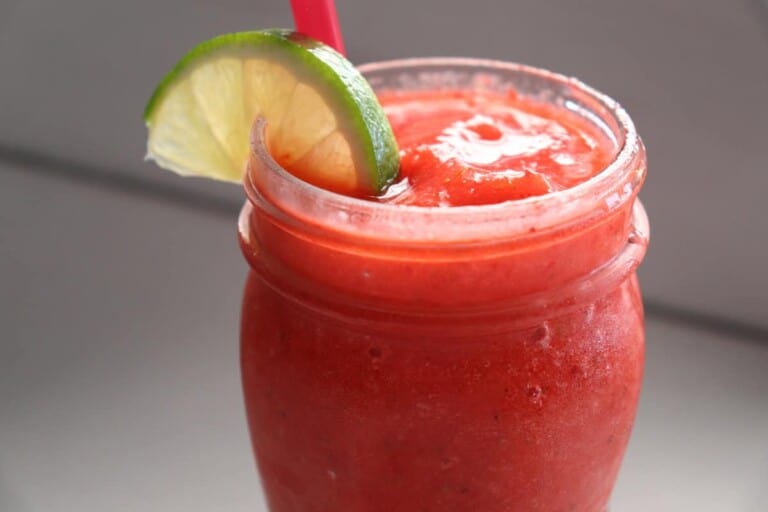
Strawberry Limeade Slushie
Dinner
·
Lebanese
·
Sides
Lebanese Sauteed Kafta
Page navigation
Previous Page
Previous
1
2
3
4
Next Page
Next
Scroll to top
Scroll to top
Homepage – Faye’s Food
Recipe Index
Tips and Guides
Shop My Favorites – Faye’s Food
About
Contact
Instagram
Pinterest
YouTube
TikTok
Facebook
Threads
Toggle Menu Close
Search for:
Search