Homemade Whipped Cream Guide and Recipe
Uses of homemade whipped cream
Most people think of the aerosol cannister when it comes to whipped cream. But homemade whipped cream is so much better than that store-bought version. It’s also much healthier as the canned versions typically contain ingredients such as cellulose gel, mono & diglycerides, carrageenan, and nitrous oxide as a propellant. I don’t know about you, but I don’t want any of those things in my system. Learning to make it homemade is also important if you want to succeed as a baker.
The two main building blocks in baking when it comes to whipping are whipping heavy cream and whipping egg whites to make a meringue which we’ll talk about in a future post. Just by learning these two techniques, you can make so many different desserts. Whipped cream is not only for topping your sundaes with. It’s also often a fundamental ingredient you’ll use in other baked goods. For example, we typically have to make and incorporate a whipped cream when making a mousse. We also do this for certain cake recipes, like a genoise or chiffon recipe. There are cookie recipes that require whipped cream to be folded in. It goes on and on. There are so many uses for whipped cream and knowing how to make it homemade is fundamental to becoming a better baker.
The science behind homemade whipped cream
It may seem like it’s simple enough, but there is a lot going on under the microscope when it comes to whipped cream. At its core, we’re whipping air into cream. It’s suggested that you use cream labeled as “heavy” or “whipping” cream as these often contain the required butterfat percentage (30%-36%) to make whipped cream.
According to Wikipedia, “During whipping, partially coalesced fat molecules create a stabilized network that traps air bubbles. The resulting colloid is roughly double the volume of the original cream. If, however, the whipping is continued, the fat droplets will stick together, destroying the colloid and forming butter.” What that means in plain English is we whip air into cream and that’s what creates our airy whipped cream that has changed from a liquid to a foamy cream that has doubled in volume. What the above is also saying is that if you continue to whip past a certain stage, you will eventually get butter. This is called overwhipping. When butter is the goal, we can overwhip, but when whipped cream is your goal, be sure to avoid it.
If you want to nerd out further on the science, Serious Eats has a great write-up that goes into the chemistry and history breakdown of whipped cream.
Tips for Success
Though it may seem like it’s simple to make whipped cream at home (it is), there are also things you should keep in mind for success and things to watch for that can go wrong.
Equipment
- There are several ways to whip cream at home. None of the equipment is fancy or hard to find. First, you can just use a large bowl and whisk. Specifically, a balloon whisk. This is by far the easiest way in terms of dishes and accessibility. Most of us already have these two things at home. If you go this route, there are a few things to keep in mind. Make sure your cream, whisk, and bowl are very cold so you can whip the cream up easier and more quickly. Secondly, stainless steel or glass bowls are preferred because they chill easily and stay cool. Make sure to avoid aluminum and copper. I also don’t recommend plastic bowls. Plastic will work, but it takes much longer than stainless steel or glass in my experience. Another popular option is a hand mixer or a stand mixer. These two options work great as well. A less common option, but one that works is a food processor. My preferred way is either with a bowl and whisk or just using my stand mixer for ease and less cleanup than the other options listed above.

Ingredients
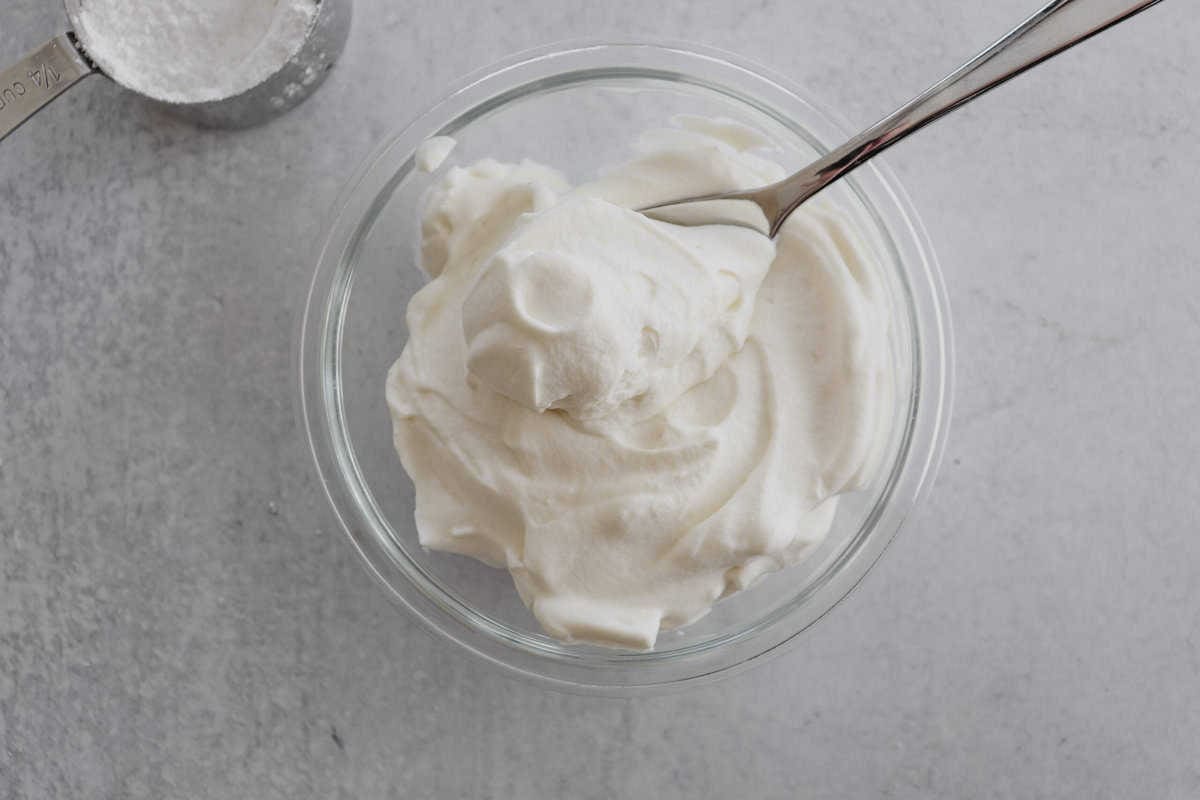
- As mentioned above, homemade whipped cream is typically only a few ingredients. The first and only ingredient required is cream. Specifically, cream that contains anywhere between 30%-36% butterfat. These ingredients that follow aren’t required but are typically used and highly suggested. Sugar is another common ingredient. It’s not only used to sweeten and flavor the cream. It also helps stabilize our cream and allows it to be firmer and fluffier. I’ve used granulated and powdered sugar with success and don’t see a difference between the two. Another typical ingredient found in whipped cream is vanilla extract. This is strictly just to further sweeten and flavor the cream. Obviously, you can flavor cream with more than just vanilla, but we’re talking basics here. As you advance you can play around with flavorings and also utilize ingredients like mascarpone, cream cheese, or gelatin to stabilize your whipped cream so it holds its shape longer and will last better in humid conditions.
Technique
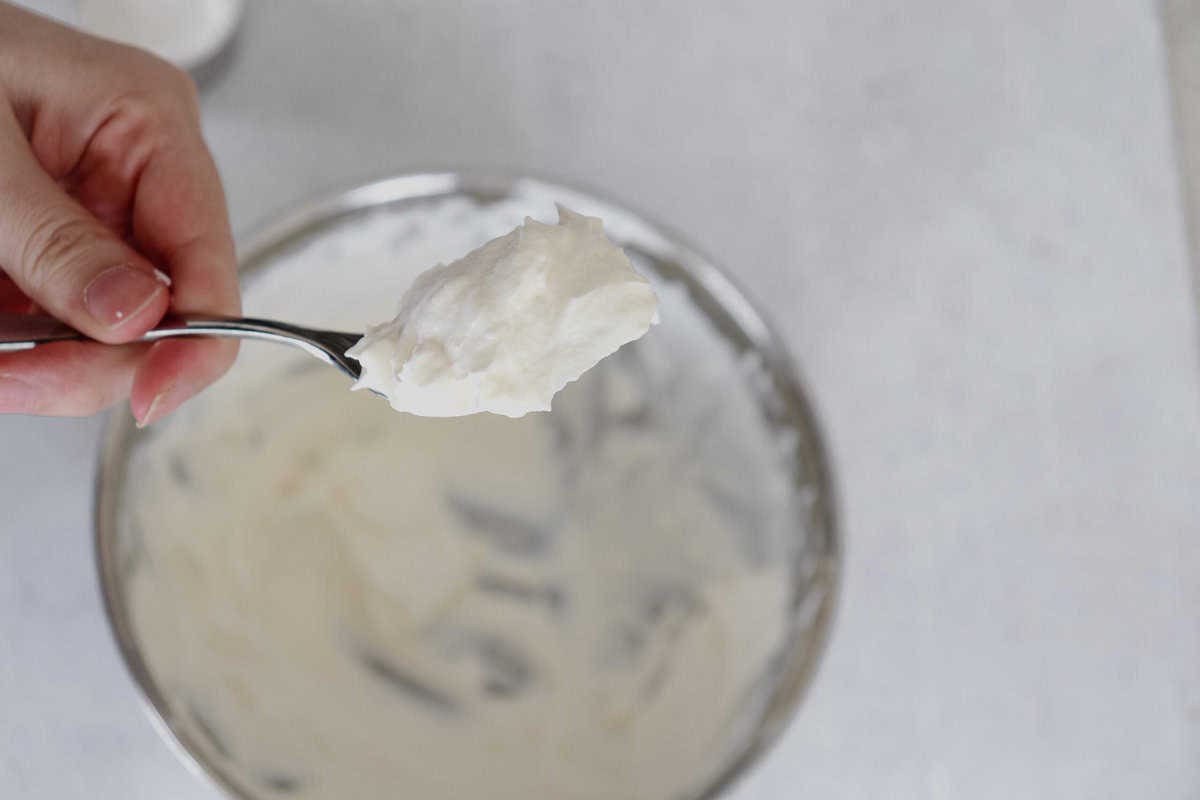
There are three stages of whipped cream. Soft, medium, and stiff peaks. You determine what stage you’re in by how your cream looks and how long you’ve whipped it.
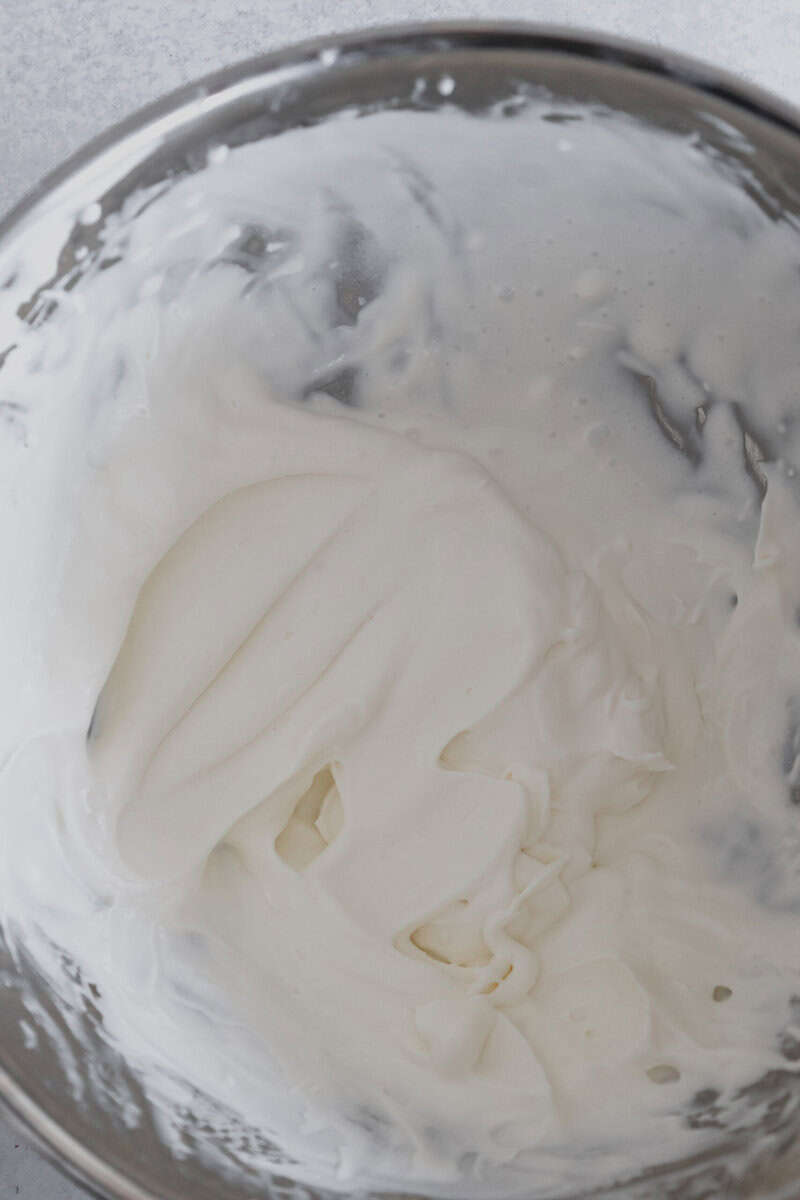
- Soft peak will look like its namesake. It’ll be very soft and almost still in liquid form. It barely holds its shape and has any volume.


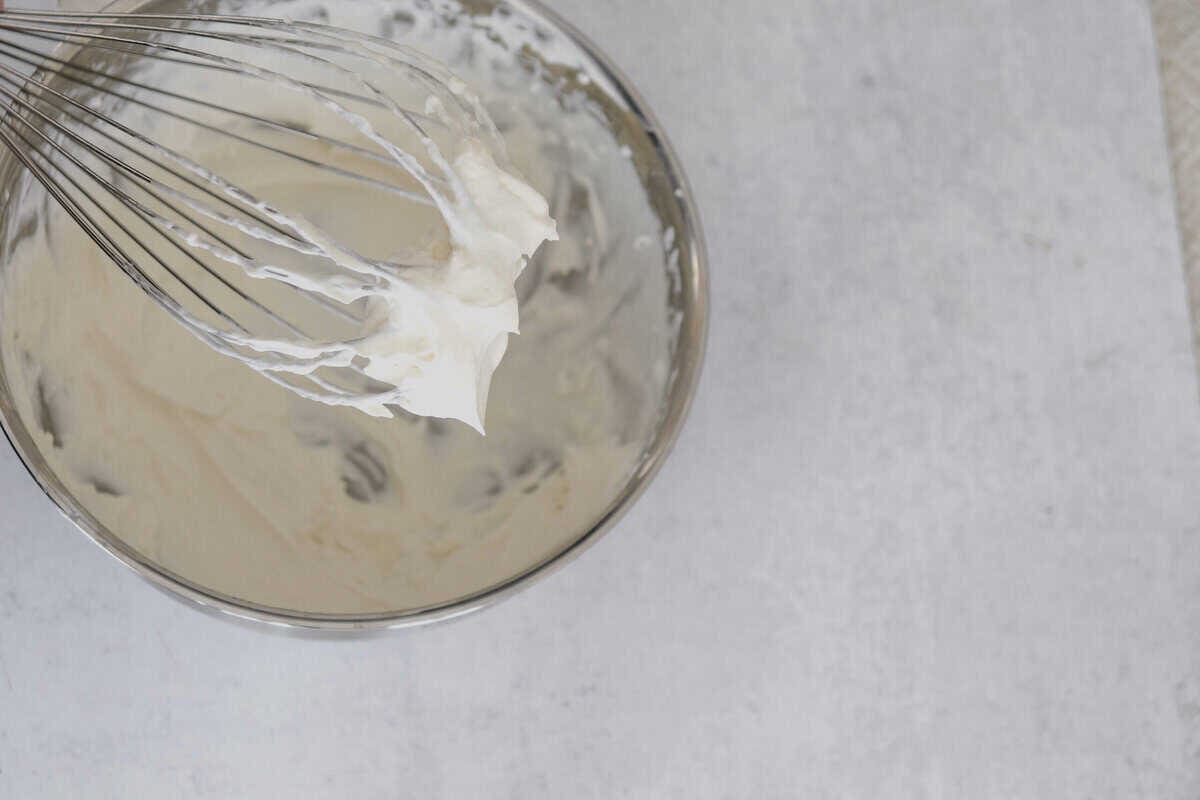
- Medium peak holds their shape better and have a bit more volume, but the tip of the peak off the beater or whisk will still curl slightly when lifted.

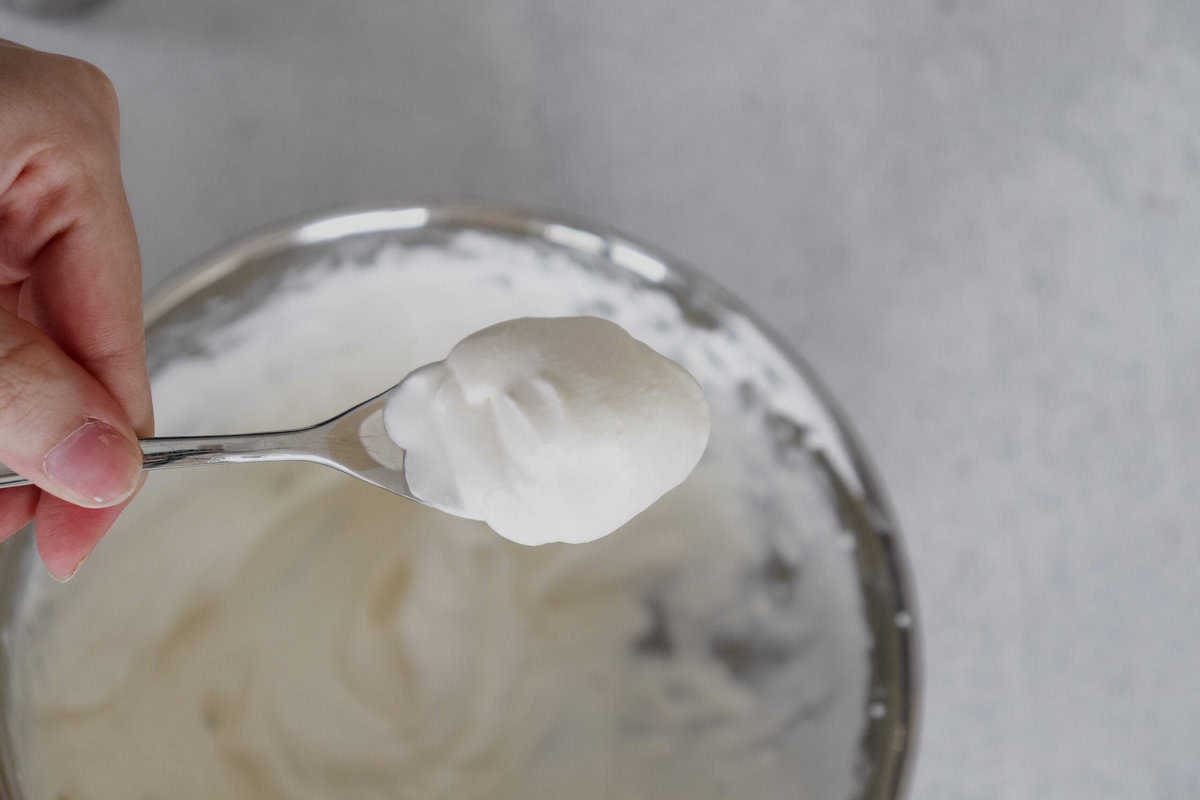
- Stiff peaks will stand straight up off the beater or whisk when lifted and are firmer than the other stages. It holds its shape the best and should be pipeable and spreadable.

- If you’re using a bowl and whisk, make sure everything is cold. The colder the better. Also, make sure you whip side to side and don’t just stir in a circular motion. You’ll get more air whipped in this way.
- If you’re using a hand or stand mixer, start low to avoid a splattering mess and then end on a high or medium-high speed setting.
Great things to eat with whipped cream:
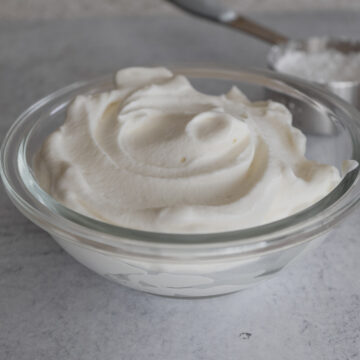
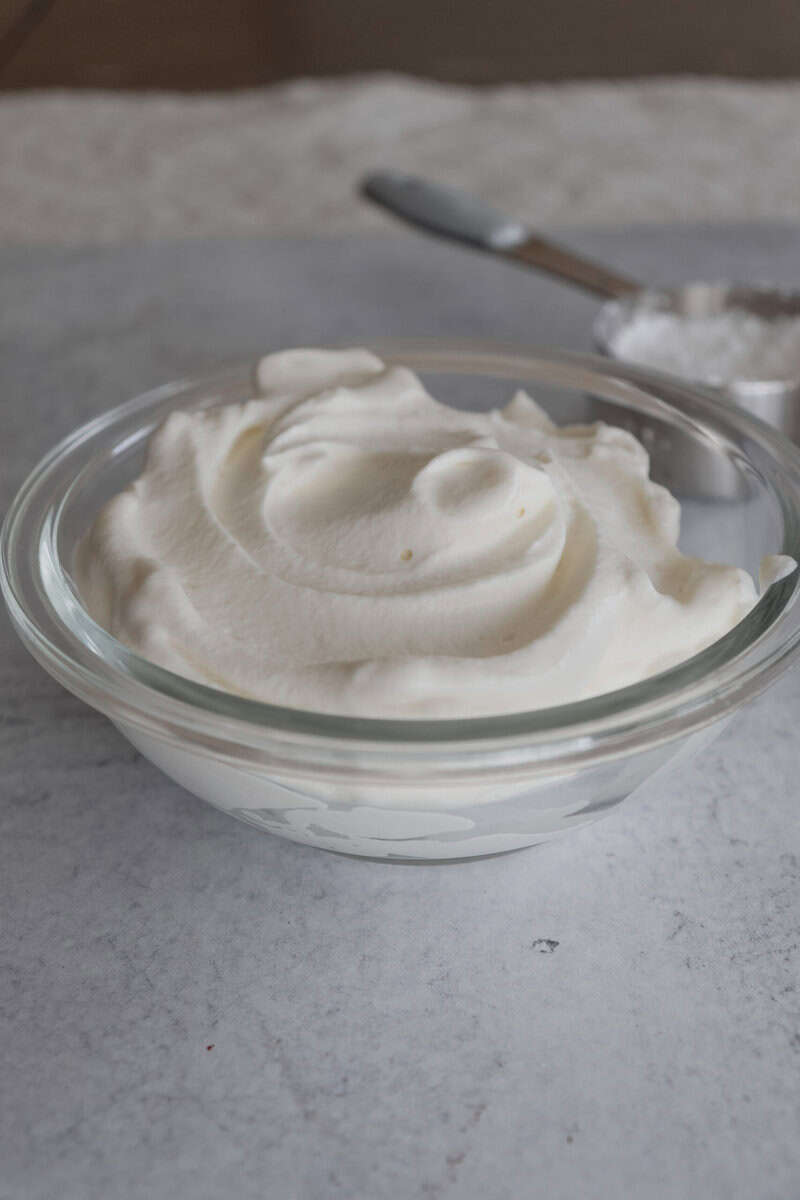
Homemade Whipped Cream
Equipment
- 1 balloon whisk and stainless steel or glass bowl
- or stand or hand mixer
Ingredients
- 1/2 cup heavy cream
- 1 tablespoon confectioners sugar adjust sweetness to taste
- 1/2 teaspoon vanilla extract
Instructions
Whisk/Bowl Method:
- Place your whisk and bowl in the refrigerator for 10-15 minutes to chill.
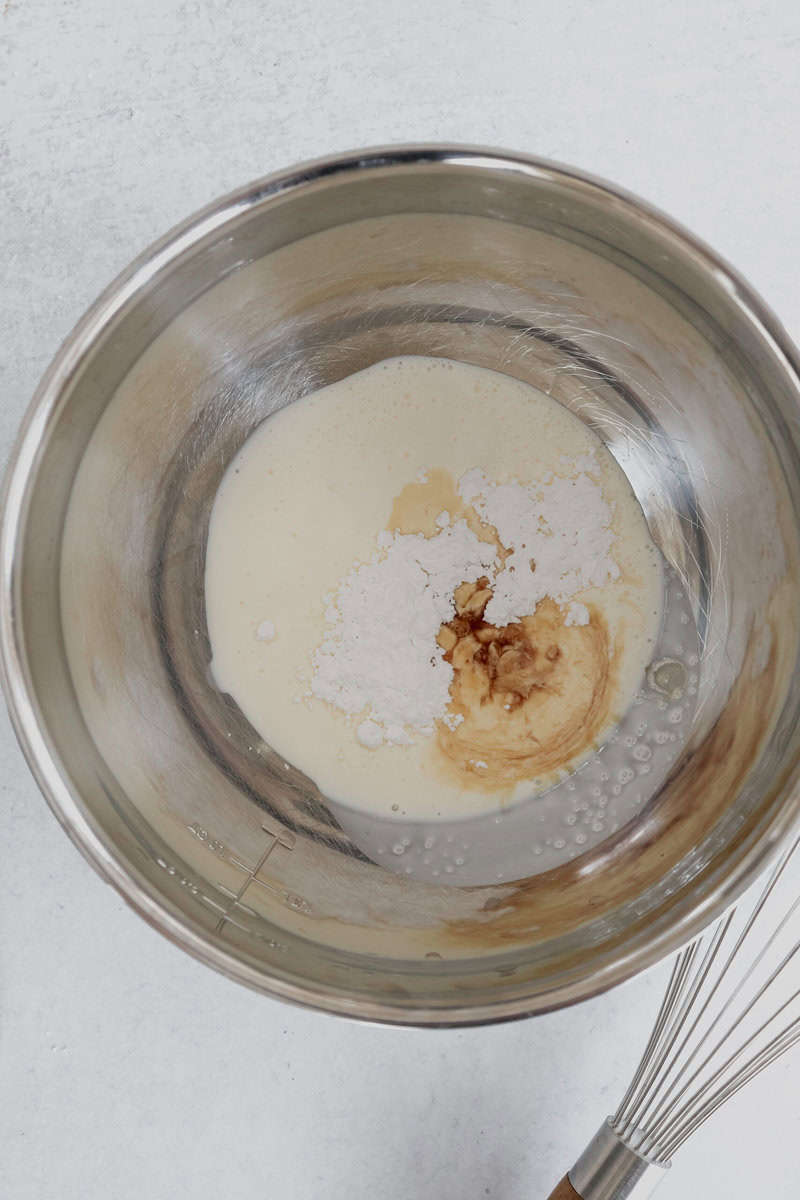
- Remove from the fridge and pour in the heavy cream, sugar and vanilla all at once.
- Begin to whisk in side-to-side motions, tipping the bowl slightly if necessary to add more air to the mixture.
- Whip until you get the desired consistency: soft, medium or stiff peaks. Be careful not to overwhip.
- Use immediately.
Stand or Hand Mixer Method:
- Pour in the heavy cream, sugar and vanilla all at once.
- Turn your machine on low and gradually bring it up to a high speed.
- Whip until you get the desired consistency: soft, medium or stiff peaks. Be careful not to overwhip.
- Use immediately.