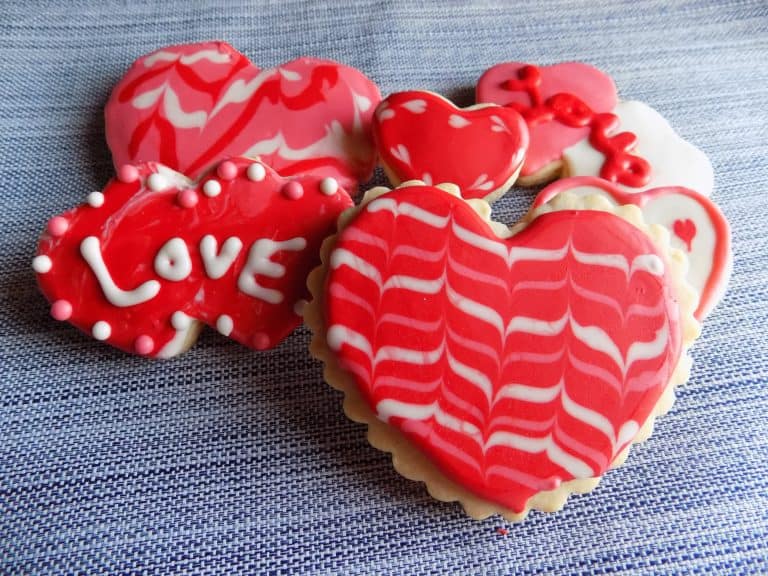
How to: Royal Icing Hearts
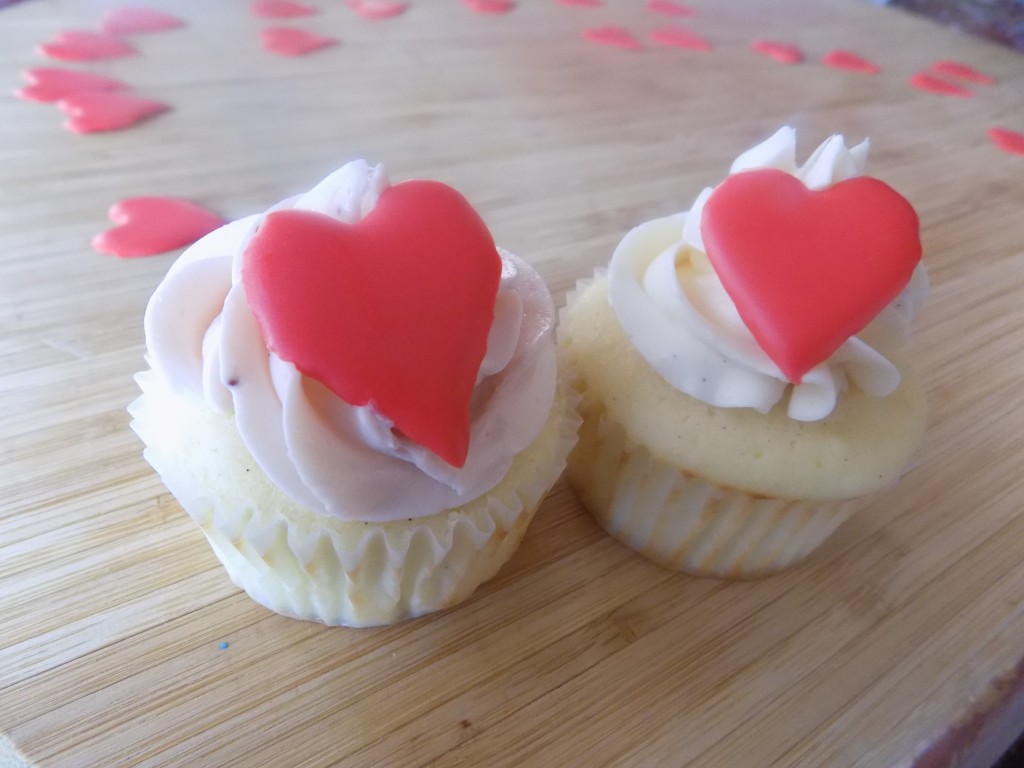
Happy Valentine’s Day to all of you lovebirds who are into that sort of thing! Personally, I’m not, but to each his own. If you’ve never worked with royal icing, it can be intimidating. I remember the first time I made and used royal icing, it was really confusing and frustrating. I had no idea what the consistency was supposed to be like. That’s the whole key with decorating with royal icing. If you don’t know how to adjust the consistency, you’ll be worrying more about the royal icing, instead of having fun decorating. That’s not how we want it. In a previous post, I showed you how to make royal icing. That process is super easy. Now, is the fun part. I’m going to show you how to work with royal icing. Specifically, I’m going to show you how to make cute little hearts. These make a great cupcake topper and they have a nice slightly lemony flavor to them.
In my experience, there are two important points to remember whenever working with royal icing. One is to mise en place. Second is getting the consistency of the icing right. Get these two elements right and you’ll have success every time.
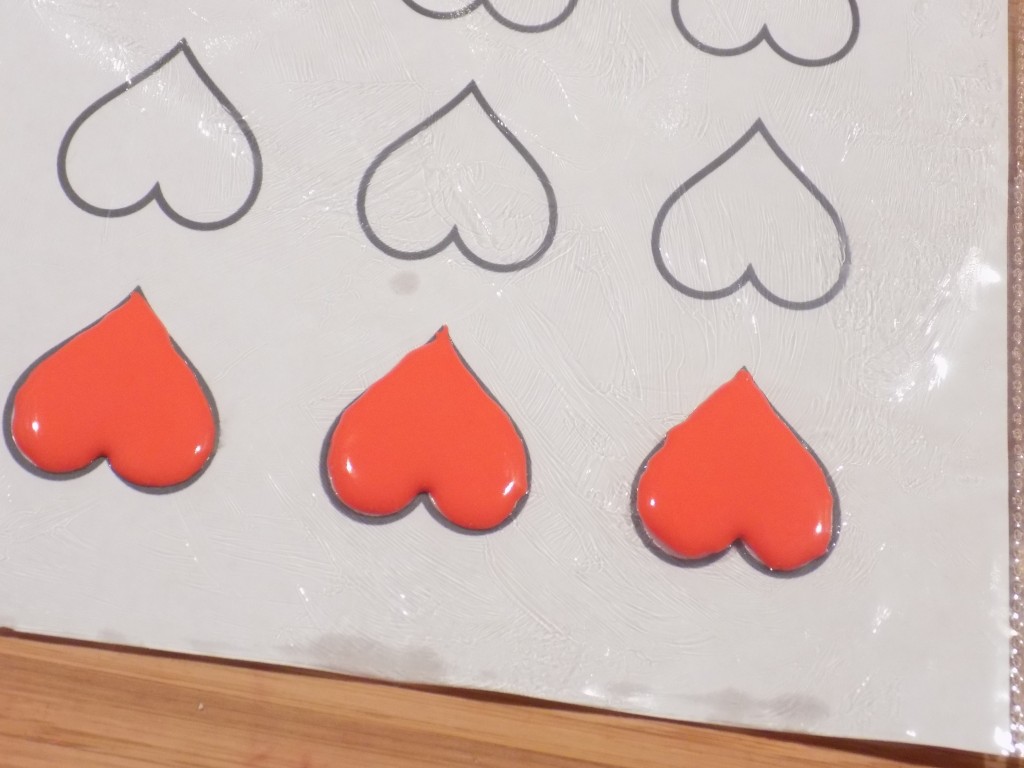
First, get your stuff in place before you even think of starting! You need to know what you want to make. In this case, I decided I wanted to create hearts. Next, I printed out my template. You don’t need to have a template, but this is definitely easier than just free-handing it. The next thing you’ll need is something to build your decoration on. You can use wax paper, parchment paper or just a regular sheet protector. I like the sheet protector method, because I can clean them and re-use them. They’re also easier to trace on because it’s a clearer picture than it would be tracing on wax or parchment. I like working sitting down, so I get prep an area with a clean table. I highly suggest you keep the following things on hand as well. First, I always keep a clean kitchen towel or rag. When you need to clean up a mess or clean you tools, you’ll need a towel on hand. So I always start with a nice clean on at my table. Next, I suggest having a cup of hot water. I’m talking screaming hot. This will be to help clean off your brush, toothpick or scriber tool. Speaking of those things, those are the next things you’ll need. You’ll need a small paint brush, a toothpick or a scriber tool. I’ve used both a toothpick and scriber tool and personally I prefer the scriber tool. They’re inexpensive, but you’ll use them every time you use royal icing. I find it moves smoother in royal icing than a toothpick. Maybe because it’s thinner. You’ll get away with a toothpick if that’s all you have though. Use it in conjunction with the paintbrush.
Next, you’ll need shortening. I like spreading a little shortening on the sheet protectors so the icing doesn’t stick. I also recommend having a couple tablespoons of water or egg white. In case you need to thin out your icing, it’s always nice to be prepared. Next you’ll need the tips or piping tubes. I recommend a 1 or 1.5 writing tip. You have the option of choosing a pastry bag, squeeze bottle or Ziploc bag. I use a Ziploc bag for smaller items like these hearts, because it’s easier cleanup and less costly than losing a pastry bag constantly. If you do use a Ziploc, be mindful of your pressure. You can’t put as much pressure on it as you can your other options. That’s why I only use it for less detailed, small items like hearts. An added bonus is you won’t need tips if you’re using the Ziploc method. Lastly, you’ll need your icing and any coloring gel if applicable. I recommend gel always. It gives you a more intense color and it doesn’t take as much gel as it would take liquid to get to the desired color. That means you use less… meaning you don’t taste it! We want to taste the delicious cake and icing, not the food coloring.
Okay, breathe. Now, you’re prepared to start. Yes, it seems like a lot of work, but it’s seriously not. This is like 15-20 minutes of prep time. Even shorter if you already have your icing on hand.
Now, we’re almost at the fun part. First though, we have to get the icing to the right consistency. When I make my icing I always leave it on the thicker side. The reason is because we can thin it down with the coloring and more egg whites. See how I make my icing below:
https://www.fayesfood.com/2017/01/31/easy-royal-icing/
So keep in mind that you’ll be adding coloring, which thins it down and egg whites, which also thins it down. Be mindful of that. You don’t want it to be too thin. It should ribbon if you lift your spatula up and flow smoothly. That’s the best way I can describe it. If you can lift the spatula up and write on the surface with the dripping icing, then you’re most likely at the right consistency. You want it to have some body. I say that because that’s one mistake I’ve made before. I use to make it too thin. Play around with it and you’ll get used to it. Also, depending on what you’re doing, you may want it thinner or thicker. If you’re writing in royal icing, you want it thicker than you want it to flood cookies, for example. I’ve also found that often when coloring icing, it darkens as time goes on. When I mixed this color, it looked like a pinkish color at first, but then it darkened to a nice bright red. I’m not Bill Nye. I can’t explain why it happens. I’ve just noticed that it does and I want to give you the heads up.
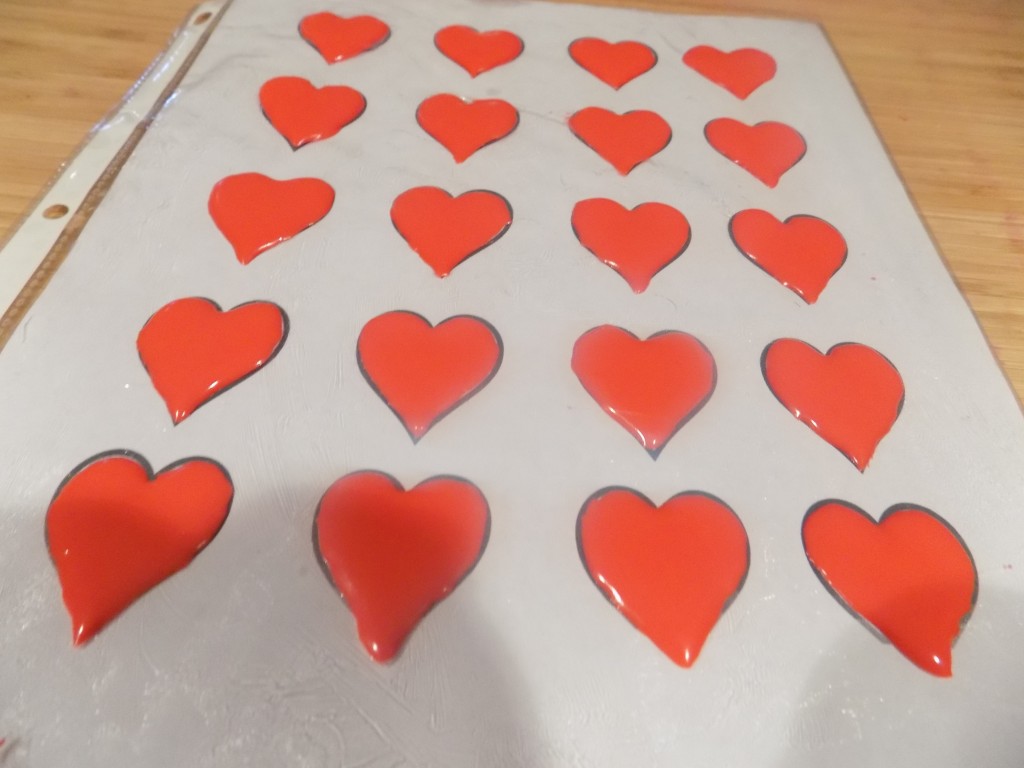
I like to dry my royal icing items overnight. You can certainly dry them out for more days if you’d like, but I do suggest a minimum of overnight, so they’re not as fragile. To remove them, I use the scriber tool to gently lift them off the sheet.
Royal icing is an amazing and versatile vehicle for decorating. There are so many things you can do with it and to me it tastes better than many other options. Keep practicing, have some fun and you’ll be a pro in no time.
Video: