Skip to content
Recipes straight to your inbox!
Sign Up
Start Here
Shop My Favorites
Subscribe
Recipe Index
About
Expand
Contact
.
Recipe Index
Start Here
My Pantry
Expand
Life Lately
Tips and Guides
Shop
About
Contact
Instagram
YouTube
Pinterest
Facebook
Search
Search
Toggle Menu
Home
/
Pastries
Pastries
Appetizers
·
Dinner
·
Lebanese
·
Recipes
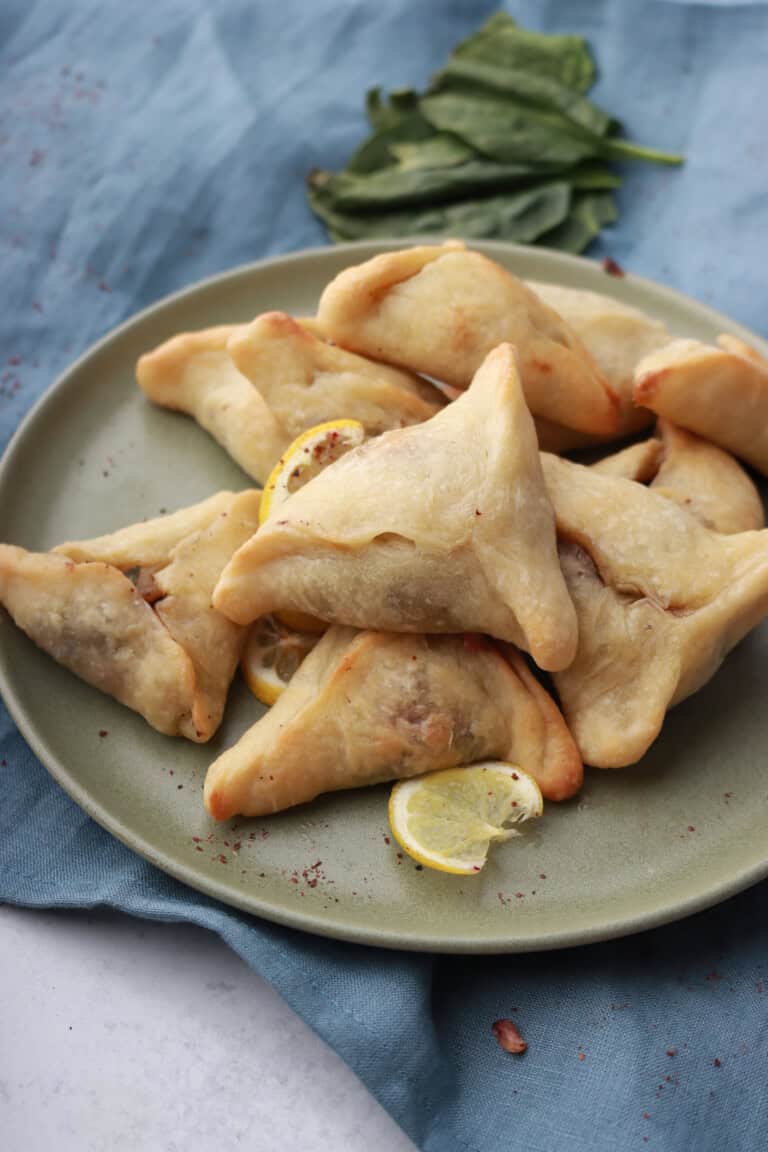
Homemade Lebanese Spinach Pies (Fatayer bi Sabanekh)
Breakfast
·
Desserts
·
Lebanese
·
Recipes
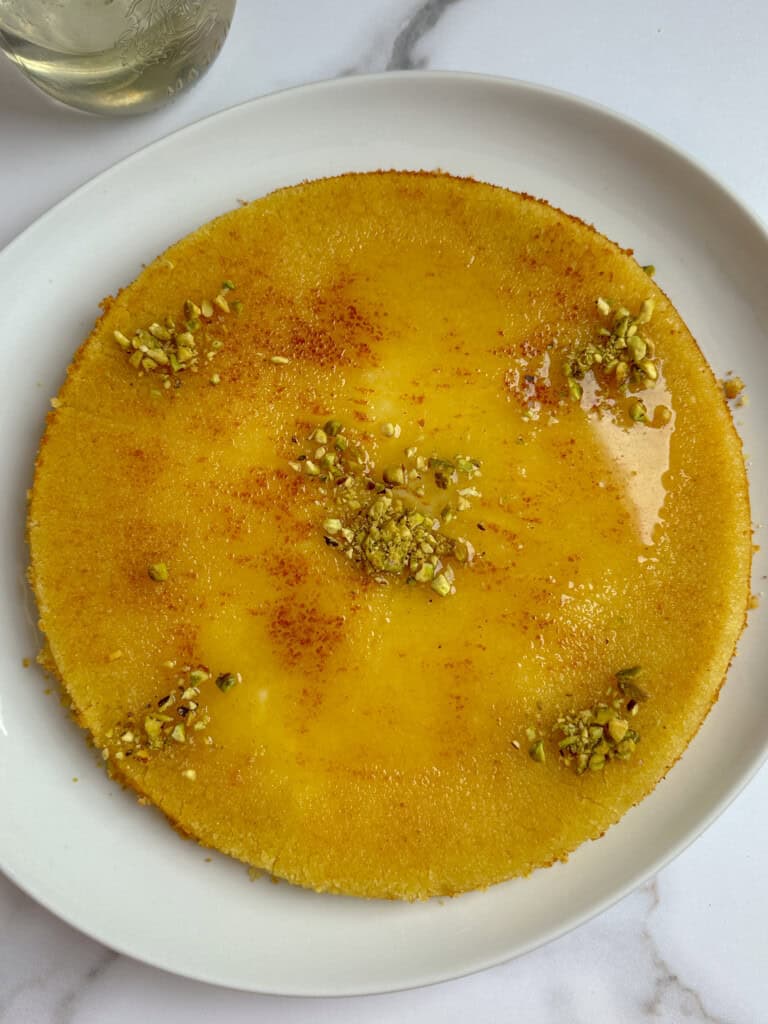
Lebanese Knafeh Na’ameh
Desserts
·
Fall
·
Recipes
Puff Pastry Apple Turnovers
Desserts
·
Fall
·
Recipes
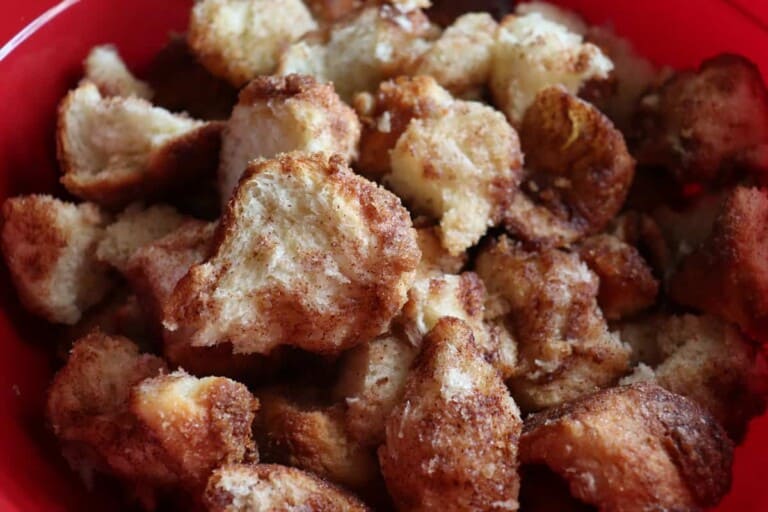
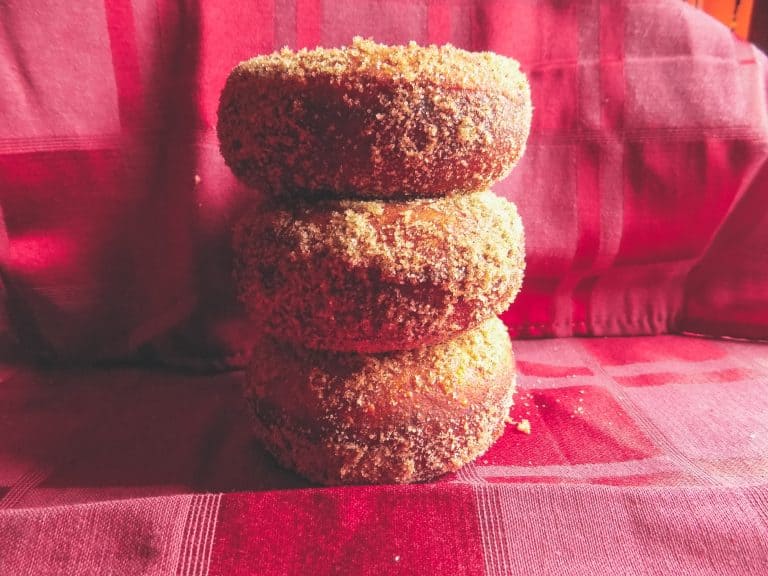
Cinnamon Sugar Donut Holes
Brunch
Homemade Brioche Doughnuts
Brunch
·
Fall
·
Recipes
Cinnamon Roll Bites
Desserts
·
Recipes
Pâte à Choux
Brunch
·
Desserts
·
summer
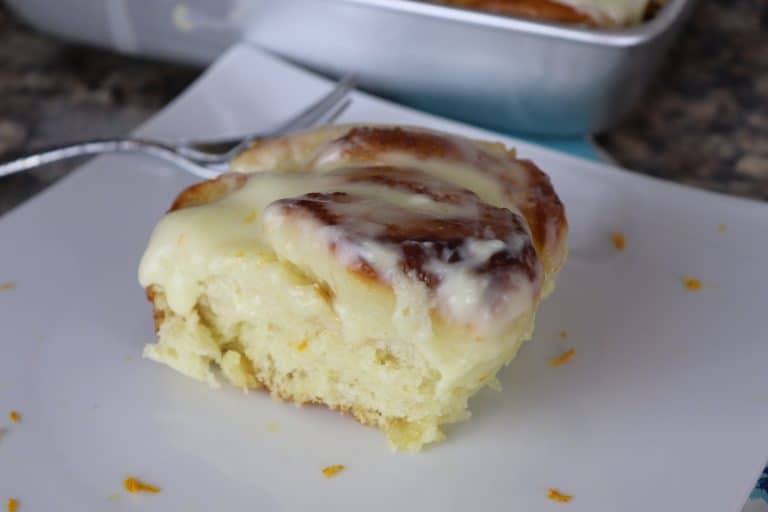
Homemade Orange Rolls
Breakfast
·
Brunch
·
Desserts
·
Fall
Overnight Fluffy Cinnamon Rolls
Brunch
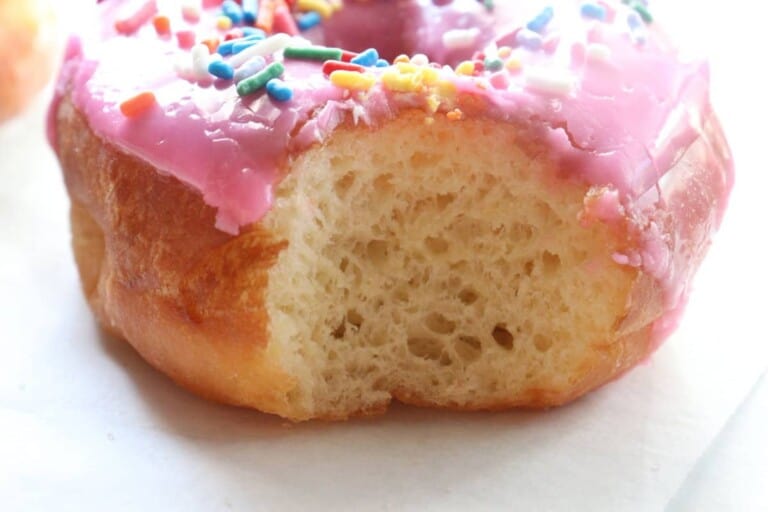
Brioche Donuts Recipe
Recipes
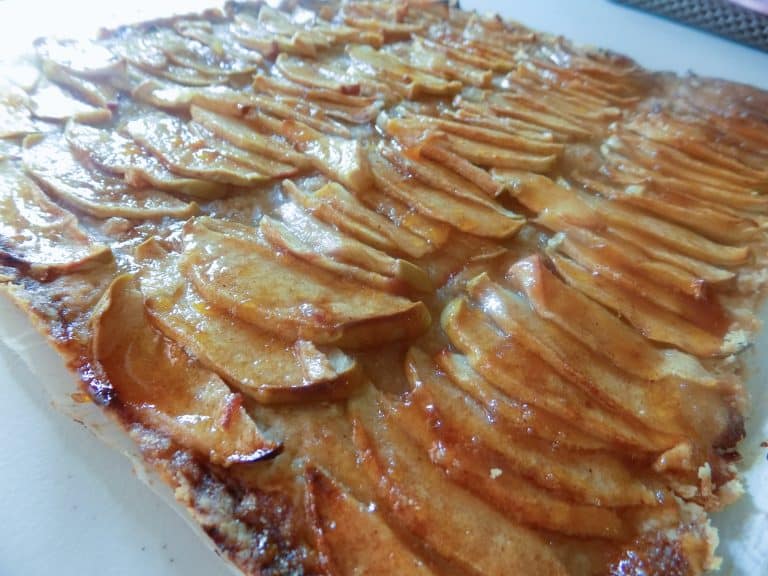
Easy French Apple Tart
Breads
·
Breakfast
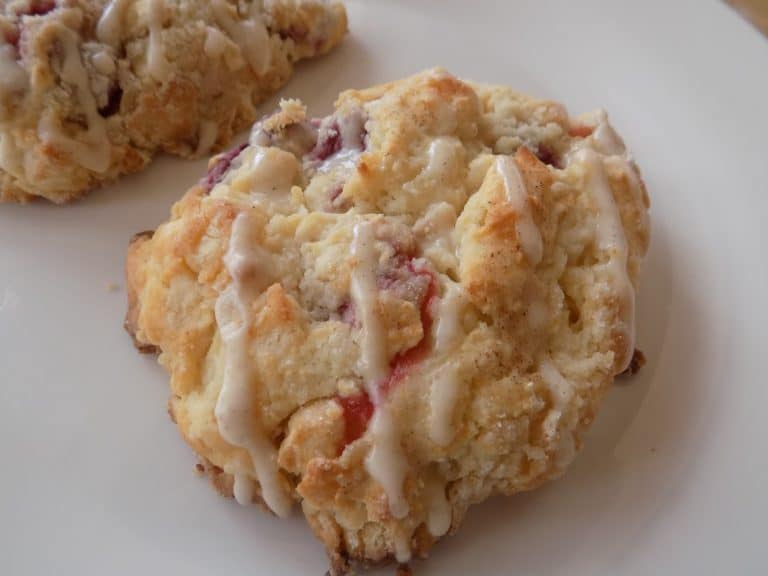
Flaky Buttermilk Berry Scones
Scroll to top
Scroll to top
Homepage – Faye’s Food
Recipe Index
Tips and Guides
Shop My Favorites – Faye’s Food
About
Contact
Instagram
Pinterest
YouTube
TikTok
Facebook
Threads
Toggle Menu Close
Search for:
Search