Skip to content
Recipes straight to your inbox!
Sign Up
Start Here
Shop My Favorites
Subscribe
Recipe Index
About
Expand
Contact
.
Recipe Index
Start Here
My Pantry
Expand
Life Lately
Tips and Guides
Shop
About
Contact
Instagram
YouTube
Pinterest
Facebook
Search
Search
Toggle Menu
Home
/
Fall
Fall
Desserts
·
Fall
·
Recipes
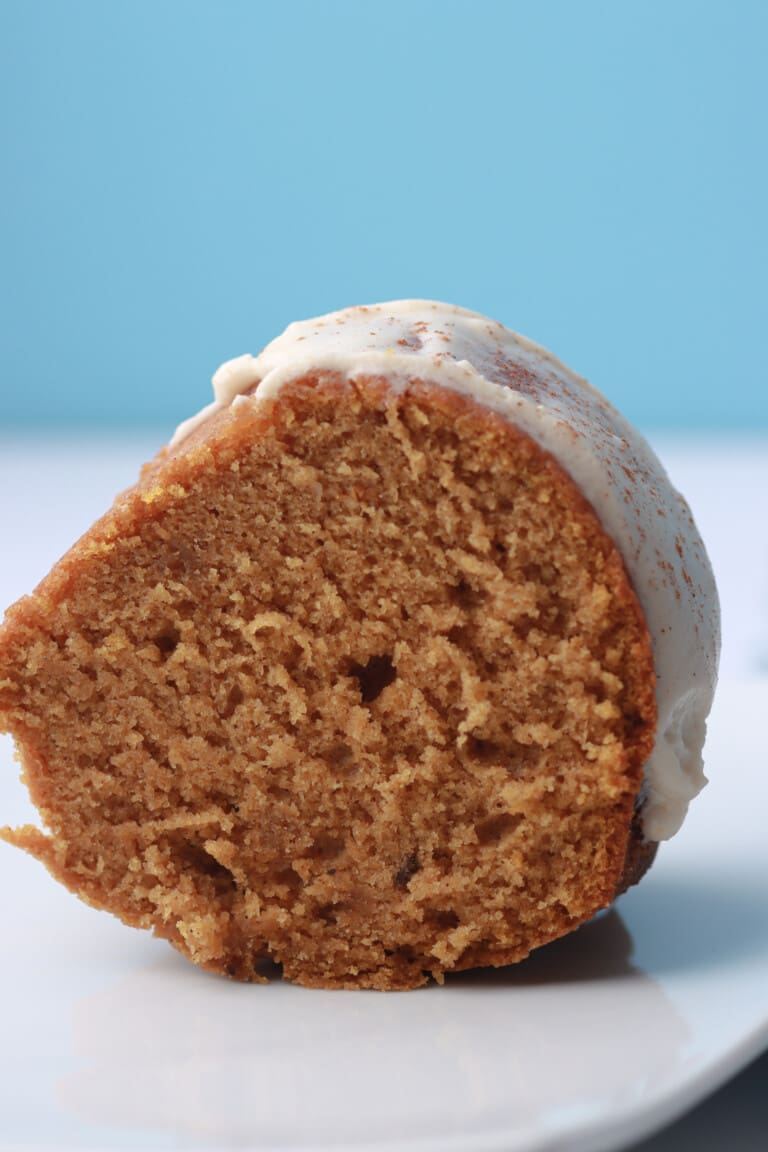
Pumpkin Cream Cheese Pound Cake
Desserts
·
Recipes
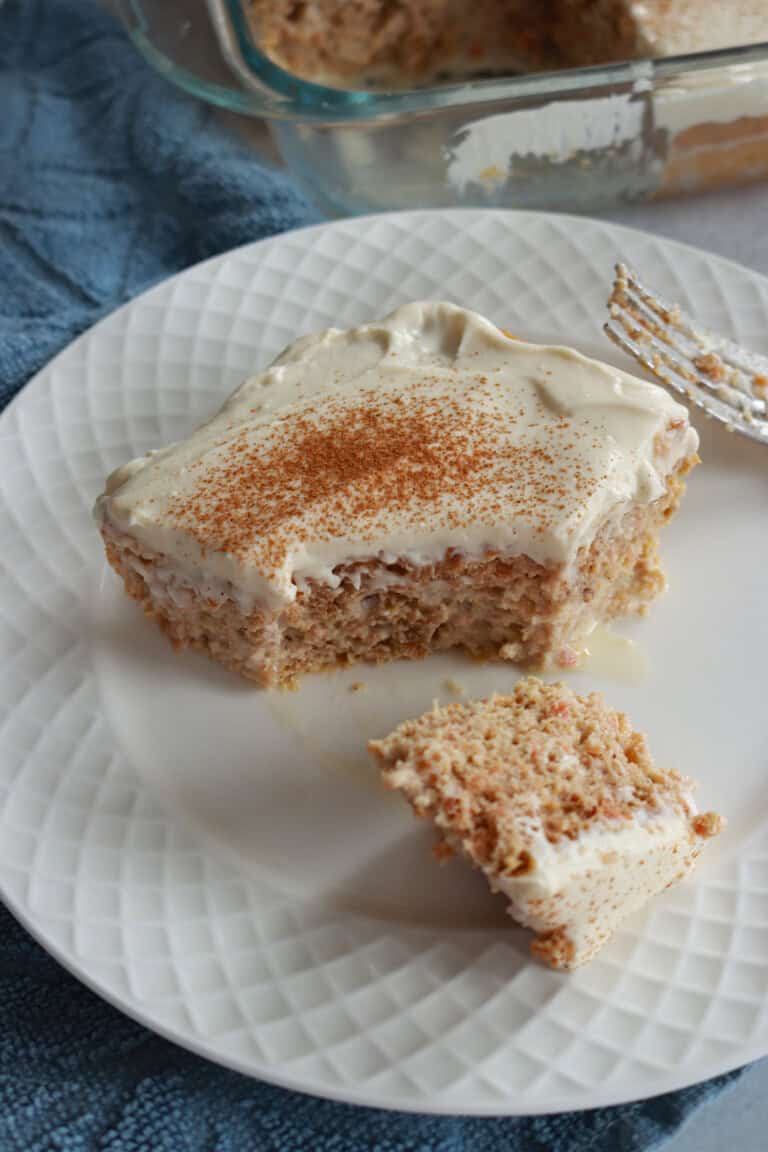
Carrot Tres Leches Cake
Desserts
·
Fall
·
Recipes
Puff Pastry Apple Turnovers
Desserts
·
Fall
·
Recipes
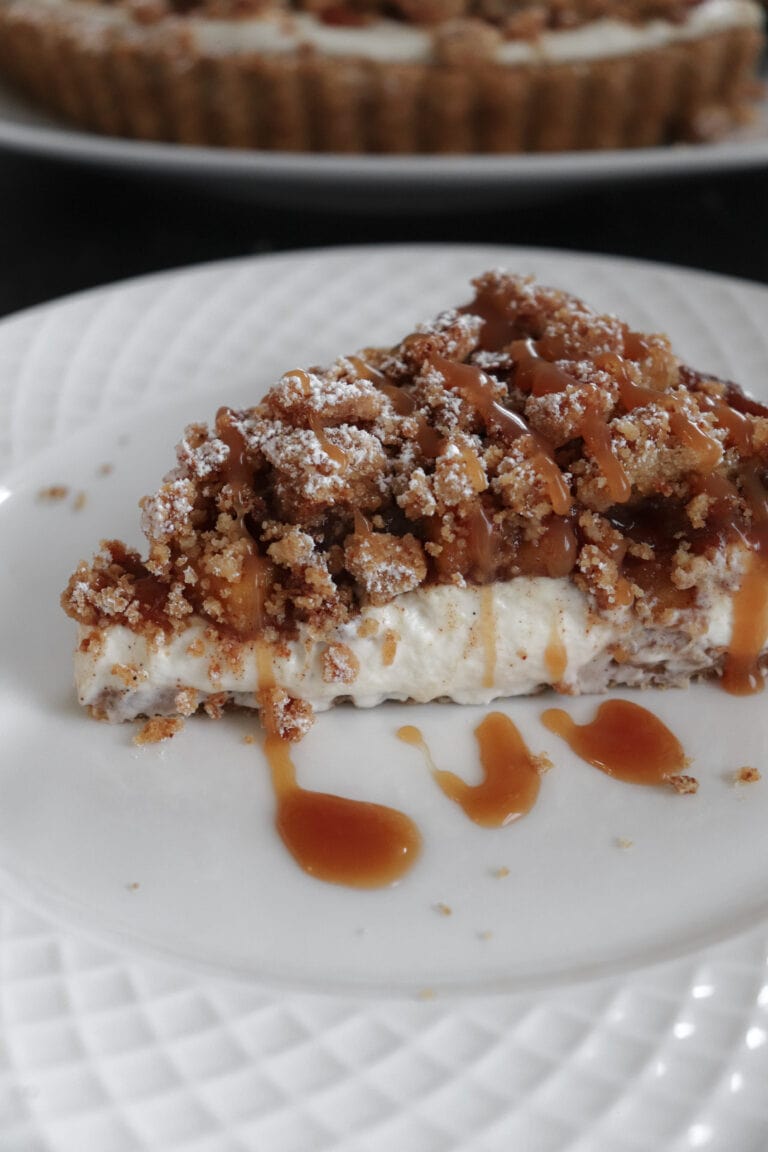
Apple Crumble Tart
Desserts
·
Fall
·
Recipes
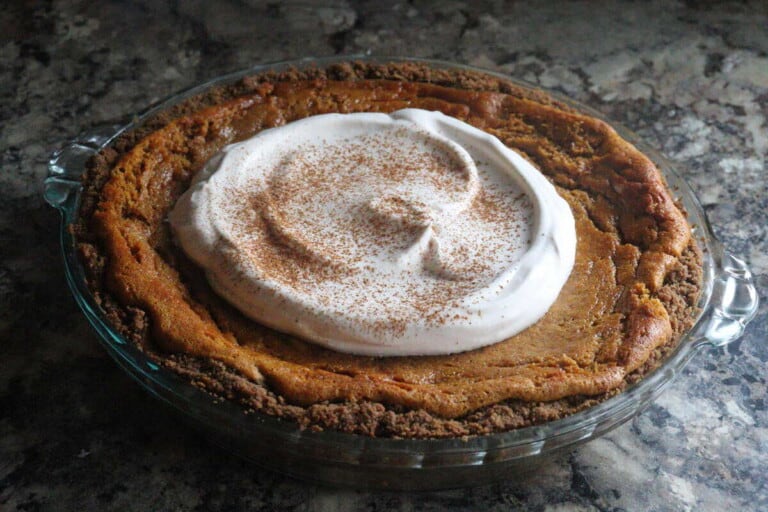
Pumpkin Chiffon Pie
Desserts
·
Fall
·
Recipes
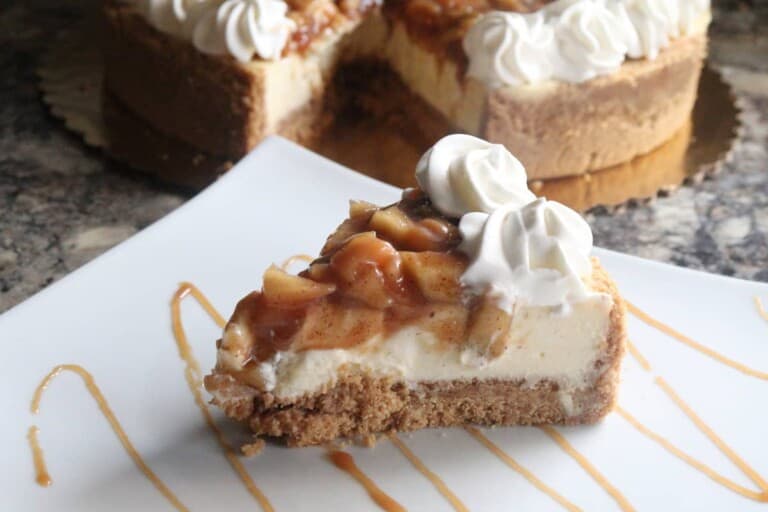
Apple Caramel Cheesecake
Brunch
·
Recipes
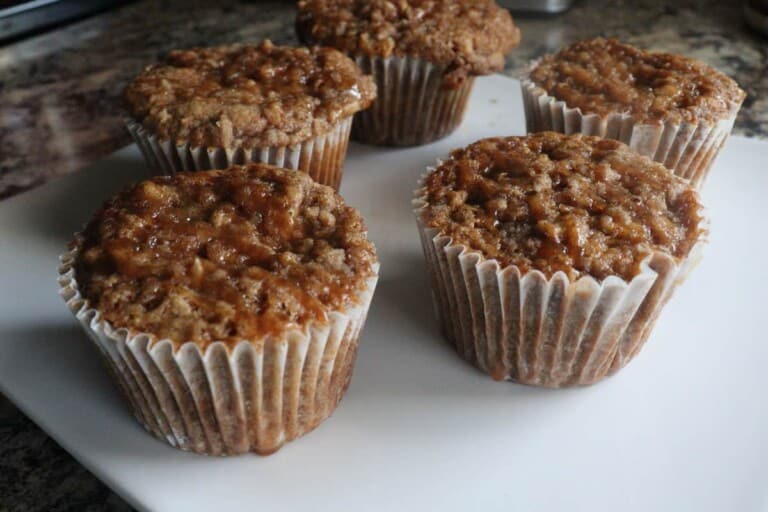
Apple Crumb Muffins
Desserts
·
Fall
·
Recipes
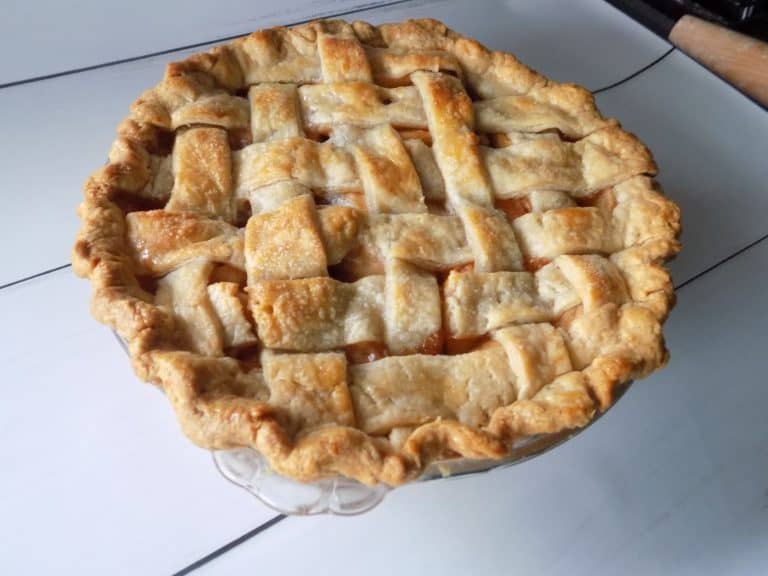
Traditional Apple Pie
Desserts
·
Fall
·
Recipes
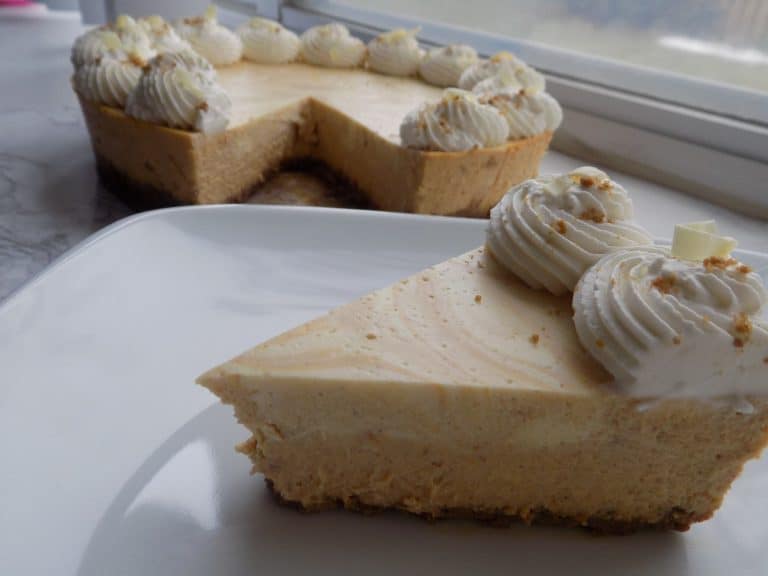
Pumpkin Swirl Cheesecake
Fall
·
Recipes
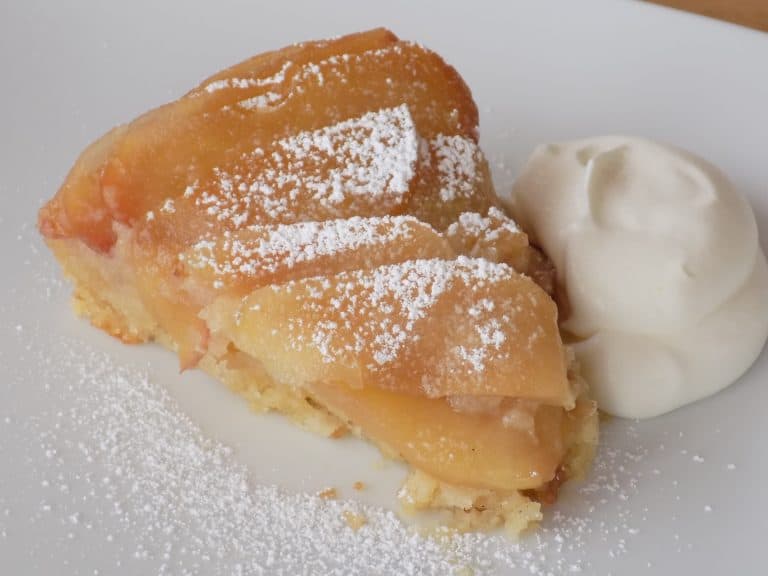
Apple Upside-Down Cake
Desserts
·
Fall
·
Recipes
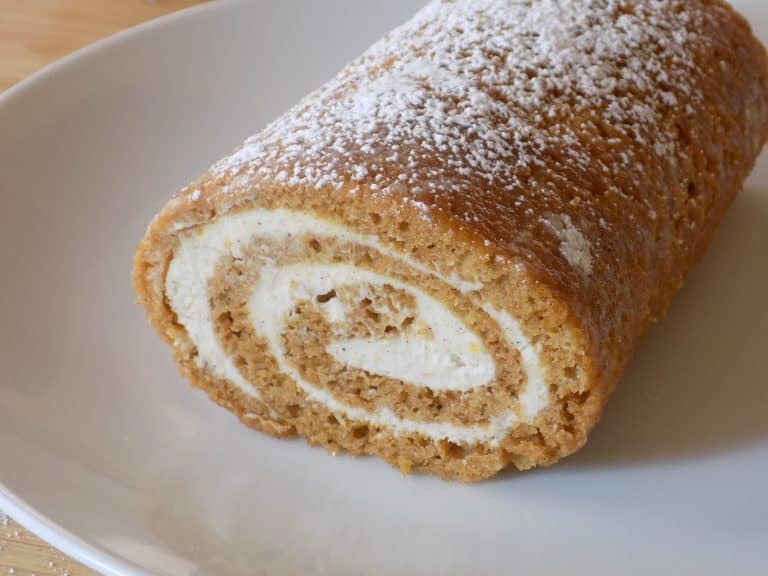
Moist & Fluffy Pumpkin Roll
Scroll to top
Scroll to top
Homepage – Faye’s Food
Recipe Index
Tips and Guides
Shop My Favorites – Faye’s Food
About
Contact
Instagram
Pinterest
YouTube
TikTok
Facebook
Threads
Toggle Menu Close
Search for:
Search