Traditional Apple Pie
Thanksgiving is inching closer and closer as each day passes and I can not wait! It's by far my favorite holiday. For me it's all about family, food and football. The ultimate All-American holiday. Of course, the All-American holiday can't be complete without some pie for dessert. But, what is THE pie for Thanksgiving? There is always an intense debate about which of the holy trinity of pies is THE pie for Thanksgiving. Obviously, the holy trinity of pies includes pumpkin, pecan and apple.
Well, I'm not really a pecan fan. I do love pumpkin, but there's still one that has my heart even over pumpkin. Yes, it's true. I only have eyes for one pie in my life and that's easily apple. I mean you have apples, cinnamon and brown sugar blanketed in a flaky pie crust. You really can't go wrong with that. If you've never tried a homemade apple pie, now is your chance to check that off your bucket list. We're going to turn you into an apple pie making machine. I know some of you are fearing this, but it's going to be okay...I promise. Some of you are intimidated by the mere thought of making pie at home. I'll tell you the honest truth. It's SO much easier than you think. I guarantee it.
1.) Use high-fat content butter aka European-Style unsalted butter, pastry flour and a hi-ratio shortening. The combination of these fats and flour yields a very flaky and flavorful crust.
2.) Make sure your ingredients are very cold! From the beginning of the process to when the pie hits the oven, the ingredients need be cold and the dough should be cold. A cold dough is a lot easier to handle, so keep that in mind. If the ingredients get too room temp or tough to handle, toss the them back in the freezer or fridge for a few minutes.
3.) Don't overwork the dough! This should be self-explanatory. We're not making pizza dough. We want some gluten development, but not a lot. Handle and mix gently throughout.
4.) Let the dough rest. It's important that we let the dough rest, for at least six hours, but preferably overnight.
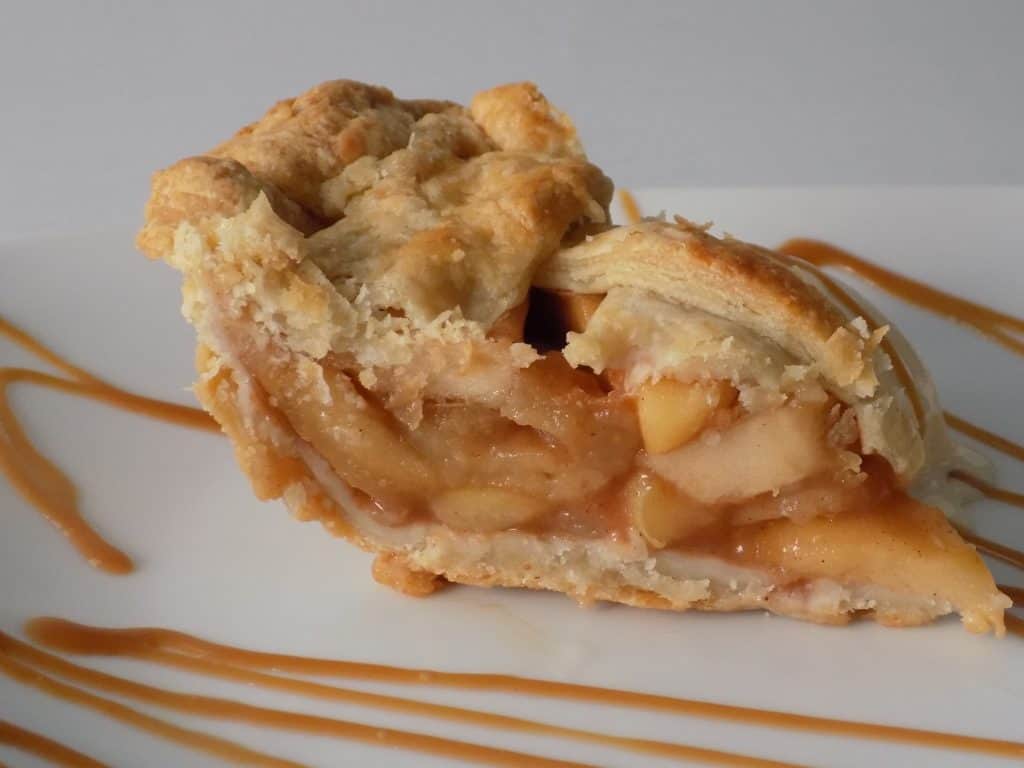
5.) Don't overcook! Don't overcook your pie filling. We only want the apples to be al dente. They still need to have a bite to them, because they'll continue to cook in the oven. If we overcook them in the first phase, they'll be mush by the time they get out of the oven.
6.) Let the pie rest. I know this part is tough. You're going to want to cut into it as soon as it's out of the oven. Unfortunately, you can't. To get a good slice and enjoy the pie at it's greatest, you have to let it rest for at least an hour.
HOW TO MAKE MY Traditional Apple Pie:
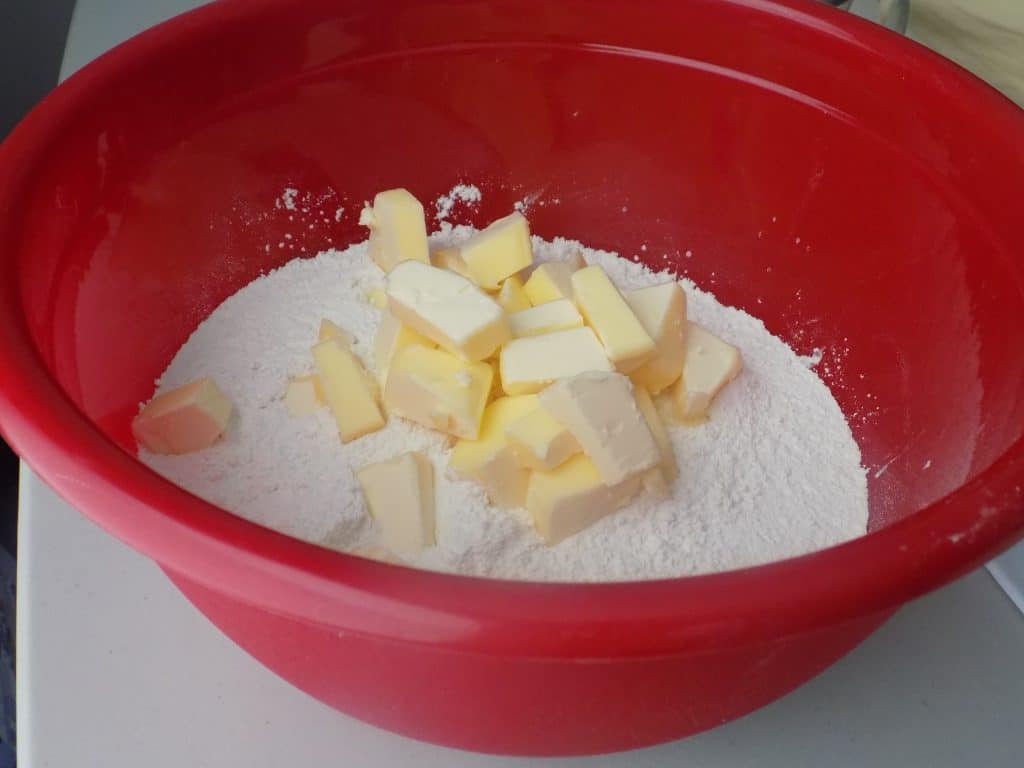
- To start, put your butter and shortening in the freezer for at least an hour. Put the flour in the fridge for at least a half hour. I'm using a European-style butter which has a fat content at about 82%. This will lead to a more buttery and flaky crust. You can use American-style butter, Crisco and All-Purpose flour if you're in a pinch. I just highly recommend not doing that, but hey, don't mind me! Once you've prepped everything else for the pie dough portion of the recipe, you can take the butter and shortening out of the freezer and cut them up into ¼" pieces. Once cut, you can dump the butter into the flour and toss it well to coat. Sift the butter and flour through your fingers and begin by smashing down the flour-coated butter pieces between your thumb and index finger. Continue to do this. Halfway through, do the same process with the shortening. If the mixture warms up, place it in the fridge for five minutes before continuing to work with it.
- Make a well in the middle. Add in the salt, vinegar and ice water into the well. Slowly blend the flour in with the ingredients in the middle. Gently mix with hand until just combined. Begin pressing on the dough with the heel of your palm a couple of times. Once the dough just comes together, pour it onto a well-floured work surface.
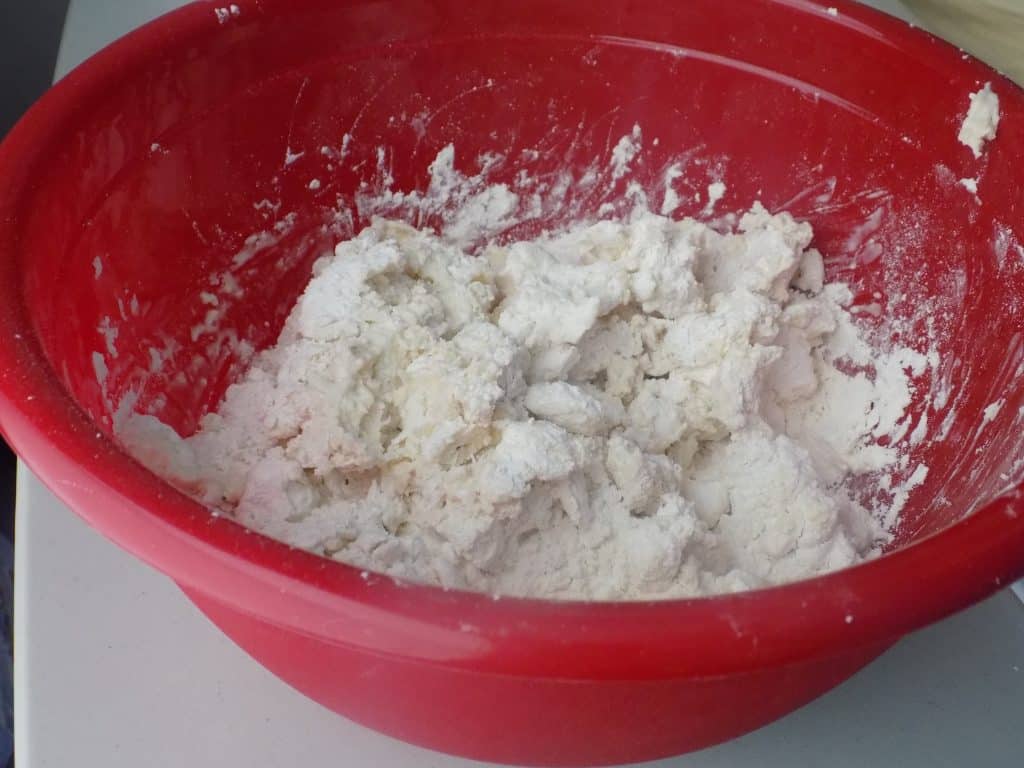
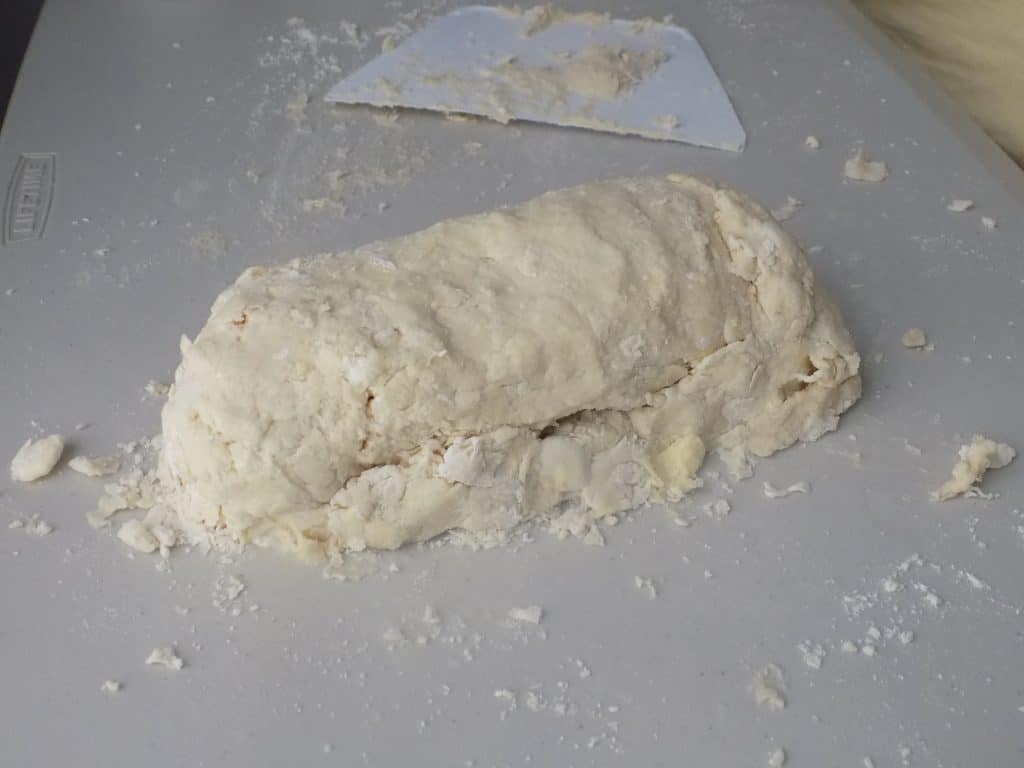
- Once you dump the dough out onto your work surface, begin to work the dough by pressing the down and out with the heel of your palm. Use a dough scraper to bring the dough back onto itself and continue the process. Continue to do this until the crumbled flour mixture comes together and looks more like dough. Some pieces of fat should still be visible. Once it reaches that stage, form into a log and wrap in plastic wrap to refrigerate overnight.
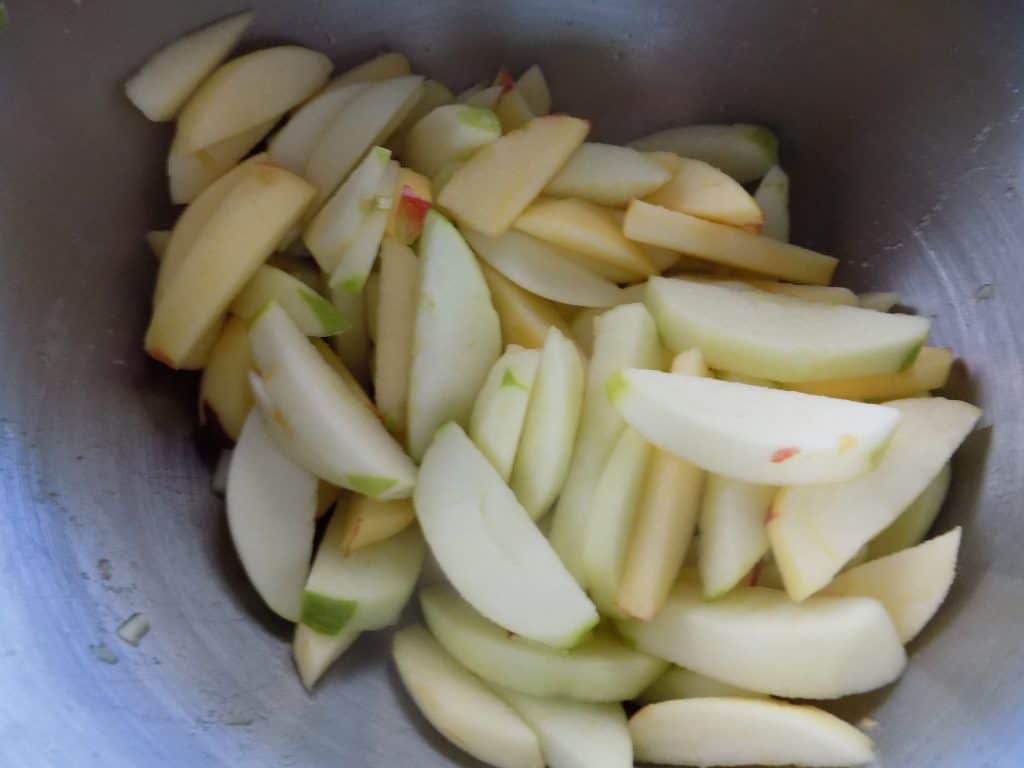
- On the same day you make the pie dough, make the pie filling too. To begin, peel, core and slice the apples into ½" to ¾" wedges. Place the wedges in a bowl with the acidic solution to prevent browning (apple cider, apple juice, lemon juice diluted in water, pineapple juice, any of these will work!)
- When you're done slicing, pour the apples minus the acidic solution into your saucepan and begin to cook on medium to medium-high heat.
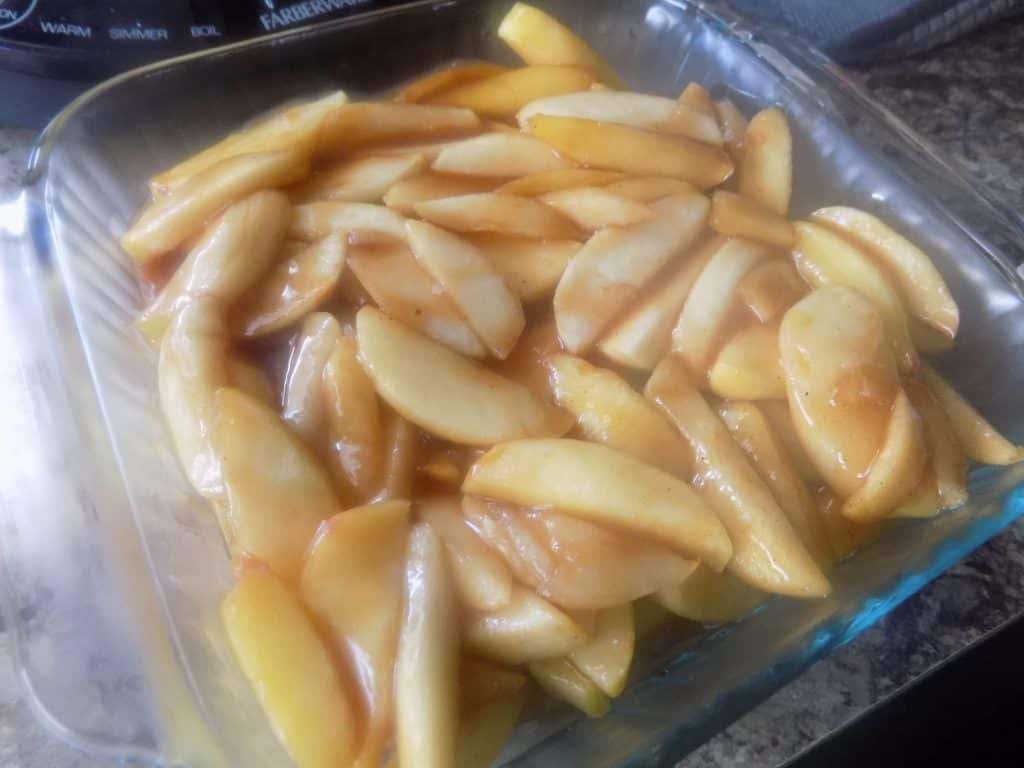
- Add in your sugar, salt, brown sugar, lemon zest, butter, lemon juice, nutmeg and cinnamon. Stir and cook for about five minutes. In a small bowl, whisk together the apple cider and cornstarch and add that slurry into the apple mixture. Continue to cook for about 5-10 minutes until the mixture gets thicker and the apples are cooked until al dente. The apples should still be somewhat firm and have a bite to them. They'll continue to cook in the oven, so don't overcook them now. Once they reach al dente, take the pan off the heat. Add in the vanilla. Pour the mixture into a shallow dish. Let the mixture cool for about 10-15 minutes before covering with plastic wrap and placing in the fridge overnight.
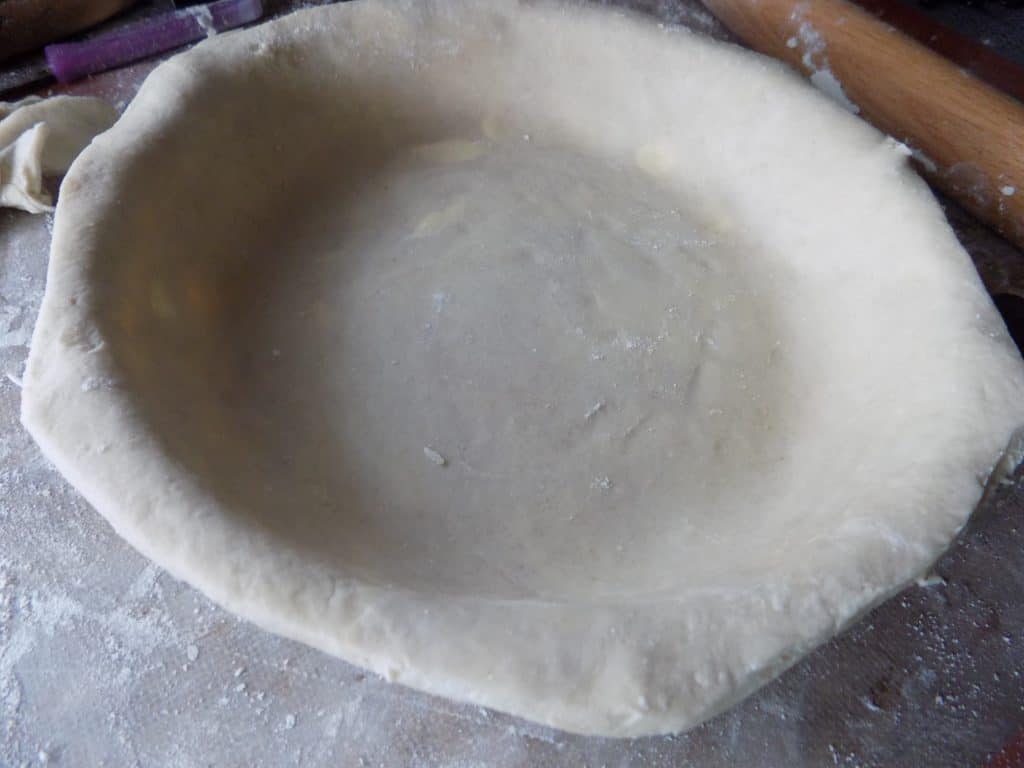
- The next day, cut a disk out of the dough log straight from the fridge and weigh out 8 or 9 oz of dough. On a well-floured surface, pat the disk into a round and pat down. With a well-floured rolling pin, roll out the dough until it's about two or three inches larger than the pie dish you're using and has about a ¼" in thickness. Be sure to start with a round shape so you can end with a round shape. Be sure to turn the dough after each roll and be sure to not roll over the edge of the dough. If the dough gets hard to handle, place back in the fridge for about five minutes then continue working with it after once it gets colder and firmer. Grease the pie dish with butter and cooking spray really well. Drape the dough over the pie dish. Use your hands to gently flatten the bottom and sides.
- Use scissors to cut off the excess dough. Be sure to leave about a half inch of overhang so you can roll it up for when you crimp the sides. Dock the bottom and sides with a fork. In a small bowl, combine eggs and milk to create an egg wash. Brush the pie dough bottom and sides with the egg wash. Ensure you don't overdo it and brush evenly so there aren't puddles of egg wash in one spot over the others. The puddle spots would burn, so we want to avoid any puddles on there.

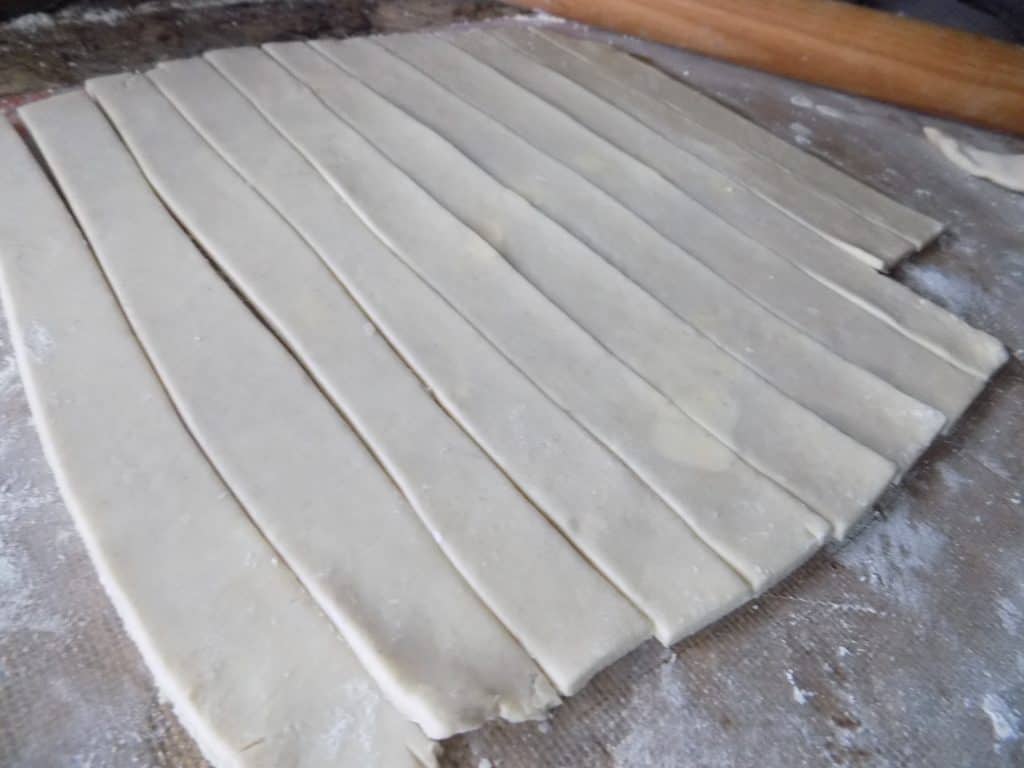
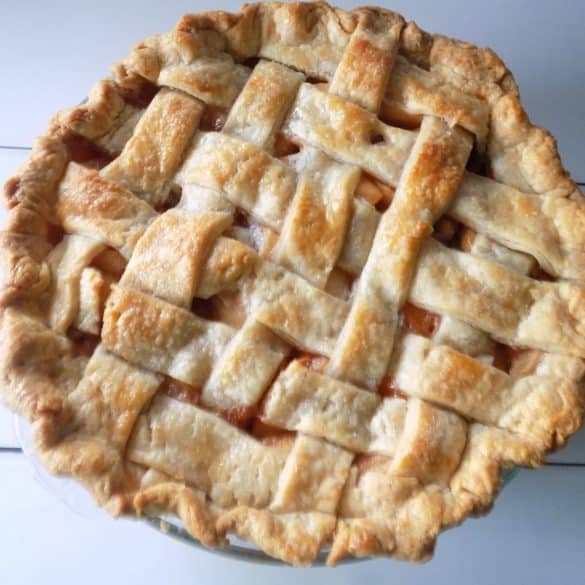
- After the egg wash, pour the apple pie filling into the the crust. You can add some of the thickened "goo", but don't overdo it or you'll get a soggy bottom. Use a spoon to flatten the filling and spread it out evenly. Dot the filling with butter pieces. Roll out another 8 or 9 oz disk of dough. You can roll this out in a similar fashion that you rolled out the bottom. Cut some slits in the top and call it a day. You could also choose to do a lattice top. To do that, roll into a round and then cut into 1" strips. If you're unsure of how to do a lattice top, feel free to visit the various resources out there that'll help you with that! (TV, books, YouTube, etc.) The idea is to alternate and make a weaving pattern.
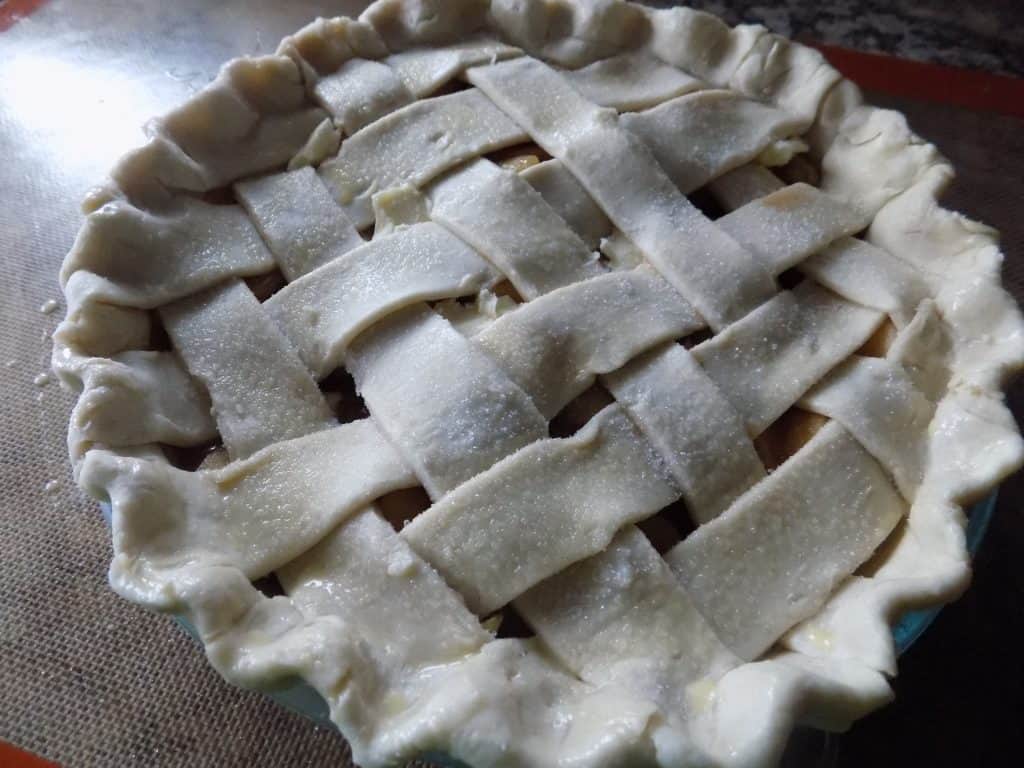
- Once placing the top layer on the pie and cutting off any excess, roll the half inch overhanging dough up and press so it's standing on the lip of the pie dish. Use your index finger to push the dough outside to your pinching fingers to form a crimped edge. Below is a picture of a person who is totally not me demonstrating how to do it. Again, there are plenty of tutorials out there on lattice tops and crimping edges if you need to learn more about it.
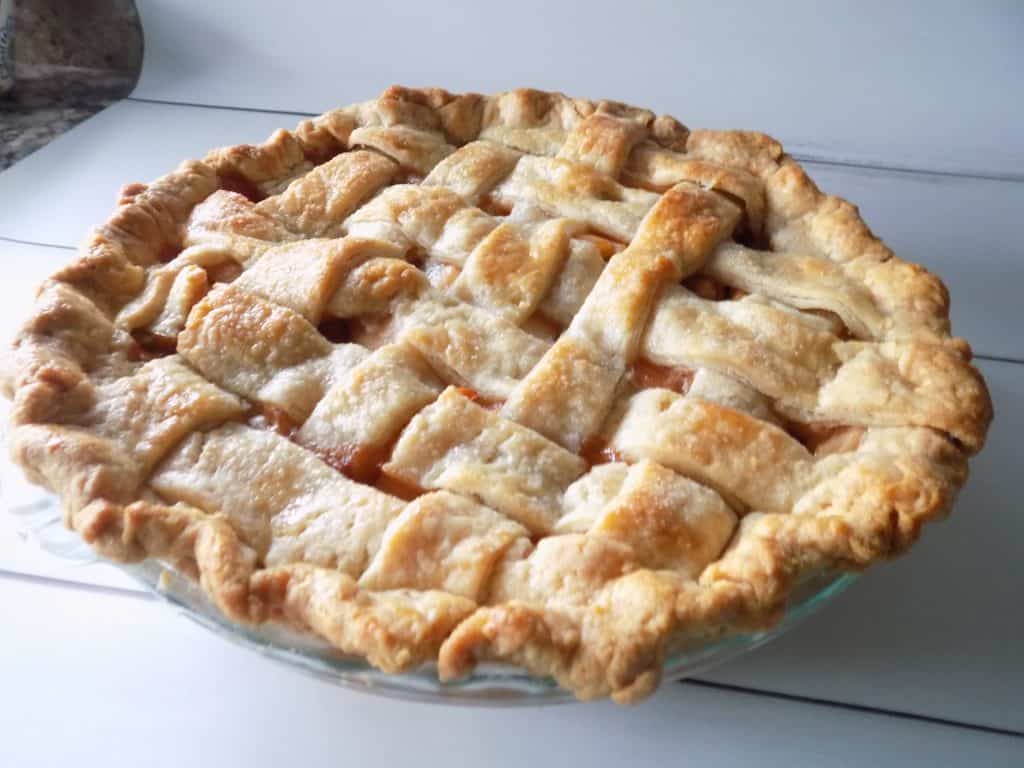
- Once the edges are crimped and the top is finished, brush the top and edge with more egg wash. Again, be mindful to spread it evenly. Sprinkle the top evenly with sugar. You can use granulated or coarse sugar.
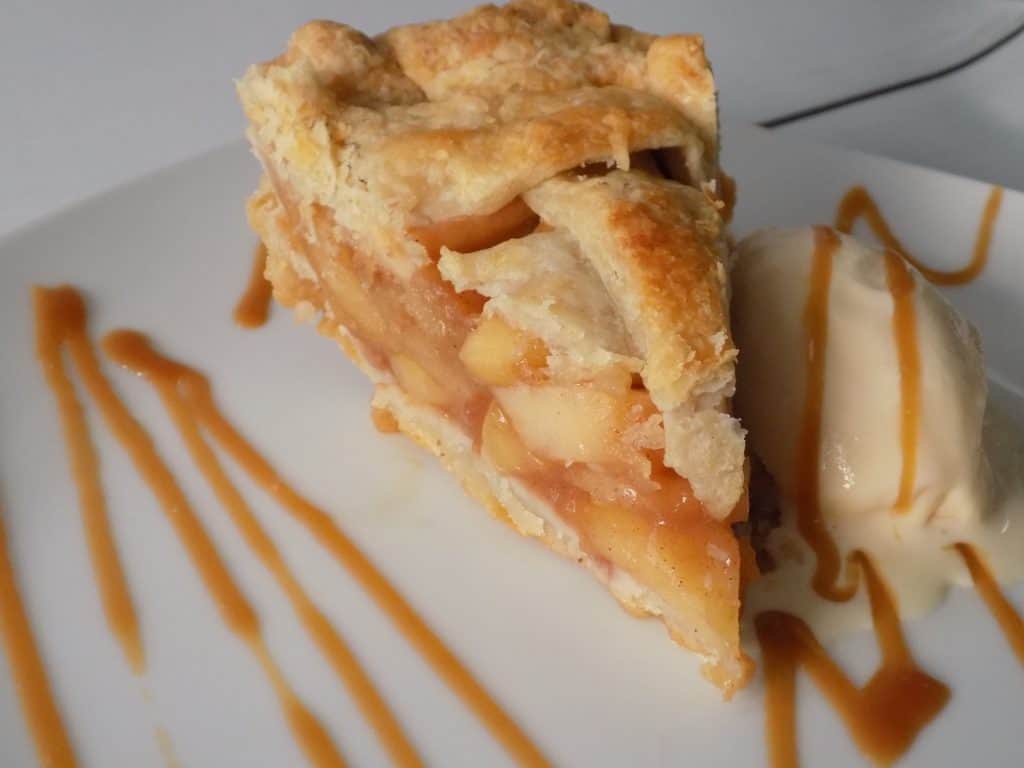
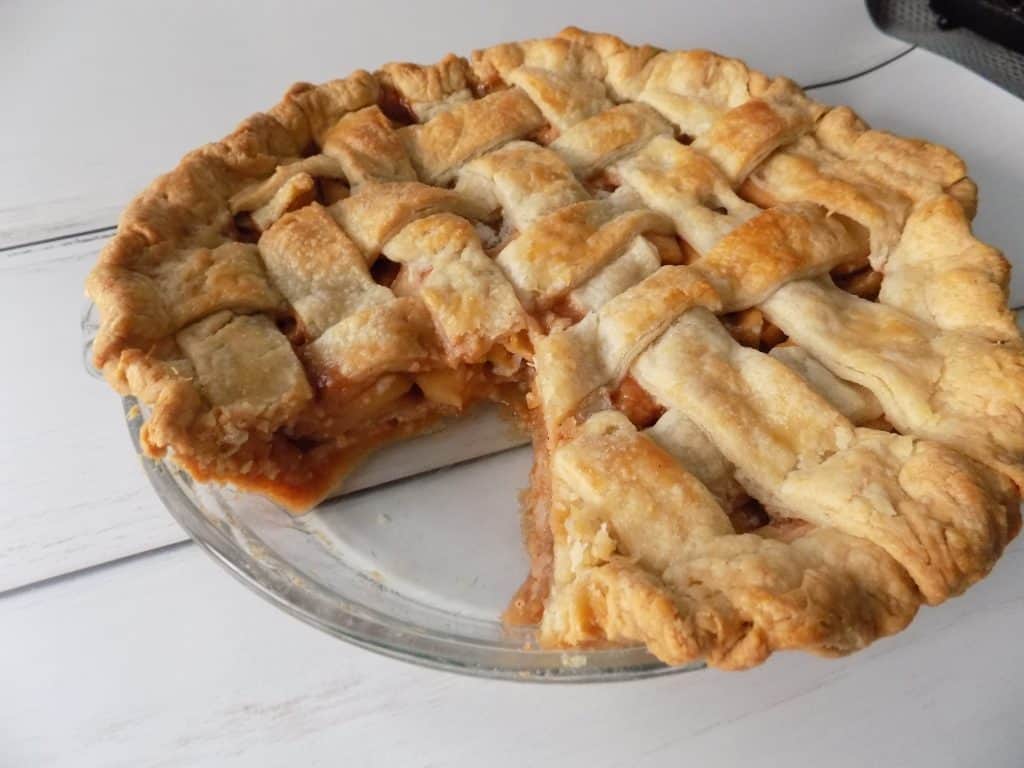
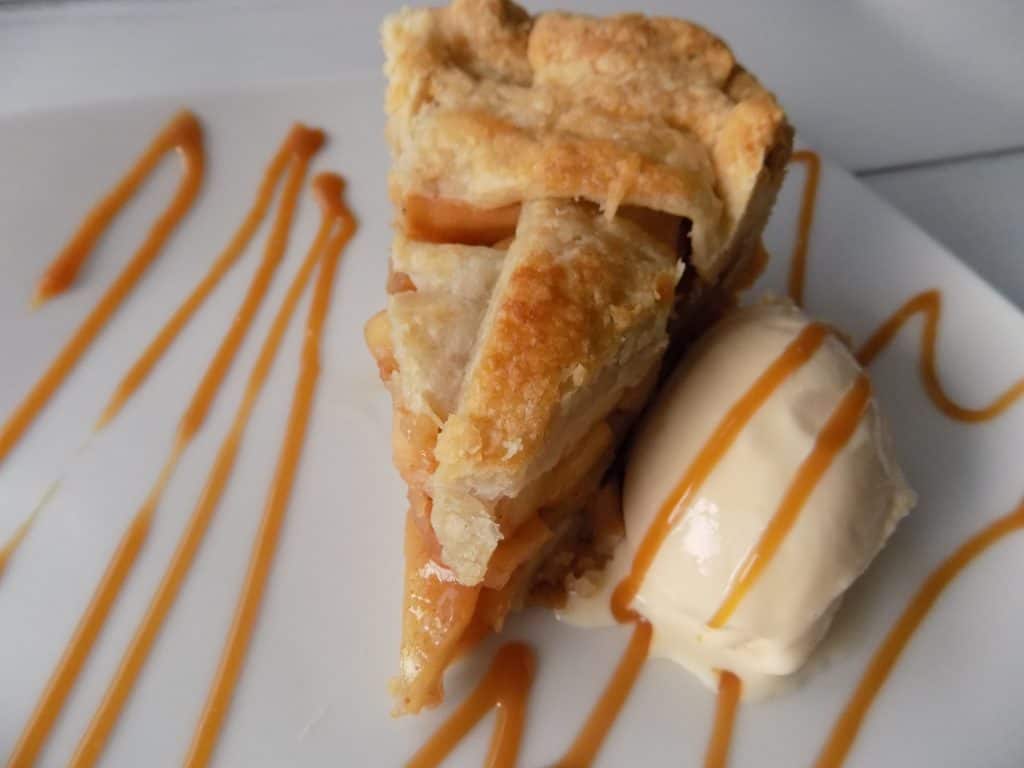
- Bake at 375°F for about 1 hour and 15-30 minutes or until the top and bottom are golden brown and the apples are cooked, but not mush. After the pie is done baking, let it cool for about an hour at room temperature before cutting into it. The pie will still be slightly warm and you'll get a cleaner slice this way. Trust me, your patience will be rewarded! Top as you please. I served my slice with some vanilla ice cream and my homemade Salted Caramel Sauce.
SOME MORE GREAT FALL RECIPES:
Traditional Apple Pie
Ingredients
Pie Dough:
- 1.5 lbs pastry flour + more for rolling out dough
- ½ lb European-Style unsalted butter cut into pieces
- ½ lb hi-ratio shortening Sweetex or lard, cut into pieces
- 8 oz ice water
- ½ tablespoon distilled white vinegar
- ½ teaspoon salt
Pie Filling:
- 2 lbs baking apples peeled, cored and sliced into wedges. I used a mix of Gala, Fuji and Granny Smith.
- 1 cup acidic solution pineapple juice, apple juice, apple cider, lemon juice diluted in water...any of these will work
- 1 ¼ oz unsalted butter pieces + more greasing the pie dish and for dotting the filling
- 6.5 oz granulated sugar
- .6 oz salt
- 1 ½ teaspoon cinnamon
- ¼ teaspoon nutmeg
- 1 medium lemon juiced and zested
- 1 teaspoon vanilla extract
- 2 oz apple cider
- ½ oz cornstarch
Egg Wash:
- 2 whole eggs
- 2 tablespoons milk you can also use heavy cream or half and half
Instructions
Pie Dough:
- Place your butter and shortening in the freezer for at least an hour and place your flour in the fridge for at least a half hour.
- Once ready, dice the butter into ¼" pieces and place in a large bowl with the pastry flour.
- Toss to coat.
- While the butter is cold, begin to separate the butter pieces from the flour by sifting through your fingers. Then, flatten the butter pieces between your thumb and index finger. Halfway through the process add the other fat (shortening or lard) and do the same sifting and breaking up process. Each time the fat pieces should be separated before flattening them. Visible large lumps of fat should remain after complete.
- Make a well in the center and add in your salt, vinegar and ice water into the middle. Begin by gently bringing in the flour into the well and slowly begin to mix until just combined enough to turn out onto your work surface. Press a couple of times with the heel of your palm and then turn the dough out.
- On a well-floured surface, turn the dough out and begin to knead it with the heel of your palm. Bring it back onto itself with a dough scraper and continue the heel pressing process. This is called the fraisage method. Pieces of fat should still be visible when complete. Continue until the pie dough is developed. There should be some gluten development, but it should still feel slightly sticky.
- Roll the dough into a log and wrap in plastic wrap. Let it rest for at least six hours or preferably overnight.
Apple Pie Filling:
- Peel, core and slice the apples into ½" to ¾" wedges. Place the wedges in the a bowl with the acidic solution to prevent browning while cutting up the rest.
- Once the apples are cut and all the other ingredients are prepped, move on.
- Place the apples, salt, lemon juice/zest, sugar, and butter in a saucepan over medium to medium-high heat. Stir and cook for a few minutes.
- Pour in the cinnamon, brown sugar and nutmeg and stir in. In a separate small bowl, whisk together the cornstarch and apple cider. Pour in this slurry mixture with the apple mixture. Stir in and cook for another 5-10 minutes or until al dente. The apples should still be somewhat firm and have a bite to them.
- Once the apples reach that stage and the sauce is thicker, take the pot off the heat and add in the vanilla extract. Pour the apple filling into a shallow dish, "goo" included.
- Allow the mixture to cool at room temperature for 10-15 minutes. Cover in plastic wrap and allow to cool overnight.
Assembly:
- The next day, cut a disk out of the dough log straight from the fridge and weigh out 8 or 9 oz of dough. On a well-floured surface, pat the disk into a round and pat down. With a well-floured rolling pin, roll out the dough until about two or three inches larger than the pie dish you're using. If the dough gets hard to handle, place back in the fridge for about five minutes then continue working with it after once it gets colder and firmer. Grease the pie dish with butter and cooking spray really well. Drape the dough over the pie dish. Use your hands to gently flatten the bottom and sides.
- Use scissors to cut off the excess dough. Be sure to leave about a half inch of overhang so you can roll it up for when you crimp the sides. Dock the bottom and sides with a fork. In a small liquid measuring cup, combine eggs and milk to create an egg wash. Brush the pie dough bottom and sides with the egg wash. Ensure you don't overdo it and brush evenly so there aren't puddles of egg wash in one spot over the others. The puddle spots would burn, so we want to avoid any puddles on there.
- After the egg wash, pour the apple pie filling into the the crust. You can add some of the thickened "goo", but don't overdo it or you'll get a soggy bottom. Use a spoon to flatten the filling and spread it out evenly. Dot the filling with butter pieces. Roll out another 8 or 9 oz disk of dough. You can roll this out in a similar fashion that you rolled out the bottom. Cut some slits in the top and call it a day. You could also choose to do a lattice top. To do that, roll into a round and then cut into 1" strips and use to create a weaving pattern.
- Once placing the top layer on the pie and cutting off any excess, roll the half inch overhanging dough up to stand over the lip of the pie dish. Use your index finger to push the dough outside to your pinching fingers to form a crimped edge.
- Once the edges are crimped and the top is finished, brush the top and edge with more egg wash, spreading evenly. Sprinkle the top evenly with sugar.
- Bake at 375°F for about 1 hour and 15-30 minutes or until the top and bottom is golden brown.
- After the pie is done baking, let it cool for about an hour at room temperature before cutting into it. The pie will still be slightly warm and you'll get a cleaner slice. Serve as you please!