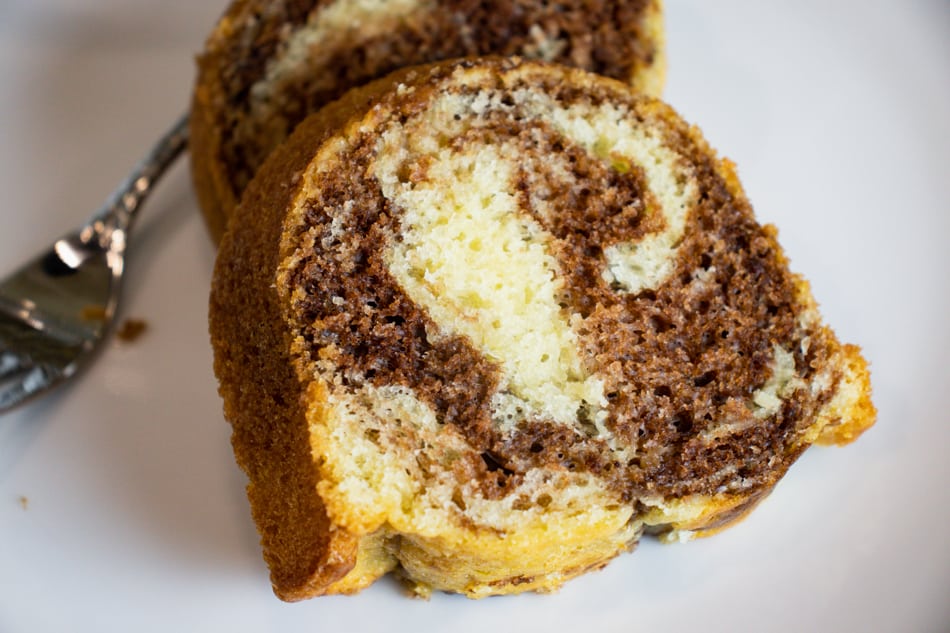
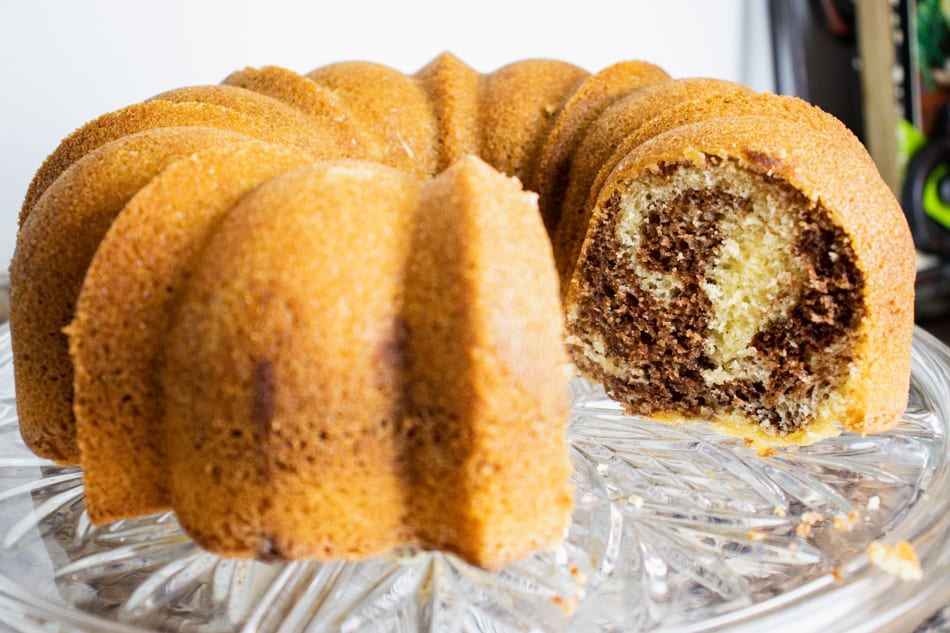
Homemade Marble Cake
Everyone's grandma has a specialty cake. Like many out there, my grandma's specialty cake came from a box. Her specialty cake was the Betty Crocker marble cake. Yes, it's true. It came straight up from a box. There was no doctored version, it was just the regular recipe made with love. We loved it, of course. Give us a piece of that cake with some ice-cold milk and we were happy and quiet for a while. We've spent many Saturdays eating that cake, so when I think of marble cake today, it's nostalgic for me. As amazing as that cake was when I was a kid, I think we can do better now. I'm not a huge boxed cake mix fan, to be honest. I mean, I'm all for boxed cake in a pinch. I'm no snob here. But, when I have the time and the ingredients, I'd much rather have a made-from-scratch cake. The challenge is making a good homemade marble cake. Many have tried, but it presents more challenges than you'd think. I think we nailed it here though.
How to Make My Homemade Marble Cake:
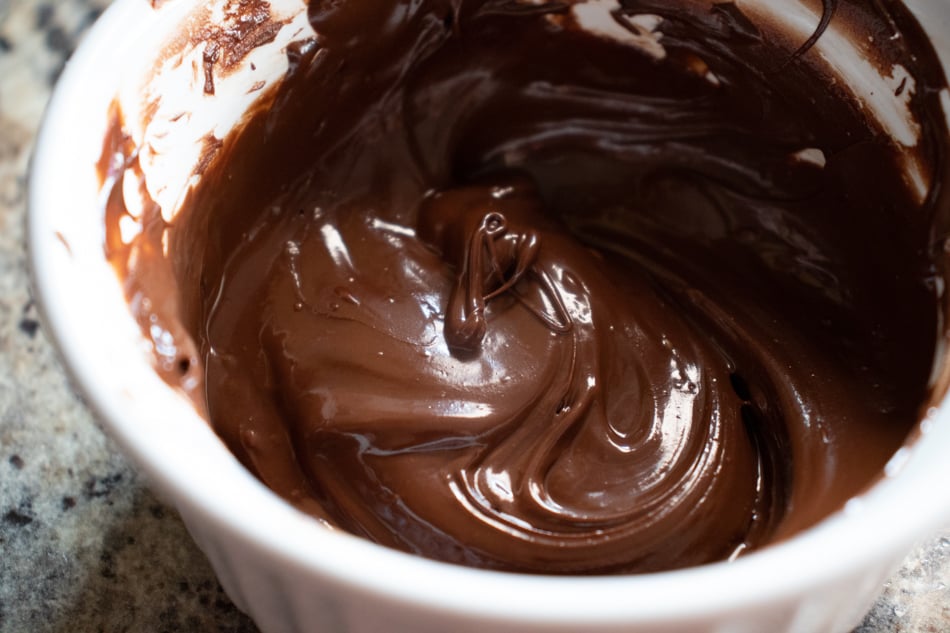
- First, you want to prep your pan by spreading some cake grease generously into it and spraying it well with cooking spray. Set it aside. I used a bundt pan, but you can use a loaf pan or 8" round pans. Next, place the chocolate in a small microwavable bowl. Microwave on 20% heat setting and microwave in 30-second increments. Mix every 30 seconds until the chocolate is fully melted. Once it's fully melted, set it aside to allow the chocolate to cool slightly.
- Next, in a medium-sized bowl, add the water, instant coffee granules, and cocoa powder and mix until combined and set aside.
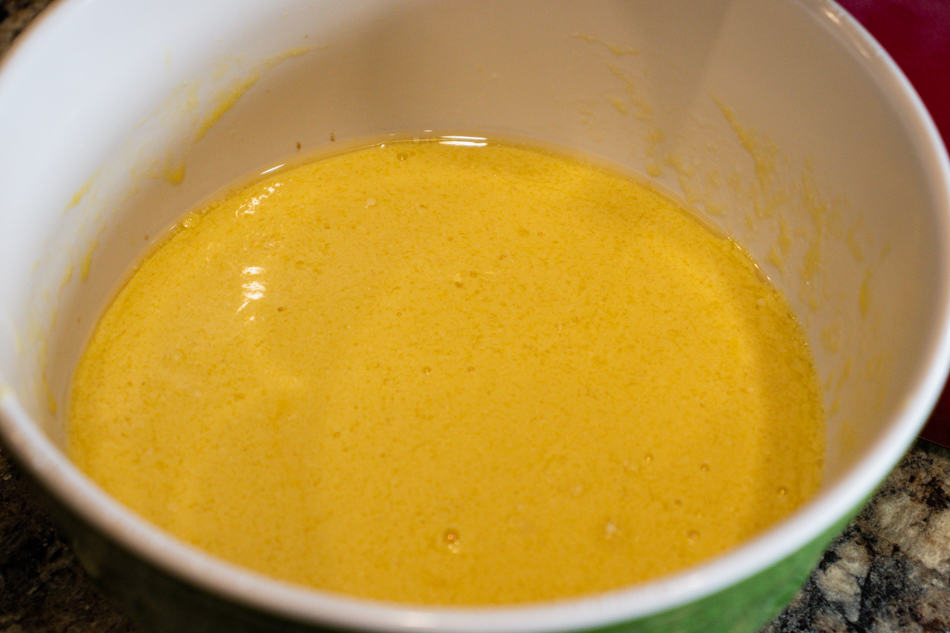
- In a separate bowl, combine the eggs, yolks, vanilla extract, oil, buttermilk, and mix until combined. Set aside.
- In the bowl of your stand mixer, combine the sugar, cake flour, baking powder, baking soda, and salt.

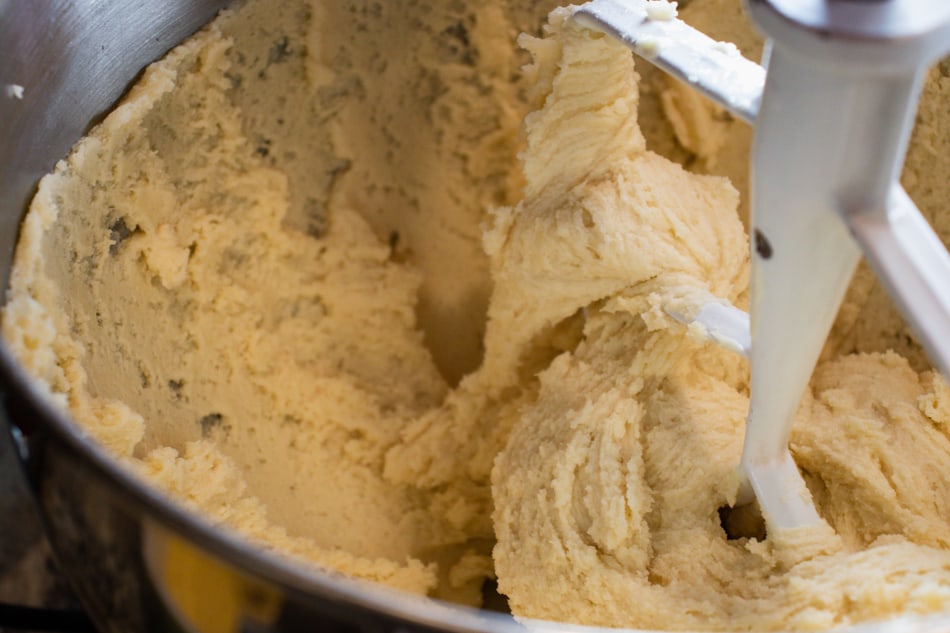
- Begin mixing on the lowest setting and slowly add the butter in chunks. Mix the mixture until it resembles coarse sand. There should be small to medium-sized lumps visible. After you get to this stage, add ⅓ of the liquid mixture you set aside earlier and mix on the lowest setting until just moistened. Once the mixture has absorbed the liquid added in, bump the speed up to a medium speed (5 on a Kitchenaid) and mix for two full minutes, no more and no less! Make sure it's exactly two minutes. If you don't mix for the full two minutes, then the cake won't build a structure and it will come out short and crumbly. After the two minutes, your mixture should look like soft-serve ice cream. Fluffier and lighter in texture and color.
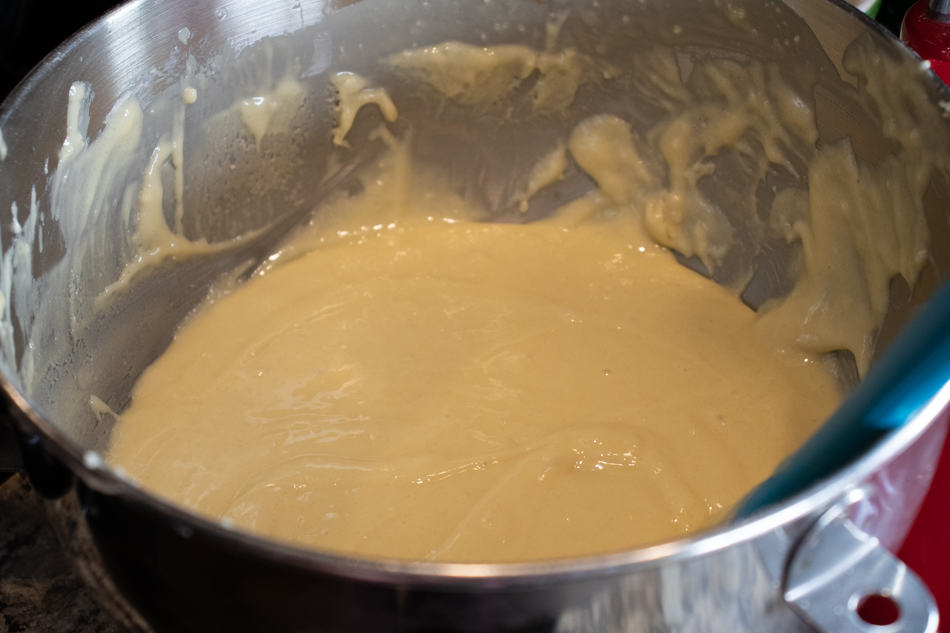
- After two minutes, make sure to stop the mixer scrape the bowl and paddle down really well. Start the mixer again on the lowest setting. Slowly add in the rest of the liquid mixture in two more additions. Make sure the first addition is absorbed before adding the next addition. Mix the liquid in until the mixture is uniform and until everything is just combined. Be sure not to overmix. Once the mixture is done, set aside.
- Note: If you find the mixture not coming together because you added the liquids in too quickly, turn the mixer off scrape the bowl and paddle well again, then turn the mixer on and turn the speed settings up to medium-high and beat for another 30 seconds or so, until the mixture is uniform and liquid.
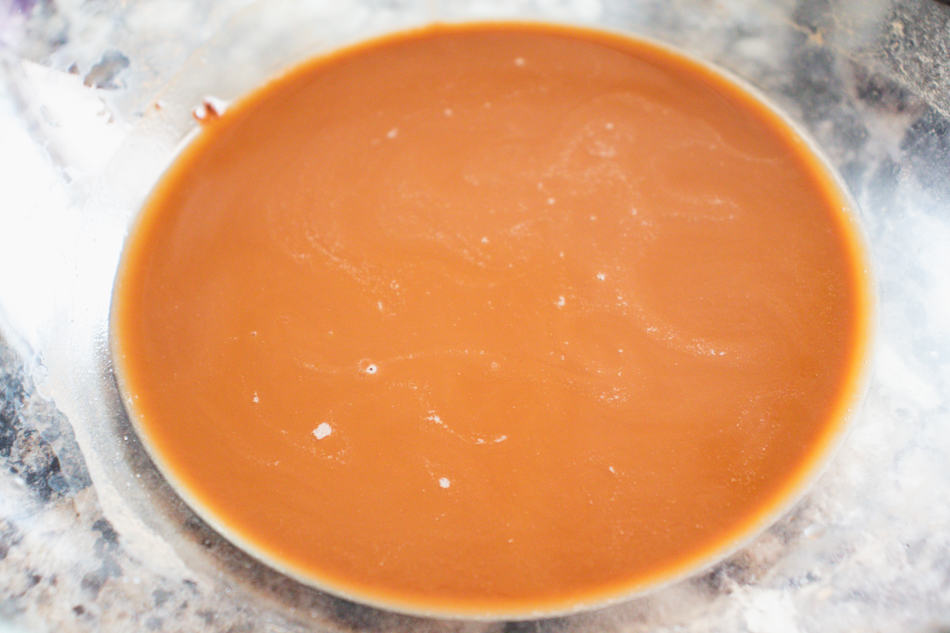
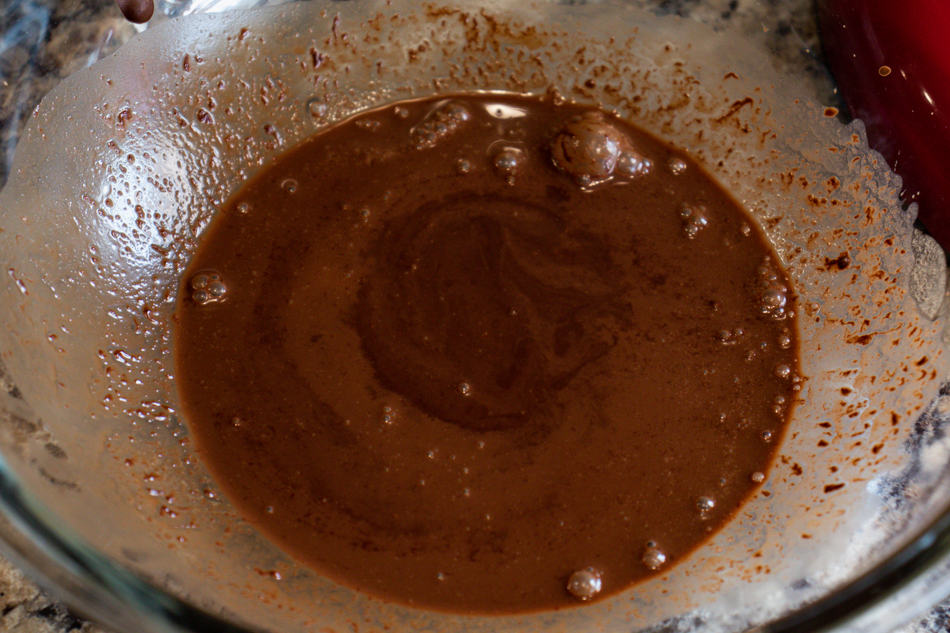
- Add the chocolate you melted earlier into the cocoa/water mixture and mix well until combined.
Note: If the chocolate has hardened back up, melt again slowly in 15-second increments.
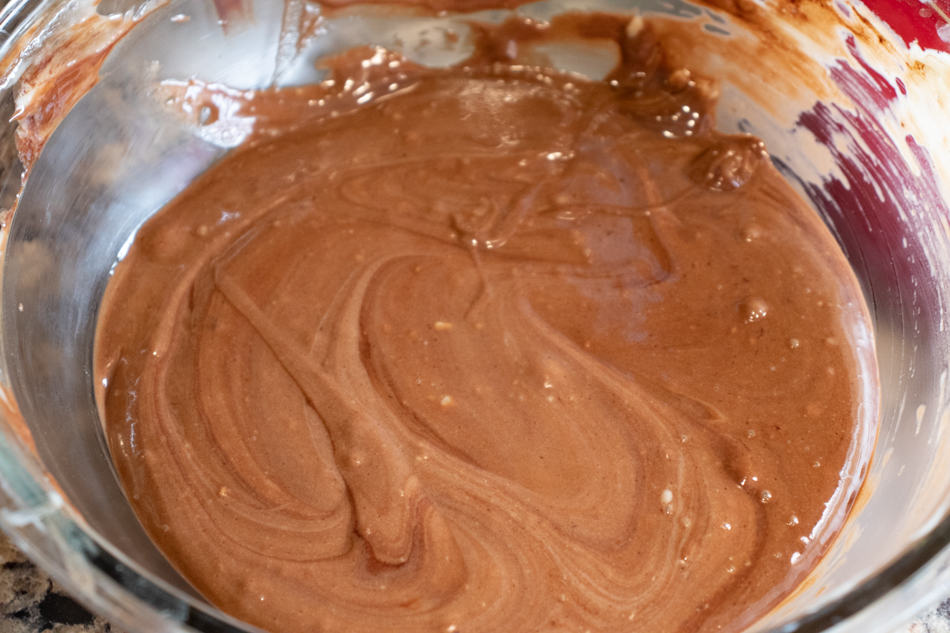
- Add ⅓ of the vanilla cake batter to the chocolate mixture and fold in until uniform in colour. Be sure not to overmix.
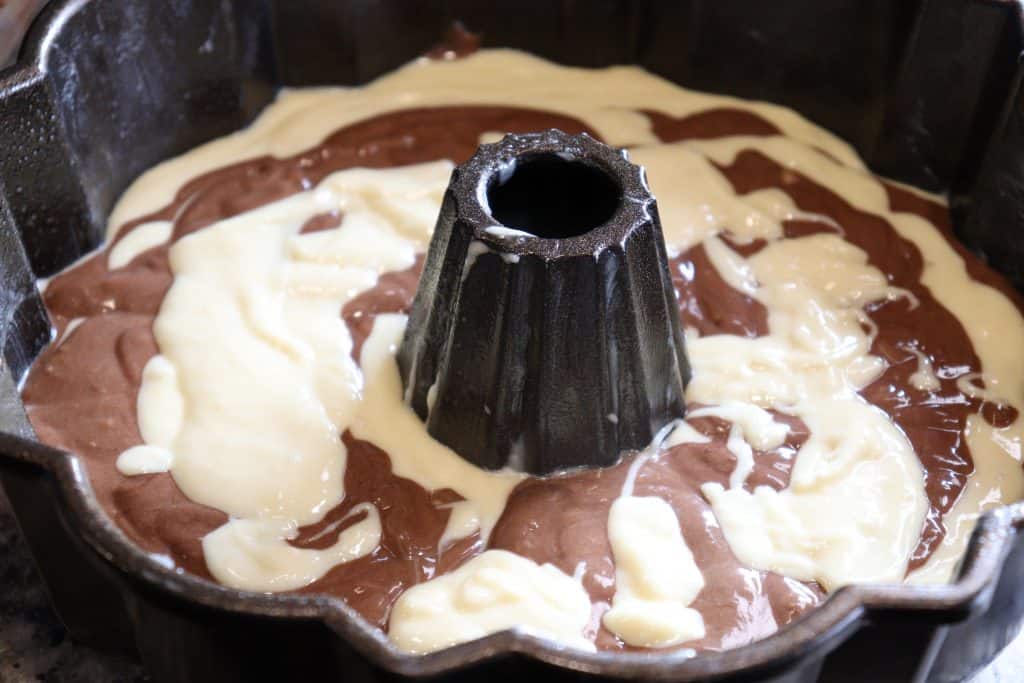
- In your cake pan, add a bit of your vanilla mixture and spread evenly. Then pour in a bit of your chocolate batter over the top of the vanilla. Then add a bit more vanilla and on top of that the rest of the chocolate. End the layering with the rest of the vanilla. I'm not going to give you exact amounts to pour in, because it depends on how much chocolate vs vanilla you want. Just eyeball it and you'll be fine.
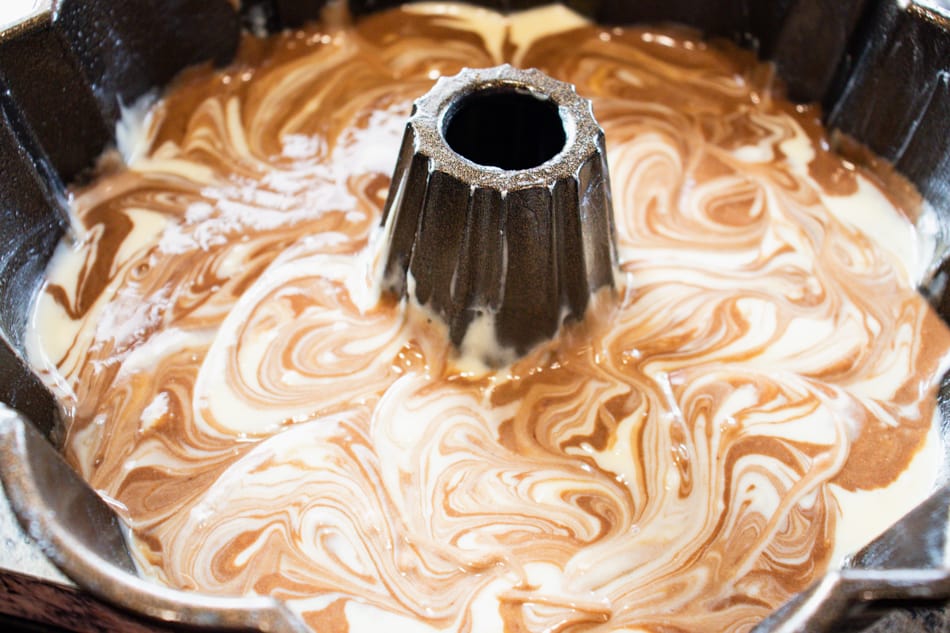
- Take an offset spatula paring knife or butter knife and begin to do the figure 8 motion three times around the pan to begin to swirl the chocolate and vanilla together. Only do it three times, nothing more or the batter will begin to muddle. Tap the pan gently on the counter and spin to remove air bubbles.
- Bake at 335°F for 30-40 minutes. For me, it took 35 minutes to finish, but I'll leave that window of time suggestion because I know ovens are all different. Once it's no longer jiggly and a toothpick or skewer comes out with a few moist crumbs, you know it's ready to take out of the oven. Place on a wire rack, and cover lightly with aluminum foil. No need to wrap the whole thing with foil, just place a foil sheet over it to keep most of the steam in. I leave just a little bit of space open on top so just a little bit of steam can escape so it cools quickly without drying out. Anyway, let the cake cool for 30-40 minutes or until the pan is just slightly warm.
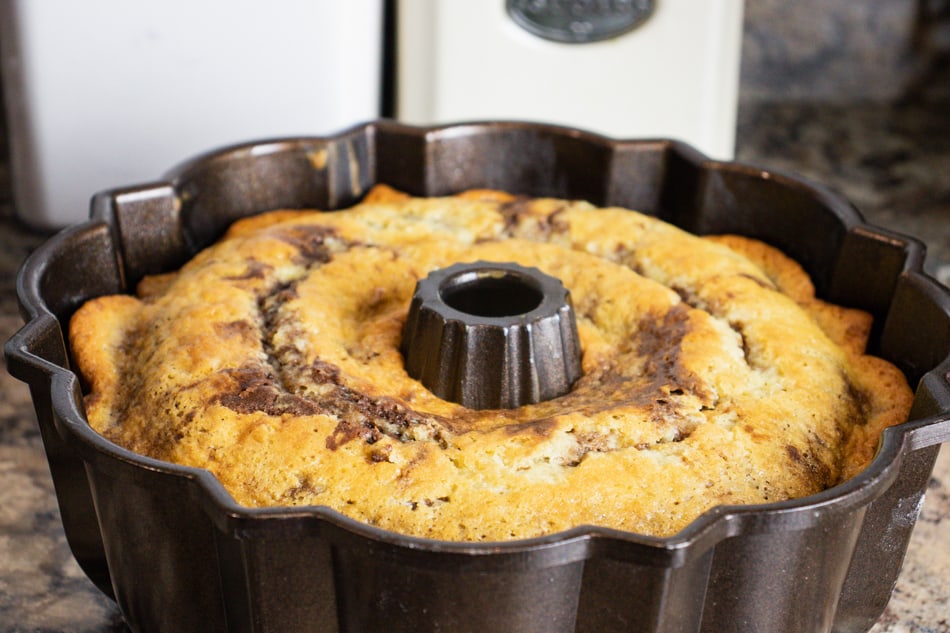
- To unmold, make sure you have a plate or platter bigger than the cake pan ready. Run an offset spatula around the outside of the pan gently, making sure the back of the spatula is facing the cake. Gently check the inside of the pan, if you're using a bundt pan, with your spatula just to see if it's loose. Don't run your spatula into it, because it's more difficult to do without messing up the cake, just check to see if it's loose. Flip the pan over and wait a few seconds before gently lifting the pan. If you grease the pan well, the cake should come out with no problem.
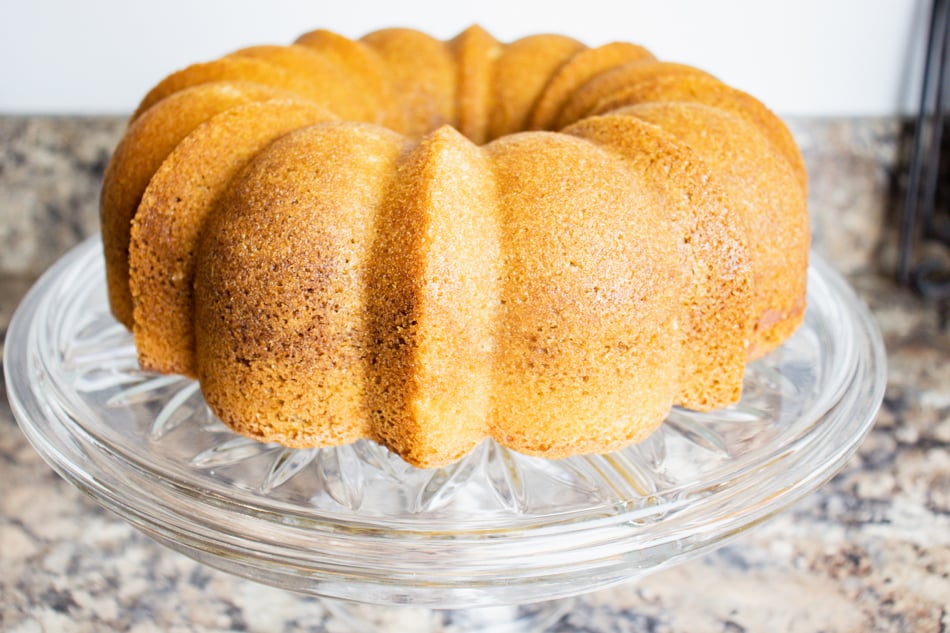
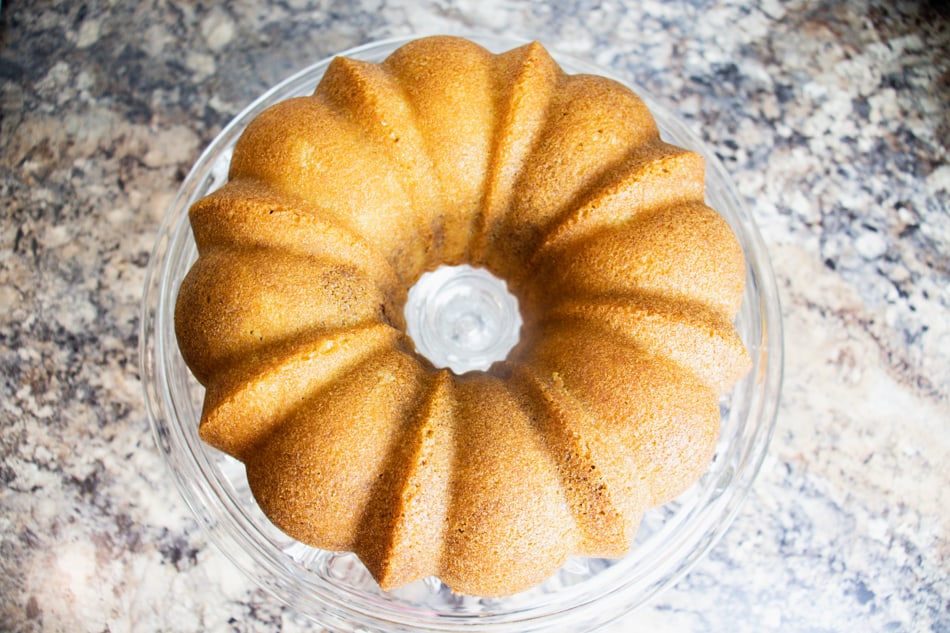
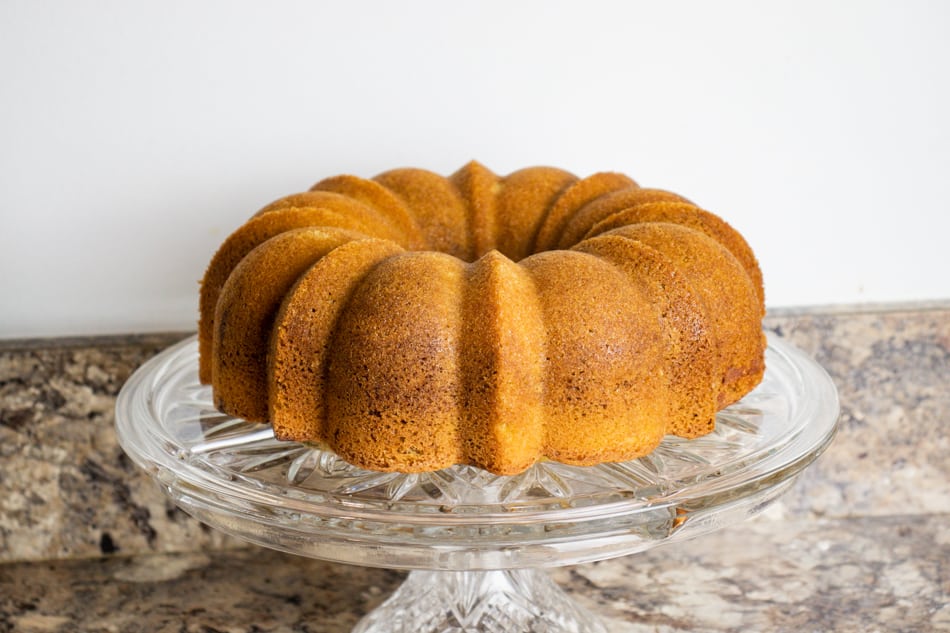
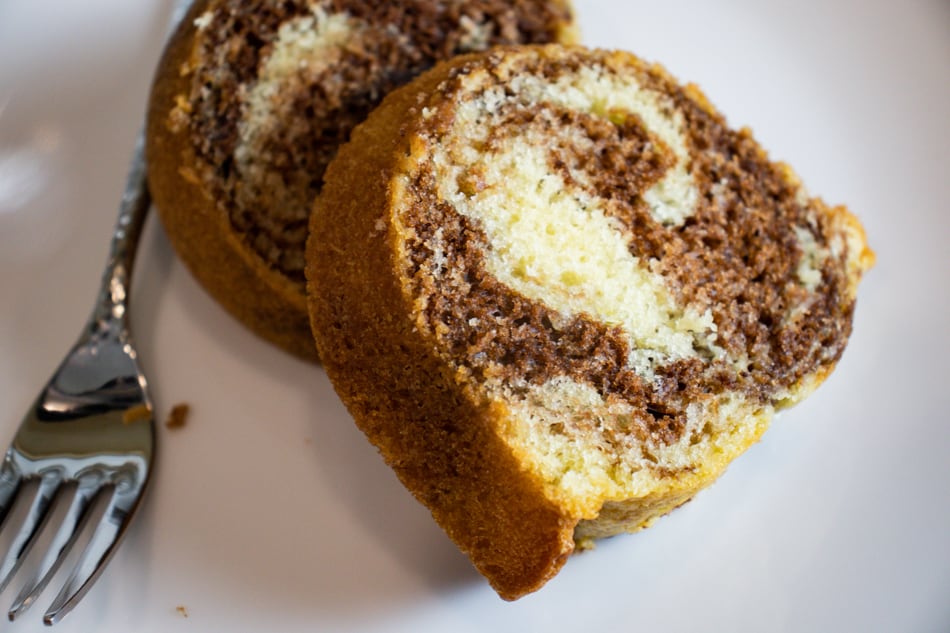
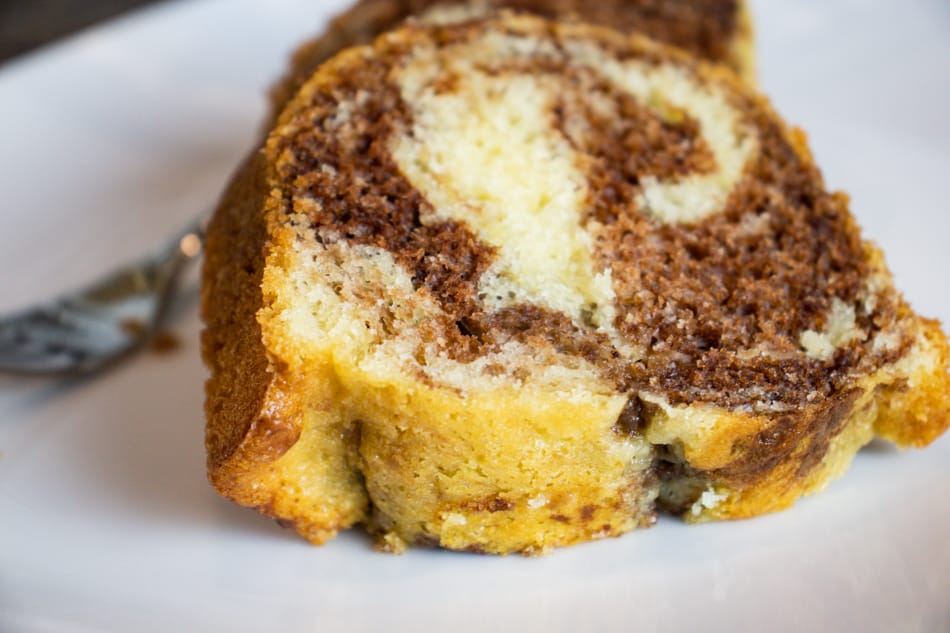
Cut up a slice and serve warm with some milk or coffee. Enjoy!
SOME MORE GREAT CAKE RECIPES:
Light & Fluffy Angel Food Cake
SHOP MY BAKING ESSENTIALS:
https://www.amazon.com/shop/fayesfood
Homemade Marble Cake
Ingredients
Vanilla Batter
- 14 oz cake flour sifted
- 12 oz granulated sugar
- 2 teaspoons baking powder
- 1 teaspoon baking soda
- 1 teaspoon salt
- 1 tablespoon vanilla extract
- 6 oz unsalted butter softened
- 2 large whole eggs room temp
- 3 large egg yolks room temp
- 8 oz buttermilk room temp
- 2 oz vegetable oil
Chocolate Batter
- 3 ounces melted chocolate room temp
- ¼ cup hot water
- 1 tablespoon cocoa powder
- ¼ teaspoon instant coffee granules
- ⅓ of the vanilla batter
Instructions
- First, you want to prep your pan by spreading some cake grease generously into it and spraying it well with cooking spray. Set it aside.
- Next, place the chocolate in a small microwavable bowl. Microwave on 20% heat setting and microwave in 30-second increments. Mix every 30 seconds until the chocolate is fully melted. Once it's fully melted, set it aside to allow the chocolate to cool slightly.
- Next, in a medium-sized bowl, add the water, instant coffee granules, and cocoa powder and mix until combined and set aside.
- In a separate bowl, combine the eggs, yolks, vanilla extract, oil, buttermilk, and mix until combined. Set aside.
- In the bowl of your stand mixer, combine the sugar, cake flour, baking powder, baking soda, and salt.
- Begin mixing on the lowest setting and slowly add the butter in chunks. Mix the mixture until it resembles coarse sand. There should be small to medium-sized lumps visible. After you get to this stage, add in ⅓ of the liquids mixture you set aside earlier and mix on the lowest setting until just moistened.
- Once the mixture has absorbed the liquid added in, bump the speed up to a medium speed (5 on a Kitchenaid) and mix for two full minutes, no more and no less! Make sure it's exactly two minutes. If you don't mix for the full two minutes, then the cake won't build a structure and it will come out short and crumbly. After the two minutes, your mixture should look like soft-serve ice cream.
- After the two minutes, make sure to stop the mixer and scrape the bowl and paddle down really well. Start the mixer again on the lowest setting. Slowly add in the rest of the liquids mixture in two more additions. Make sure the first addition is absorbed before adding the next addition. Mix the liquid in until the mixture is uniform and until everything is just combined. Be sure not to overmix. Once the mixture is done, set aside.
- Add the chocolate you melted earlier into the cocoa/water mixture and mix well until combined. If the chocolate has hardened back up, melt again slowly in 15-second increments.
- Add in ⅓ of the vanilla cake batter to the chocolate mixture and fold in until uniform in color. Be sure not to overmix.
- In your cake pan, add in a bit of your vanilla mixture and spread evenly. Then pour in a bit of your chocolate batter over the top of the vanilla. Then add a bit more vanilla and on top of that the rest of the chocolate. End the layering with the rest of the vanilla. I'm not going to give you exact amounts to pour in, because it depends on how much chocolate vs vanilla you want. Just eyeball it and you'll be fine.
- Take an offset spatula or paring knife or butter knife and begin to do the figure 8 motion three times around the pan to begin to swirl the chocolate and vanilla together. Only do it three times, nothing more or the batter will begin to muddle. Tap the pan gently on the counter and spin to remove air bubbles.
- Bake at 335°F for 30-40 minutes. Once it's no longer jiggly and a toothpick or skewer comes out with a few moist crumbs, you know it's ready to take out of the oven.
- Place on a wire rack, cover lightly with aluminum foil. No need to wrap the whole thing with foil, just place a foil sheet over it to keep most of the steam in. I leave just a little bit of space open on top so just a little bit of steam can escape so it cools quickly without drying out. Anyway, let the cake cool for 30-40 minutes or until the pan is just slightly warm.
- To unmold, make sure you have a plate or platter bigger than the cake pan ready. Run an offset spatula around the outside of the pan gently, making sure the back of the spatula is facing the cake. Gently check the inside of the pan, if you're using a bundt pan, with your spatula just to see if it's loose. Don't actually run your spatula into it, because it's more difficult to do without messing up the cake, just check to see if it's loose. Flip the pan over and wait a few seconds before gently lifting up the pan. If you greased the pan well, the cake should come out with no problem.
- Cut up a slice and serve warm with some milk or coffee. Enjoy!