Beginner's Guide to Sugar Cookie Decorating
Over the last couple of years, I've picked up a new hobby. Sugar cookie decorating! However, being the perfectionist I am, I can tell you the learning curve initially was very steep and aggravating for me. I know many of you are in the same shoes. You see these cool pictures on Instagram and Pinterest of different decorated cookies and you want to join in on the fun. However, it's not that simple. There is a lot to learn. My intention here is to create an all-in-one comprehensive beginner's guide to sugar cookie decorating.
Tools
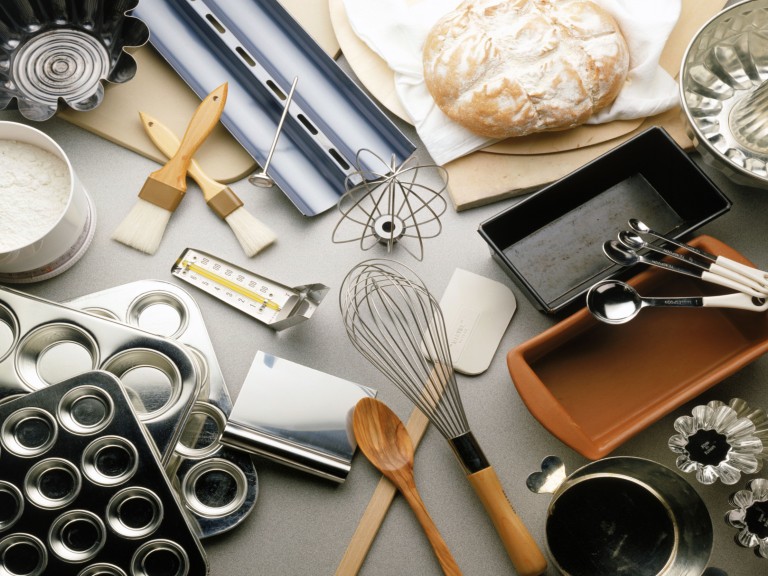
- It only makes sense that we start with the tools required to get started on this journey. Below is a list of recommended tools. Do your research. Some are essential, while others you can do without, to begin with.
- Beginner's tools (things to get you started): Baking sheet or cookie sheet, microplane, cookie cutters, offset spatula, pastry bags, squeeze bottles, pastry tips, scissors, parchment paper, silicone mat, rolling pin, scriber or toothpick or turkey lacer, food coloring, wire racks, paint brushes, rubber spatula, plastic spray bottle, mini drywall scraper, x-acto knife, rubber bands or Wilton ties, plastic wrap. You can find many of these things in my Amazon store here.
- Advanced tools (things to get you to the next level): Pico or Kopykake projector with stand, airbrush kit, food-safe colored markers, tipless pastry bags, heat sealer, poly bags, cookie stamps, fondant, stencils.
**Trends and tools change every day in this industry. I'll add to this list as things change.**
Sugar Cookies
- Perhaps the most important component is the cookie. A good sugar cookie is a bit sweet, buttery, a bit tangy (in my opinion), soft and chewy. That's where my go-to sugar cookie recipe comes in. It's a wonderfully versatile recipe that can be used as mini tart shells, pie dough or of course, sugar cookie dough. It hits all the flavor marks and they don't spread as they bake!
- You can find the sugar cookie recipe here.
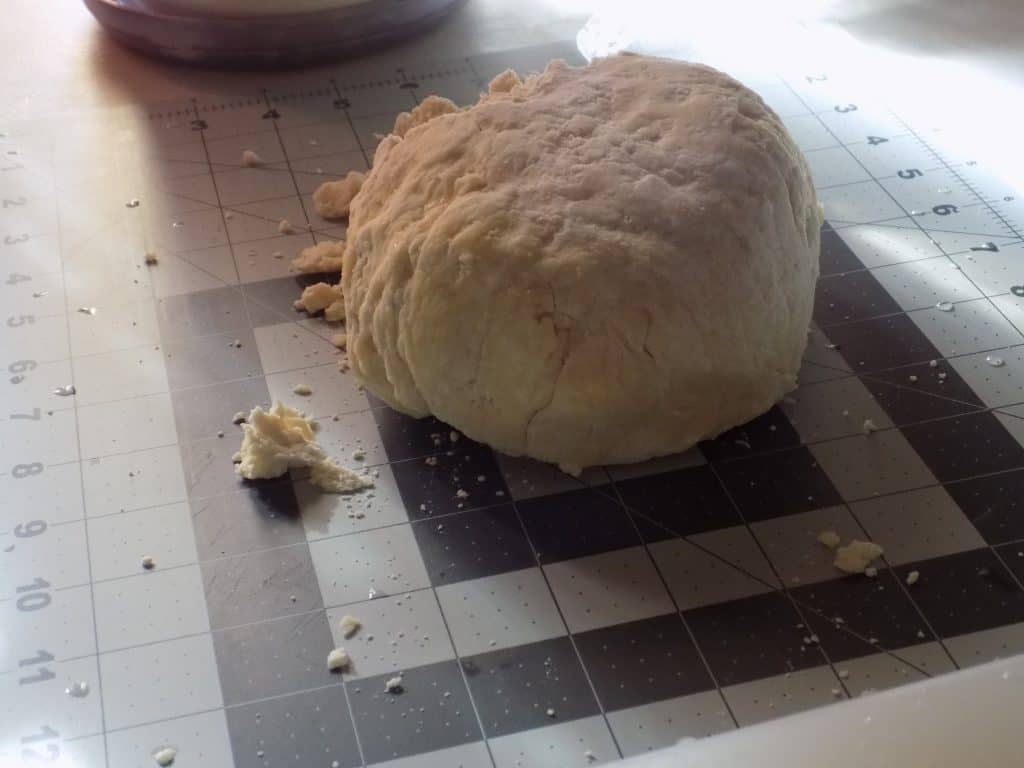
- After letting the dough rest, place the dough on a lightly floured surface. Use a dough scraper to cut the dough ball in half. Lightly flour the top and begin to work the dough into a ball. It is normal that it will be pretty crumbly, to begin with. Keep working it and it will become slightly darker in color and smoother in texture.
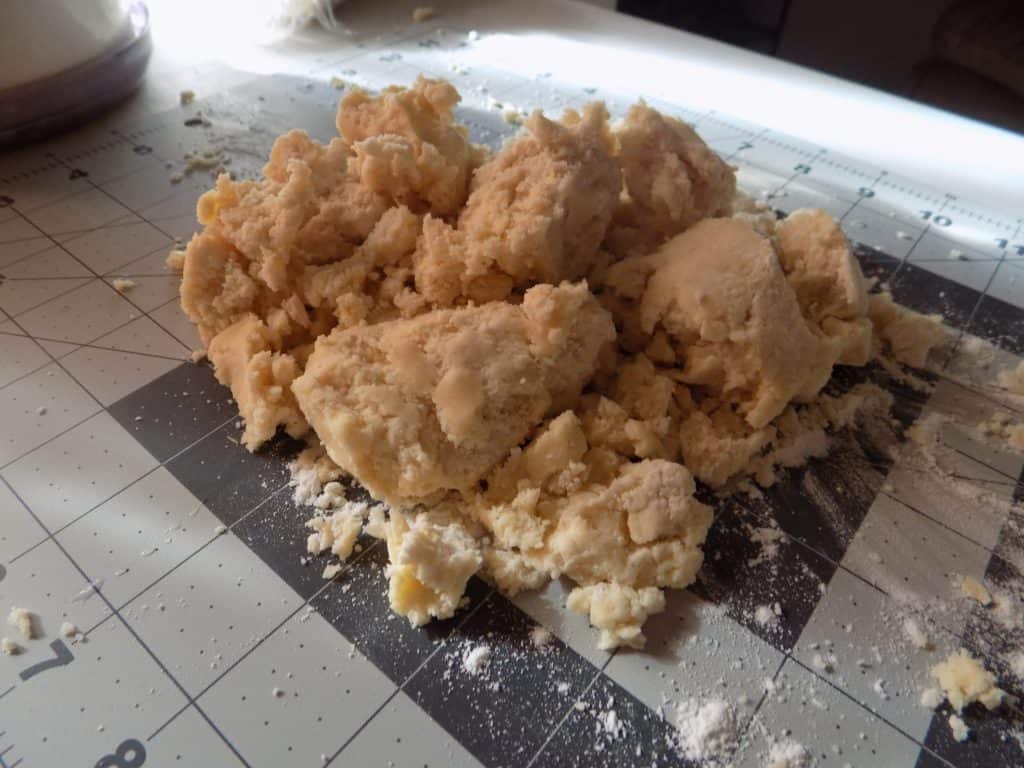
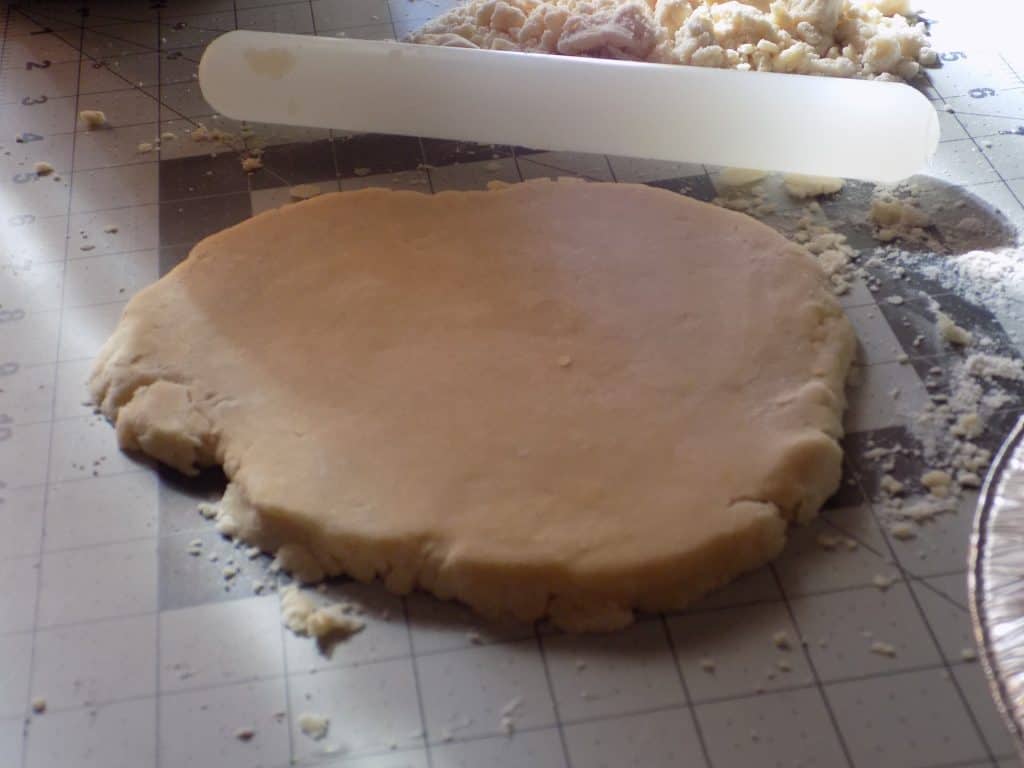
- Work in as much as the crumbs as you can until you have a uniform ball. It's fine to push some of the crumbs to the side and work them into a second ball. As you get a uniform ball, begin to flatten out with hand until it's a circular shape. Lightly flour the top. Use a rolling pin to roll out the dough. Roll and turn, roll and turn. I like doing this with a fondant roller, but you can use a regular rolling pin as well. I use a fondant roller because I don't form huge circles. I cut the dough in half and then make two circles out of that one half. Roll with what you please. It's really not a big deal, just giving you an idea of why I use the tools I do. I roll out the dough until it's about ½" thickness. I want a good cookie to icing ratio.
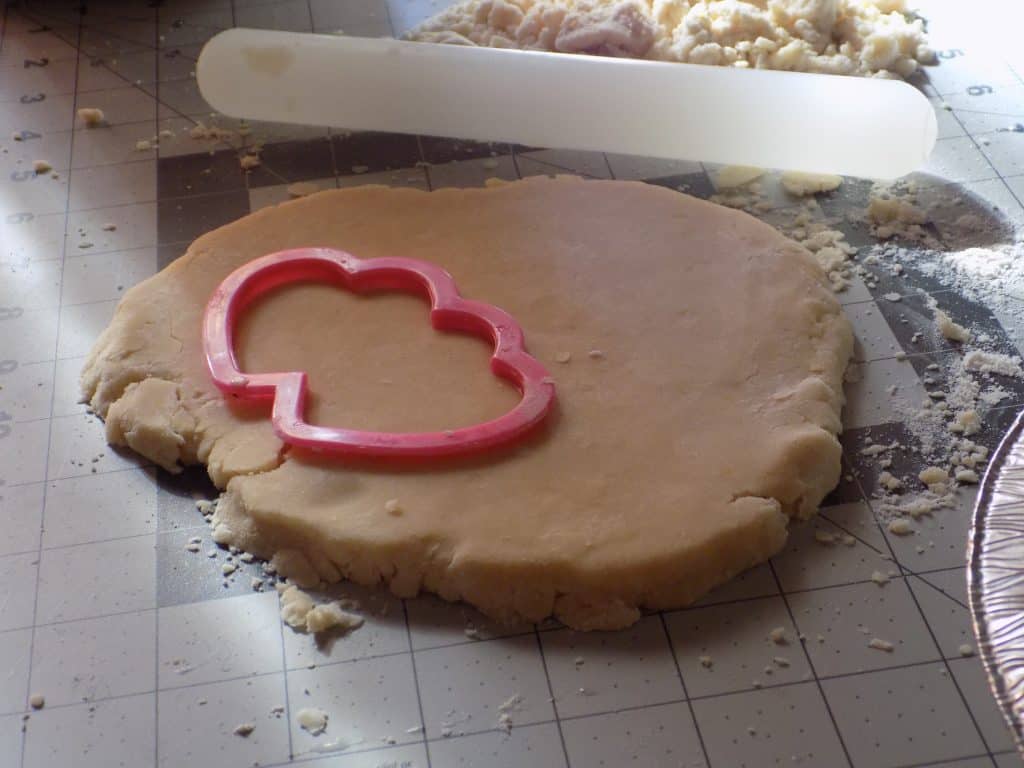
- Dip your cookie cutter into flour. Shake off the excess and place your cutter firmly into the dough and press down.
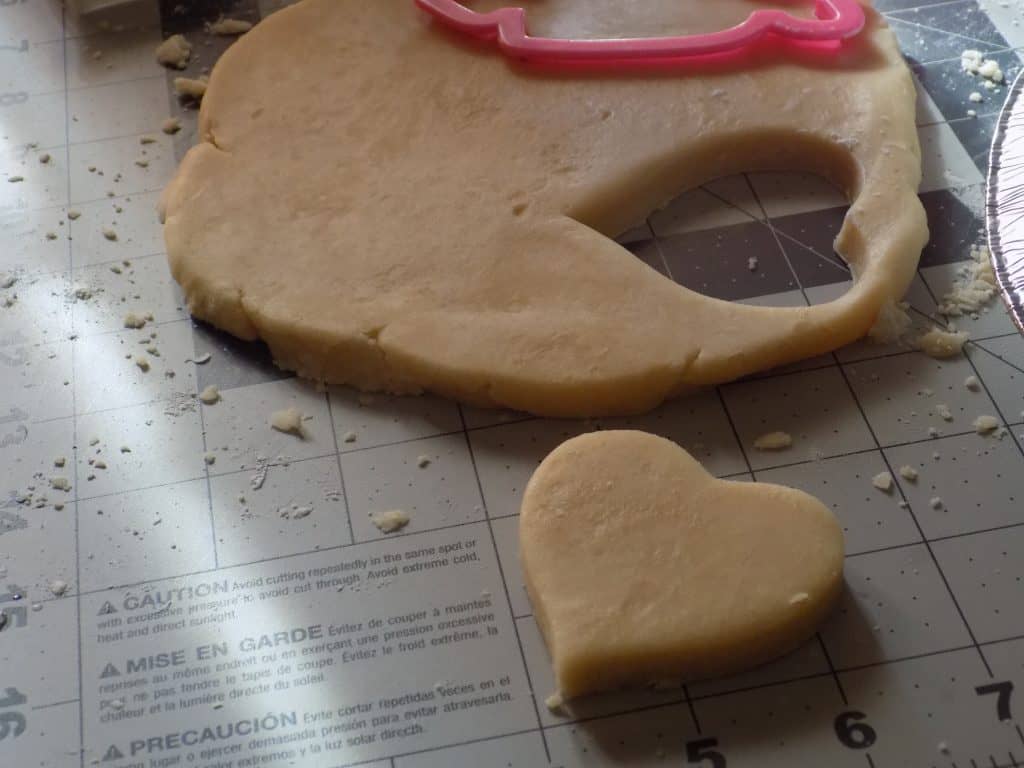
- Keep pressing down the cutters until you have enough from that one sheet of dough. Remove the excess dough surrounding the cutters or lift up the cut-out dough after you press down. Either method is fine.
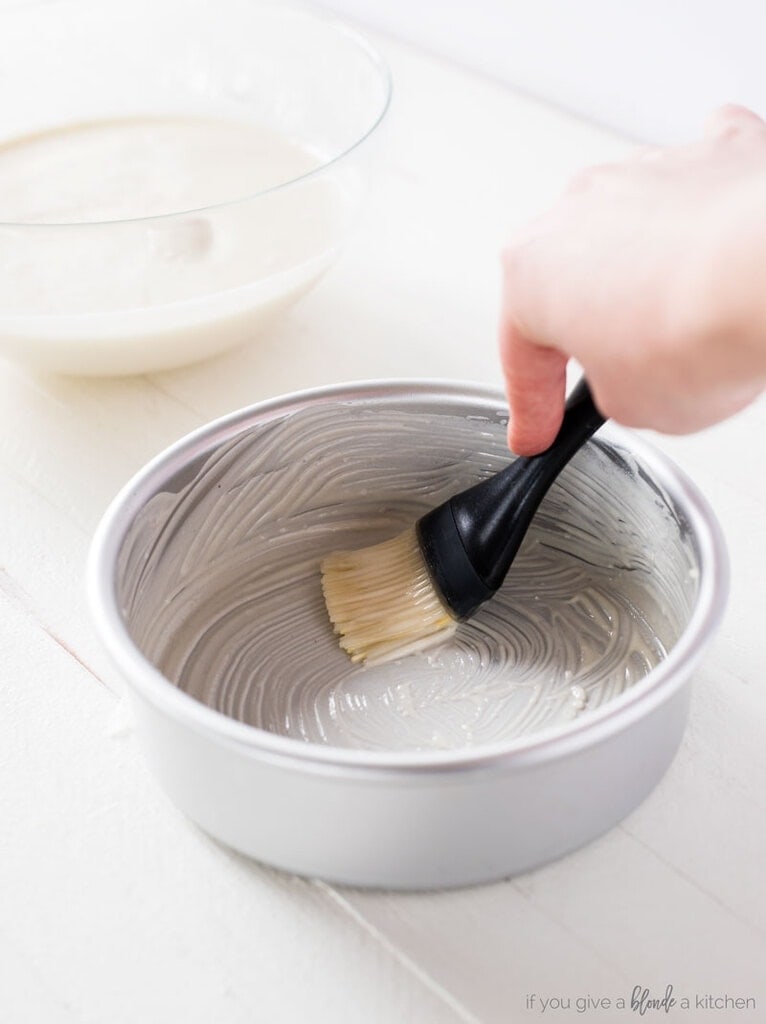
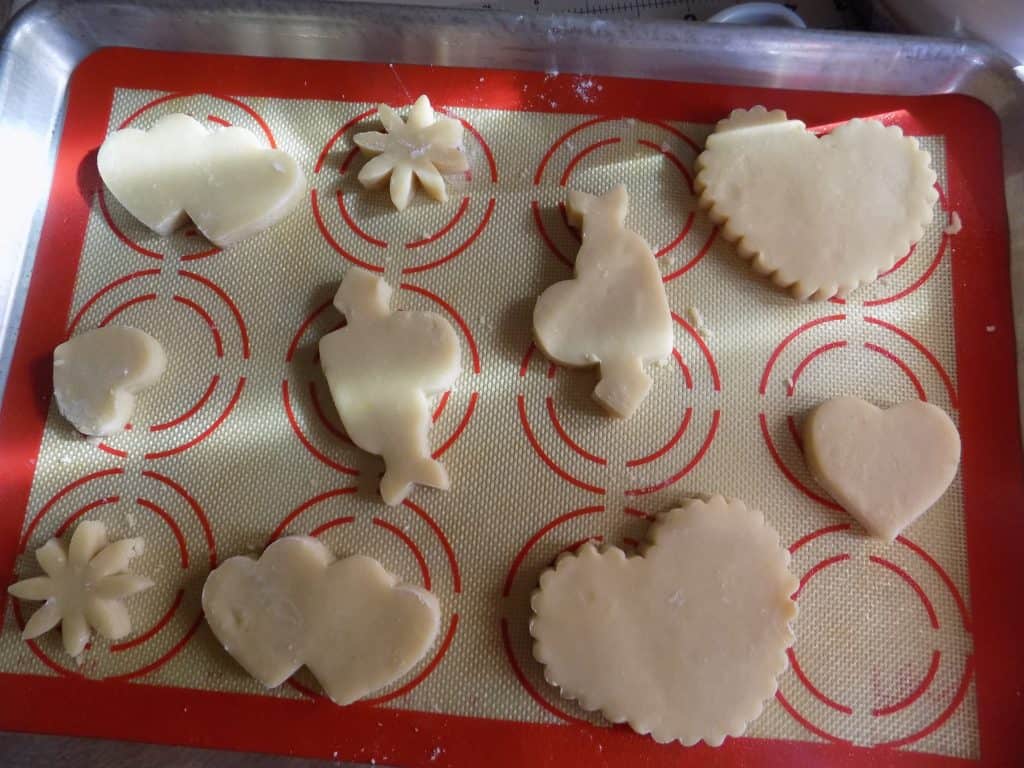
- Use a flat spatula or drywall scraper to move the cut-out shape onto a prepared baking fan. Using a spatula or something flat will allow you to move the cookie without distorting the shape. Continue to place the cut-out cookies onto the baking sheet. I have a regular half-sheet pan lined with a silicone mat that has been sprayed with cooking spray. You can also use parchment instead. Place the cookies a couple of inches apart. These cookies don't spread, however, space around the cookies will allow them to bake better, because of the air circulating around them. Use a non-silicone pastry brush to brush off any excess crumbs or flour off the cookie tops and sides.
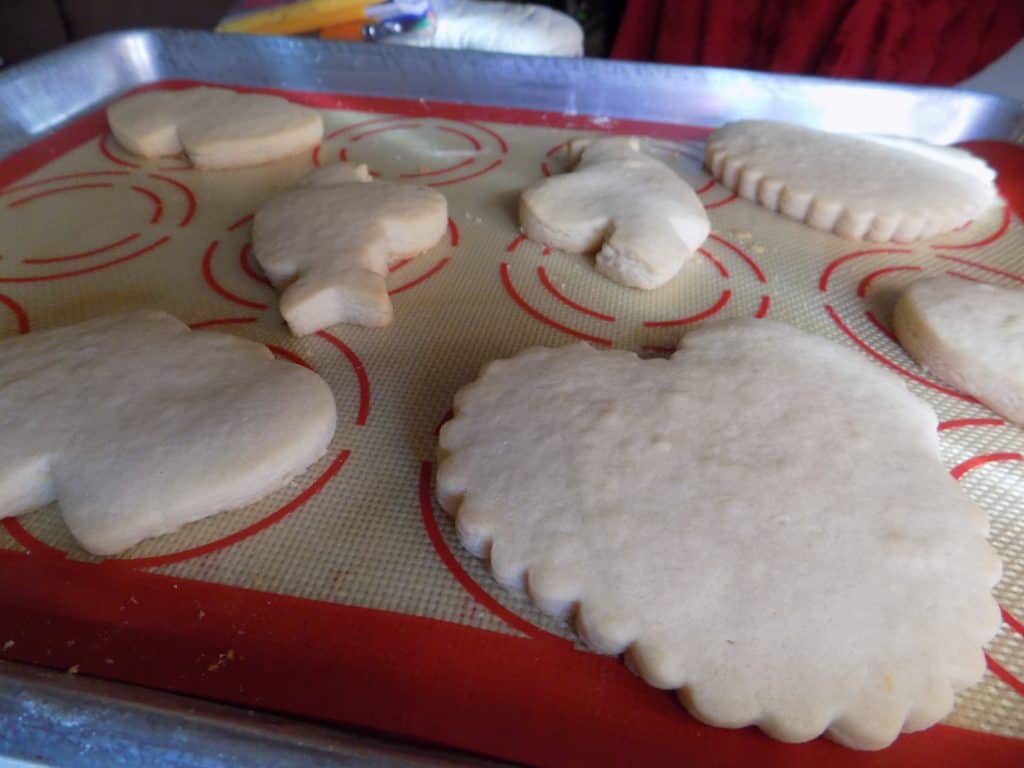
- Bake at 350°F for 9-12 minutes, depending on the shape. The bottom edges should be very lightly golden brown. Understand that different shapes bake at different times. For example, the smaller flower and heart cookies finished a couple minutes before the other shapes, so I took them off the sheet and moved them to the wire rack sooner. Then, I let the rest finish baking. Just be aware of that. Also, once all the cookies are baked off, you can pop any bubbles that formed on top with a toothpick or scriber tool. Poke underneath the bubble and flatten out with your fingers. Do this a few minutes out of the oven so you don't burn yourself, but the cookies are still warm enough to form.
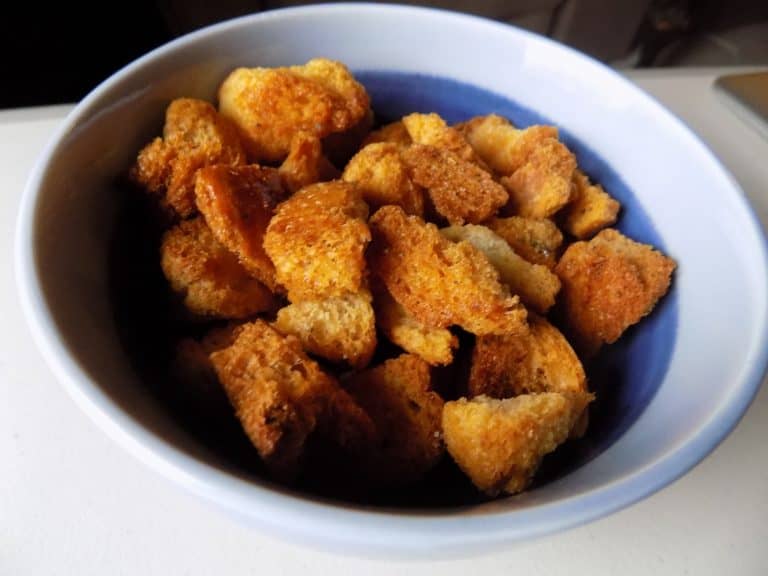
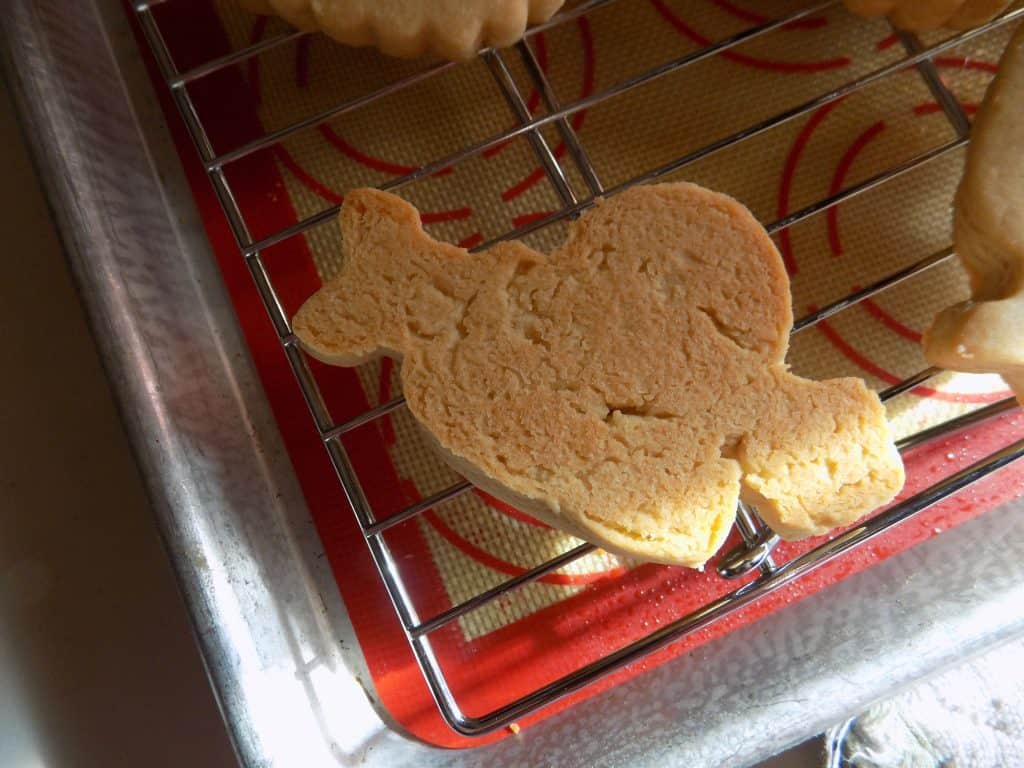
- After allowing the cookies to rest on the cookie sheet for a couple of minutes, move the cookies to a wire rack to cool completely. The picture below shows the color of the bottom of the cookie. Any darker and you'll have a crunchy cookie. I don't know about you, but I'm a soft cookie girl. Any lighter and you won't get as much flavor as possible. This is the ideal color of the bottom of the cookie. I'd even accept just a tad bit lighter.
- Our cookies are cooling and we're all set. Now let's focus on the icing.
Royal Icing
- Sugar cookies are typically covered with an icing called royal icing. This icing is made with only a few ingredients and it's very easy to make. Royal icing allows you so much decorating flexibility. I have a go-to royal icing recipe as well. The reason why I like my icing is that it not only tastes great, but it doesn't dry super hard, which is something royal icing is known for. Once you bite into the cookie, the icing somewhat melts in your mouth. It's absolutely delicious.
- For the full royal icing recipe, go here.
- My royal icing uses pasteurized egg whites. I've never had an issue using them. However, there are many that still worry about possible health hazards of raw egg whites. They prefer to use a product called meringue powder, instead. Meringue powder is just dehydrated egg whites, along with some stabilizers and sweeteners. I've attached my meringue powder recipe in my royal icing post if you prefer to go that route. If you want your icing to be even softer but still stackable, you add a bit of corn syrup also. I don't recommend doing this until you've made the royal icing recipe a few times so you're familiar with the original texture of the icing.
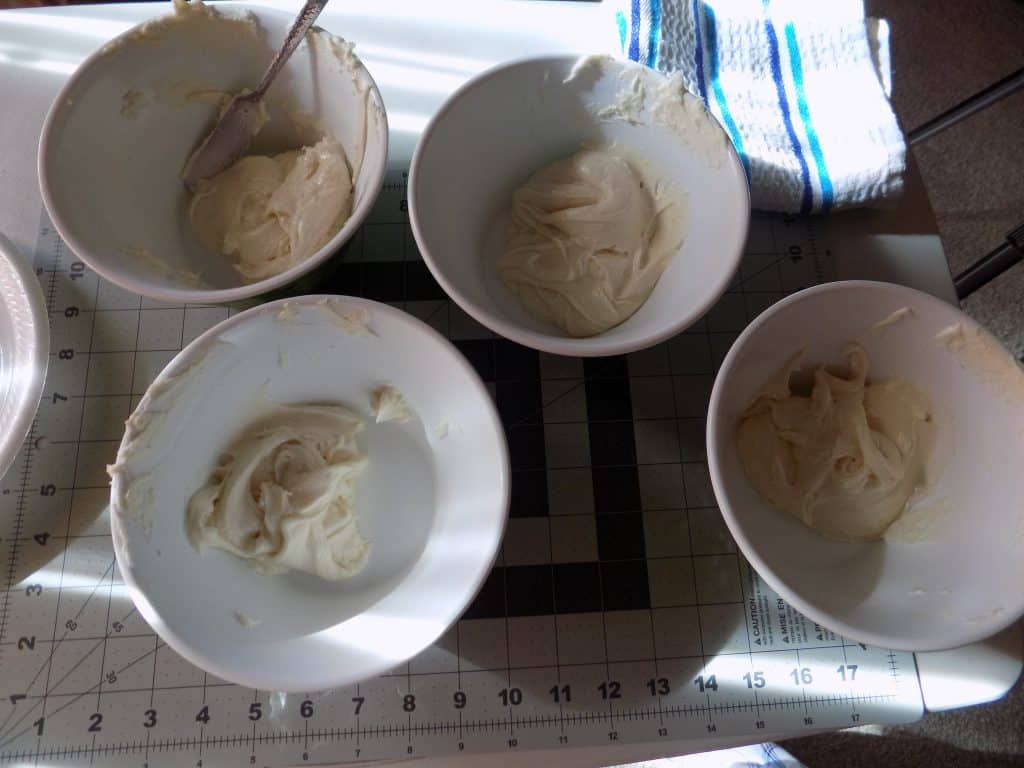
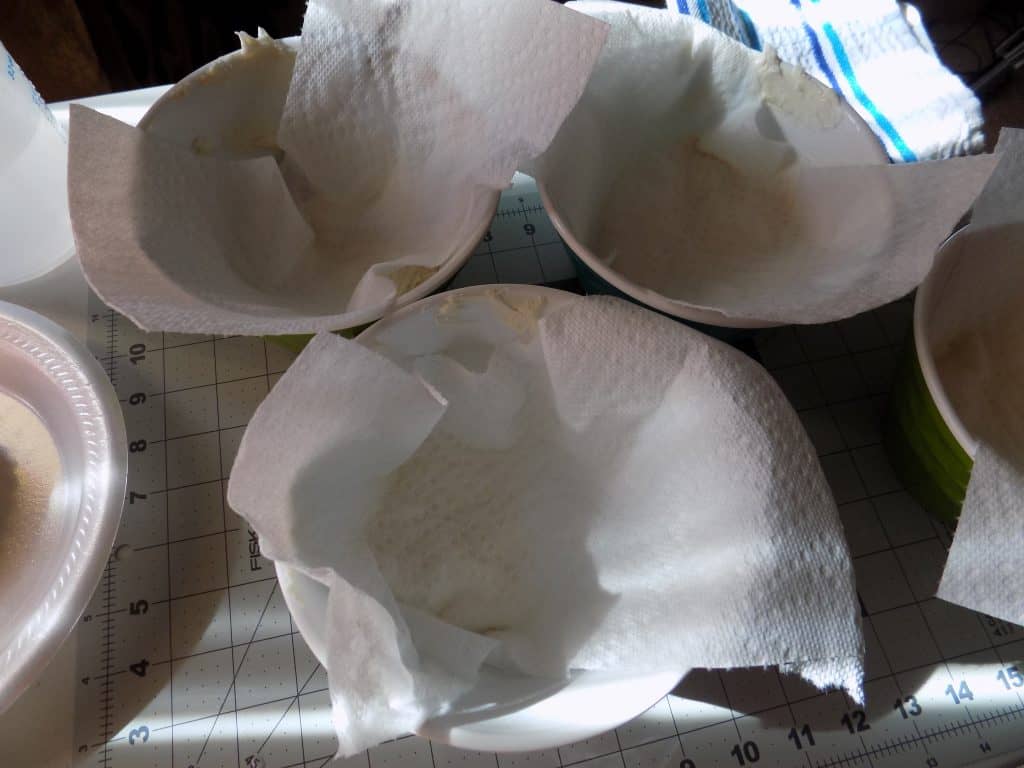
- Once you make your royal icing, place some into separate bowls and cover them with a single piece of paper towel. Obviously, you want to plan out what colors you're using and how much of it, so you know how much to separate. Use a spray bottle, full of water to spray some water over the top of the paper towel. Cover the bowls with plastic wrap. Set aside.
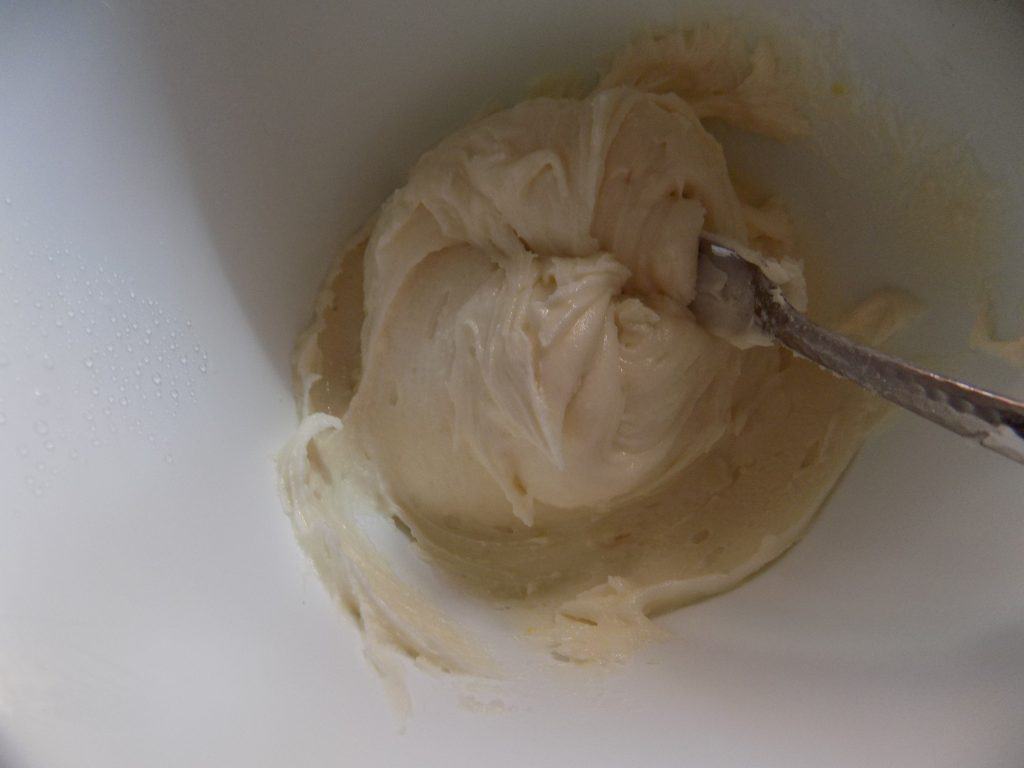
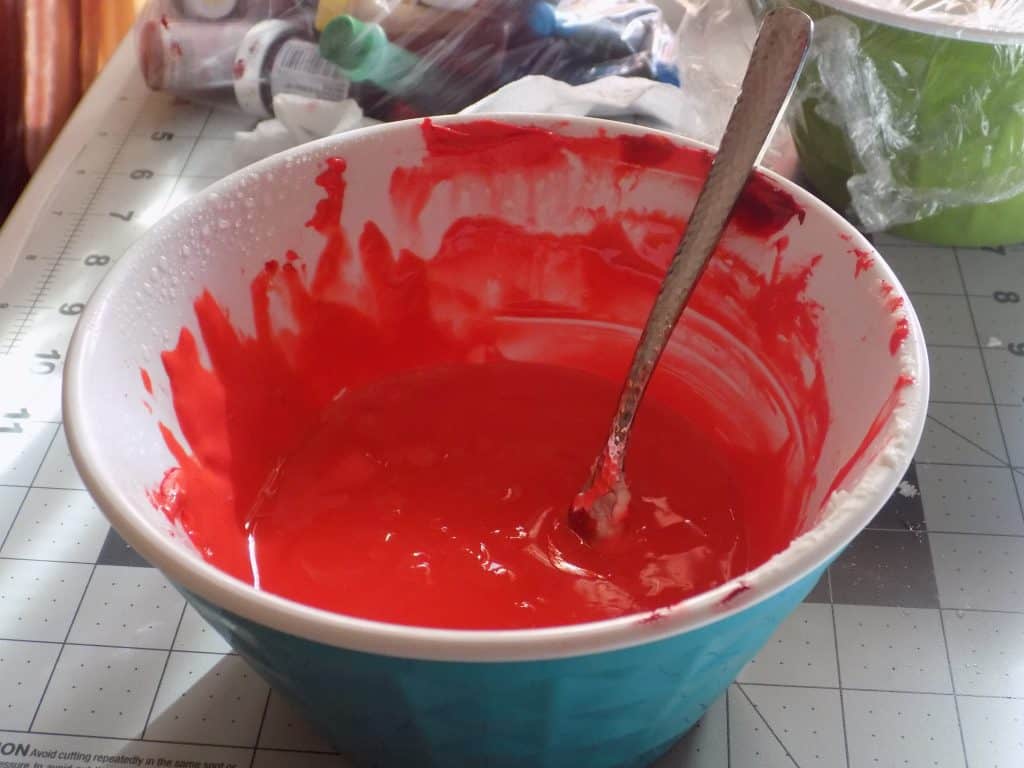
- This can be the messy part, so wear gloves if you prefer. To color your icing, remove the plastic wrap and paper towel, begin by adding in a few drops at a time of food coloring. Remember, you can always add more, but you can't take it out. Once it's done, it's done. So, please be careful. After adding in a couple of drops of food coloring, begin mixing the icing. The more you mix, the more air bubbles you'll get. Be mindful of this. Once you get the color you are happy with, begin spraying water into the icing, bit by bit, mixing until you reach your appropriate consistency. When you're done mixing, tap the bowl against the table a few times lightly. Let it settle for a minute. Pop any air bubbles you see with your toothpick or scriber tool.
Icing Consistencies
- The key to decorating is consistency. No, I don't just mean keep doing it. Yeah, practice is important and the more you do something, the better you will be at it. There is no denying that fact. However, I'm talking about icing consistency. Let's dive into that topic for a bit.
- There are four basic consistencies of icing-thin, medium, thick and extra thick.
- The thin icing is the consistency you'll use most often. This is also known as "flood" consistency. It's called "flood" consistency because it's thin enough to move around wherever it wants to. It settles out quickly. This consistency is ideal for filling in large areas of the cookie, such as a base coat. This consistency typically gives you a bit of leeway because it doesn't dry as quickly as the other consistencies. If you need help visualizing it, it looks like the consistency of Elmer's glue. Very thin, but still workable. [10-second]
- Medium consistency is sometimes referred to as "one-consistency" icing. Many use this consistency for both outlining the cooking and filling it. This will work with a cookie that isn't larger than 3". The downside of this icing is that it tends to dry pretty quickly, which is why we have the size limit for the cookie. You also use this icing when you want to add dimension to a cookie. [15-second]
- Thick icing is for details and outlining cookies. Think of it as the "piping" consistency. It will stay where you put it, which makes it perfect for details and piping letters or words. [20-second]
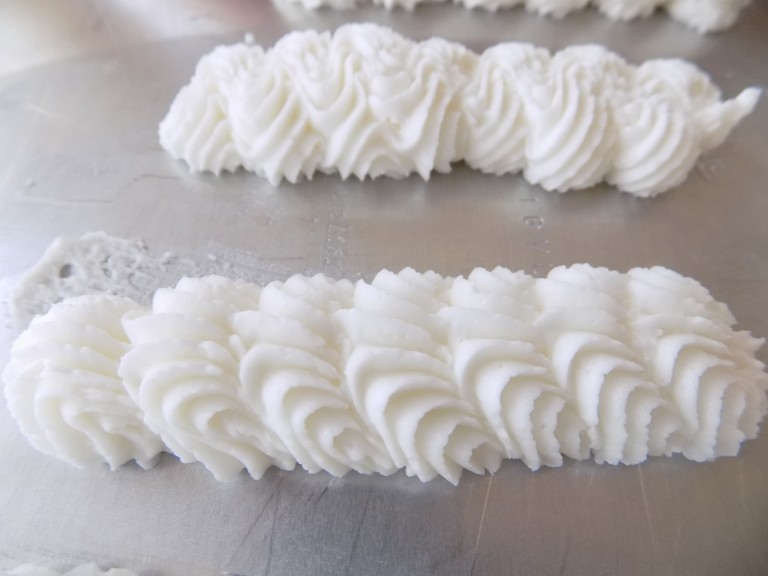
- Extra thick. Well, it's how the name sounds. Very thick and not commonly used in royal icing applications. However, you can use this consistency to spread on with an offset or to experiment with. It doesn't give you much flexibility in terms of decorating though. [25-second]
- Besides the descriptions of the icing, you also determine the consistency by time. There is 10-second, 15-second, 20-second consistency. The ideal for flooding is 10-second consistency. What this means is after you 're done mixing your icing and you've popped the air bubbles, run an offset spatula down the middle of the icing. Does the icing "heal" in 10 seconds? Meaning does that mark down the middle disappear in 10 seconds? 10 seconds corresponds with flooding. 15 seconds corresponds with medium and so on. It goes up to 20-25 seconds at the most. Play around with it and decide what works best for you. Once you nail down the consistency, everything is gravy. Believe me on that.
Storage
- I believe this is crucial. When you first get started, you have no idea what to do regarding storage. I've learned this the hard way. I've worked hours on cookies and then they get ruined in minutes due to terrible storage techniques. The key with storage is you want to keep the cookies covered because you want them to stay moist and you don't want them to dry out. However, we need the top to dry to the touch. So, here's our dilemma.
- You have a few options. One route is to buy a dehydrator. This is more advanced and pricy, but it does do the job. There are two types of dehydrators. There is one that blows the air back to front and one that blows up and down. Typically, the front and back one is pricier. Both do the job, but do your research and decide on one if you want to choose this option. The option I'd recommend when first starting out is using catering aluminum pans. The pans are deep enough so you can cover the cookies, without the tops touching the plastic wrap or foil you're using to cover it. However, the downside to this option is that you can't stack the cookies while they're wet, so it's not practical for a large order. You can also use a baking sheet that is deep enough to have the plastic wrap not touch the wet icing. There are a few options, but you just have to see what works for you.
I will end by saying this. Cookie decorating will be very frustrating at first, but just remember, you're decorating cookies. It's all in good fun. The first step is to just do it. Don't be scared. Worst comes to worst, you get to enjoy a cookie!
Remember, you will get better each time you do it. Trust me. Read, watch and practice and you'll get to where you want to get to with this. Good luck on your cookie decorating journey and let me know if you have any questions!

FAQs
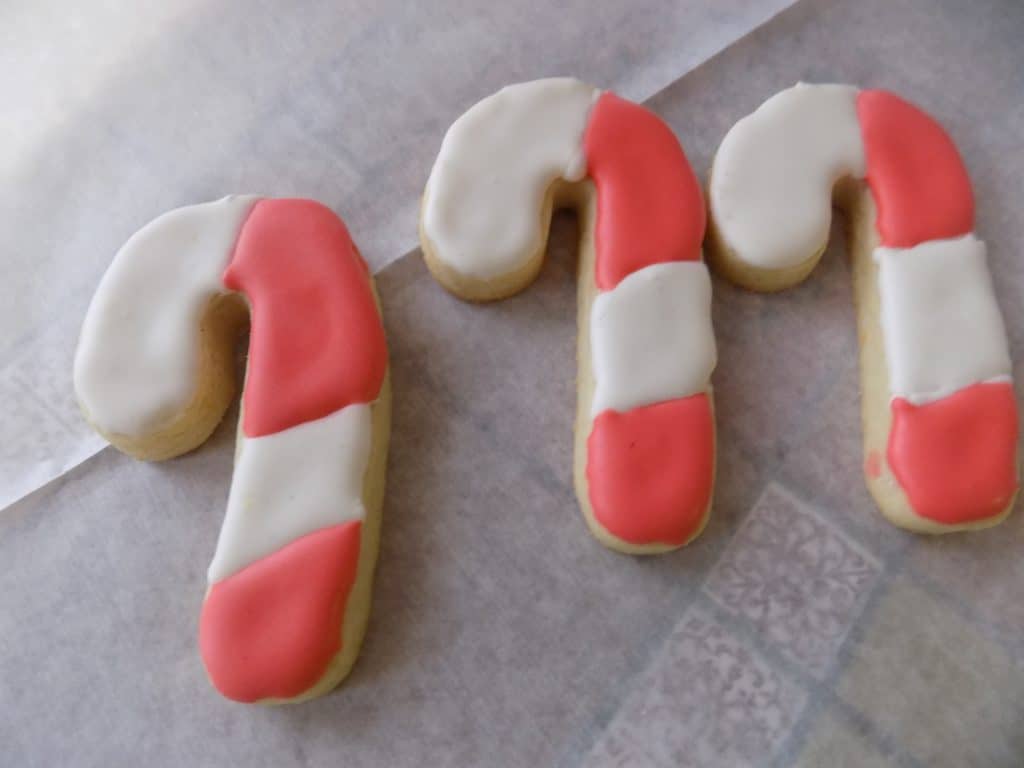
Color bleeding is a no-no. It messes up you're cookie design completely. Google it if you don't believe me. There are many causes. It can be anything from humidity to placing darks on whites too soon to thin icing. The best way to prevent color bleeding is to allow the first color to completely dry before adding the next color. For example, I flood a cookie with white icing. I will allow that to dry completely for a few hours, then I'll add my black design. If I have another dark color such as red or purple, I have to let that black design dry completely too, before applying them. You see. It's like we're doing layers. This will prevent color bleeding as much as possible.
If you overdid it with the water and thinned out your icing too much, all you have to do is add in some sifted confectioners sugar to thicken it back up. Add a spoonful at a time and mix until your preferred consistency is reached.
Continue spraying water into the icing bit by bit until the preferred consistency is reached.
Place a paper towel over the top of the icing and spray with a bit of water. Cover the icing with plastic wrap and place in the fridge for up to two weeks or freeze for up to a month. When you want to use, allow to get back to room temperature and mix for a bit until proper consistency is reached.
Store the unused dough in the fridge for up to two weeks or the freezer for a couple of months. Make sure it's really well wrapped so the moisture and flavor are retained.
This is a personal preference. I have used squeeze bottles and hated them. Some swear by them, though. I have used regular pastry bags or ziplock bags to get me by. You can use pastry bags with a hole cut or a 3 tip. Some even use paint brushes and just blob the icing on. I've never done that, but I've seen it done. Personally, I now use tipless pastry bags. They seem to work best for me and I can get them pretty cheap here. Try everything, a see what works best for you.
Always a gel-based food coloring. They work best and you use less to get the color you want. I typically use AmeriColor. However, in a bind, I've used Wilton gel food coloring and it's ended up fine.
I use a microplane or lemon zester to sand my cookie edges sometimes. Don't overdo it and be gentle, but it can help with situations like that.
First, wait until your cookie icing is completely dry. Then, you can print out your image, cut out the pieces with an X-acto knife and trace the image on with an edible marker. As you advance, you can purchase a projector and use that to do the job. Typically, food markers come in handy with this.
This is not optional. You need something to move the icing around when it's in "flood" consistency. This can be a toothpick, turkey lacer or cookie scriber tool also known as a cookie pick. It's up to you what ultimately choose, but all work well.